

Herby vegan breadsticks - these easy garlic and herb breadsticks are soft, chewy, simple to make and perfect for serving with dips, soups, or in place of dinner rolls.
You can choose to make them flavoured or plain, use this recipe as a base to experiment with!

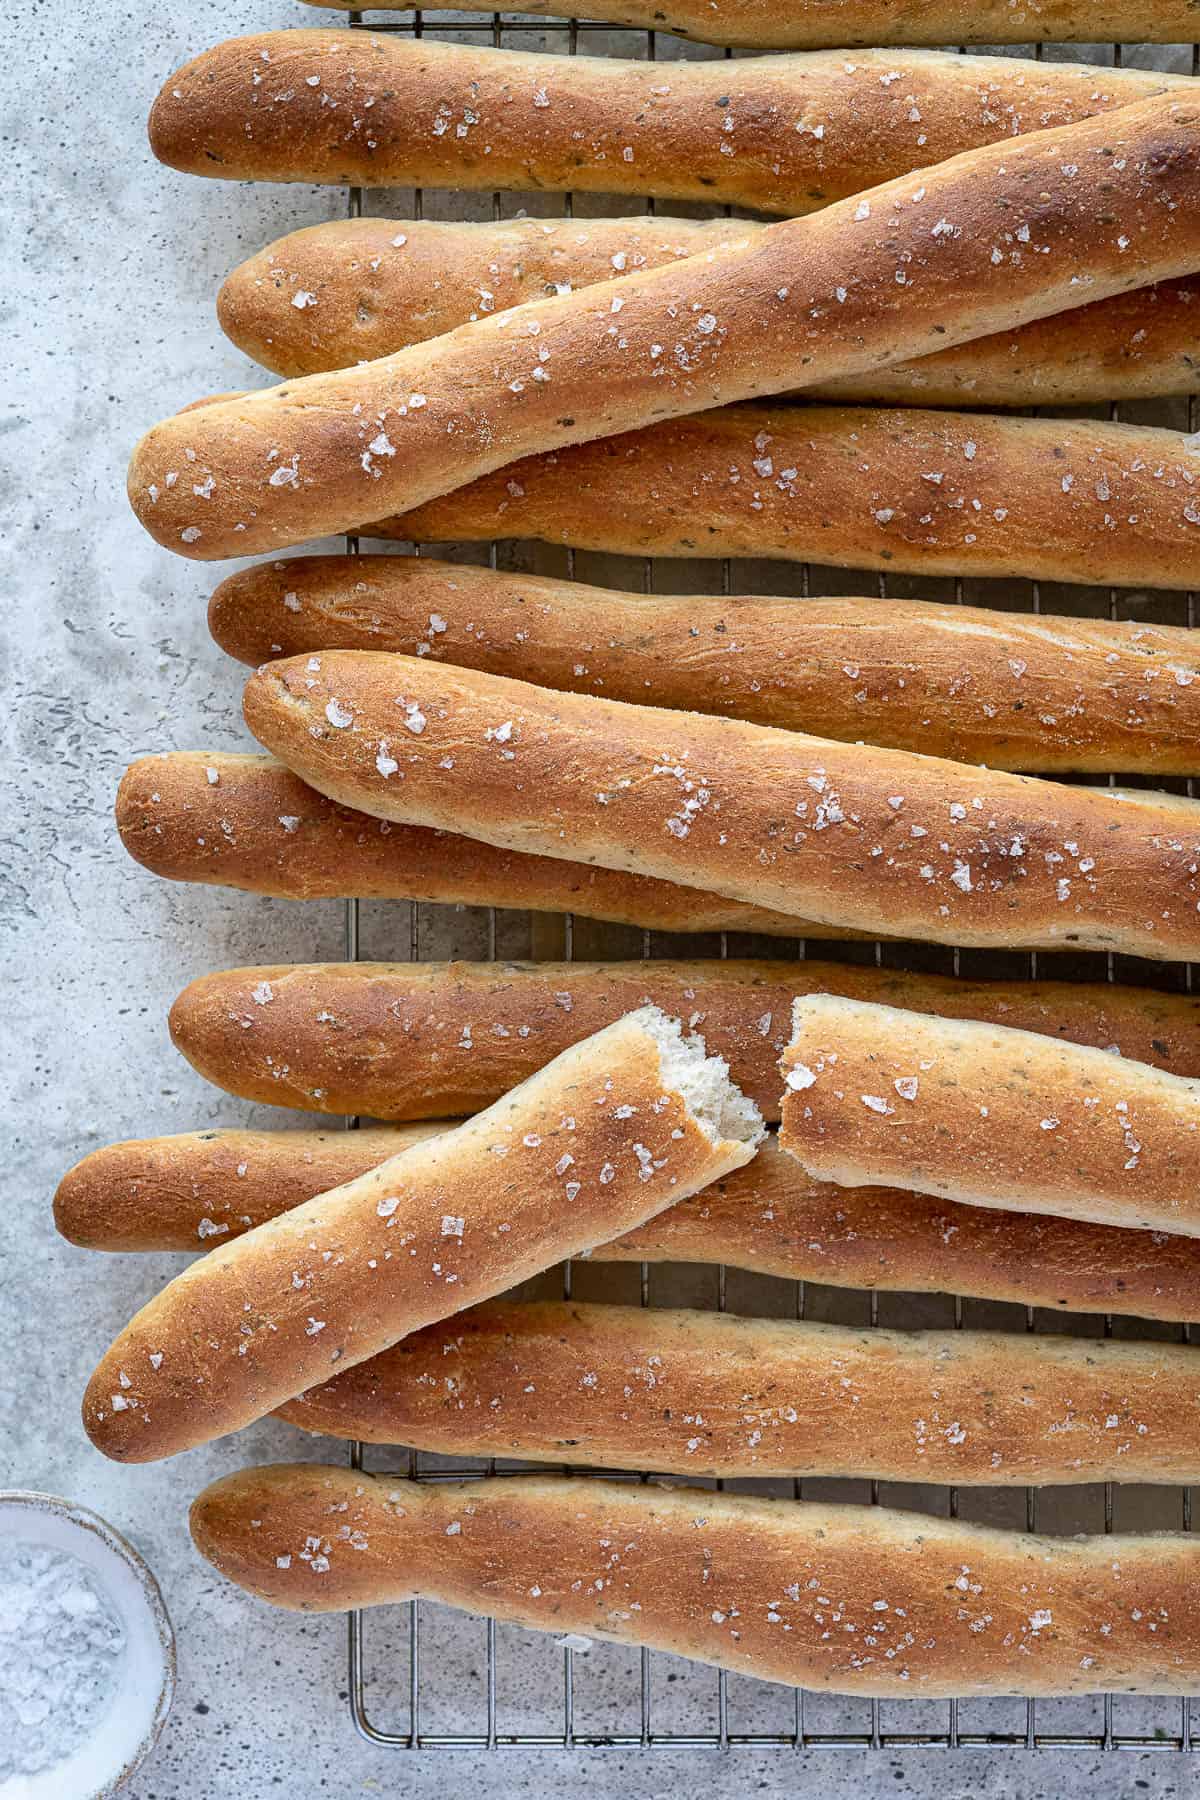
These herby vegan breadsticks are deliciously soft and flavourful, with a chewy texture and crisp crust.
Flavoured with herbs and garlic, they are wonderful served with dips or as a side to soup, but they are so tasty I can happily just eat them on their own!
I also have a great sun dried tomato version!
What Do I Need To Make Herby Vegan Breadsticks?:
Bread flour: I really recommend using white bread flour rather than plain flour to make these breadsticks as the higher protein content helps to create that fluffy, chewy bread texture. Plain flour will work if that is all you have though. I don’t recommend using wholemeal flour, it will make the breadsticks too dense.
Instant yeast: I always prefer to use instant yeast when making bread as it can just be added straight to the flour and doesn’t need to be activated first. See below for instructions if you only have active dry yeast.
Olive oil: A bit of olive oil in the dough helps to make the breadsticks soft and adds flavour. Go for a mild one, not extra virgin. You can also swap the olive oil for any other neutral oil.
I also brush the breadsticks with olive oil before baking which gives them a nice crust. You can use milk or aquafaba instead, or brush them with melted non-dairy butter after they are baked.
Salt: You simply cannot make good bread without salt. Don’t omit it. I also like to sprinkle the breadsticks with a little flaky sea salt before baking, this is totally optional however.
Sugar: Just a teaspoon to help feed the yeast, making the dough rise.
Herbs: I use chopped fresh thyme and dried oregano but you can use whatever herbs you like.
Garlic powder: Adding some garlic powder to the dough gives it a great garlicky flavour. If you want the breadsticks to be even more strongly garlicky, then you can either brush them with garlic butter when they come out of the oven, or just brush them with melted butter and sprinkle over some more garlic powder.
Semolina or cornmeal: This is optional, but sprinkling the baking sheet with some fine semolina or cornmeal gives the breadsticks a really nice crust.

How To Make Herby Vegan Breadsticks:
(Full measurements and instructions can be found in the recipe card at the bottom of the page)
Place the bread flour in a large bowl (or the bowl of a stand mixer fitted with a dough hook), add the yeast to one side and the salt, sugar and garlic powder to the other.
Pour in the olive oil and water and mix to form a rough dough.

Knead, either by hand on an unfloured surface or with the stand mixer on a medium/high speed, for 5-10 minutes until the dough is smooth and elastic. It should be slightly tacky to the touch but should pull away from the sides of the bowl cleanly.
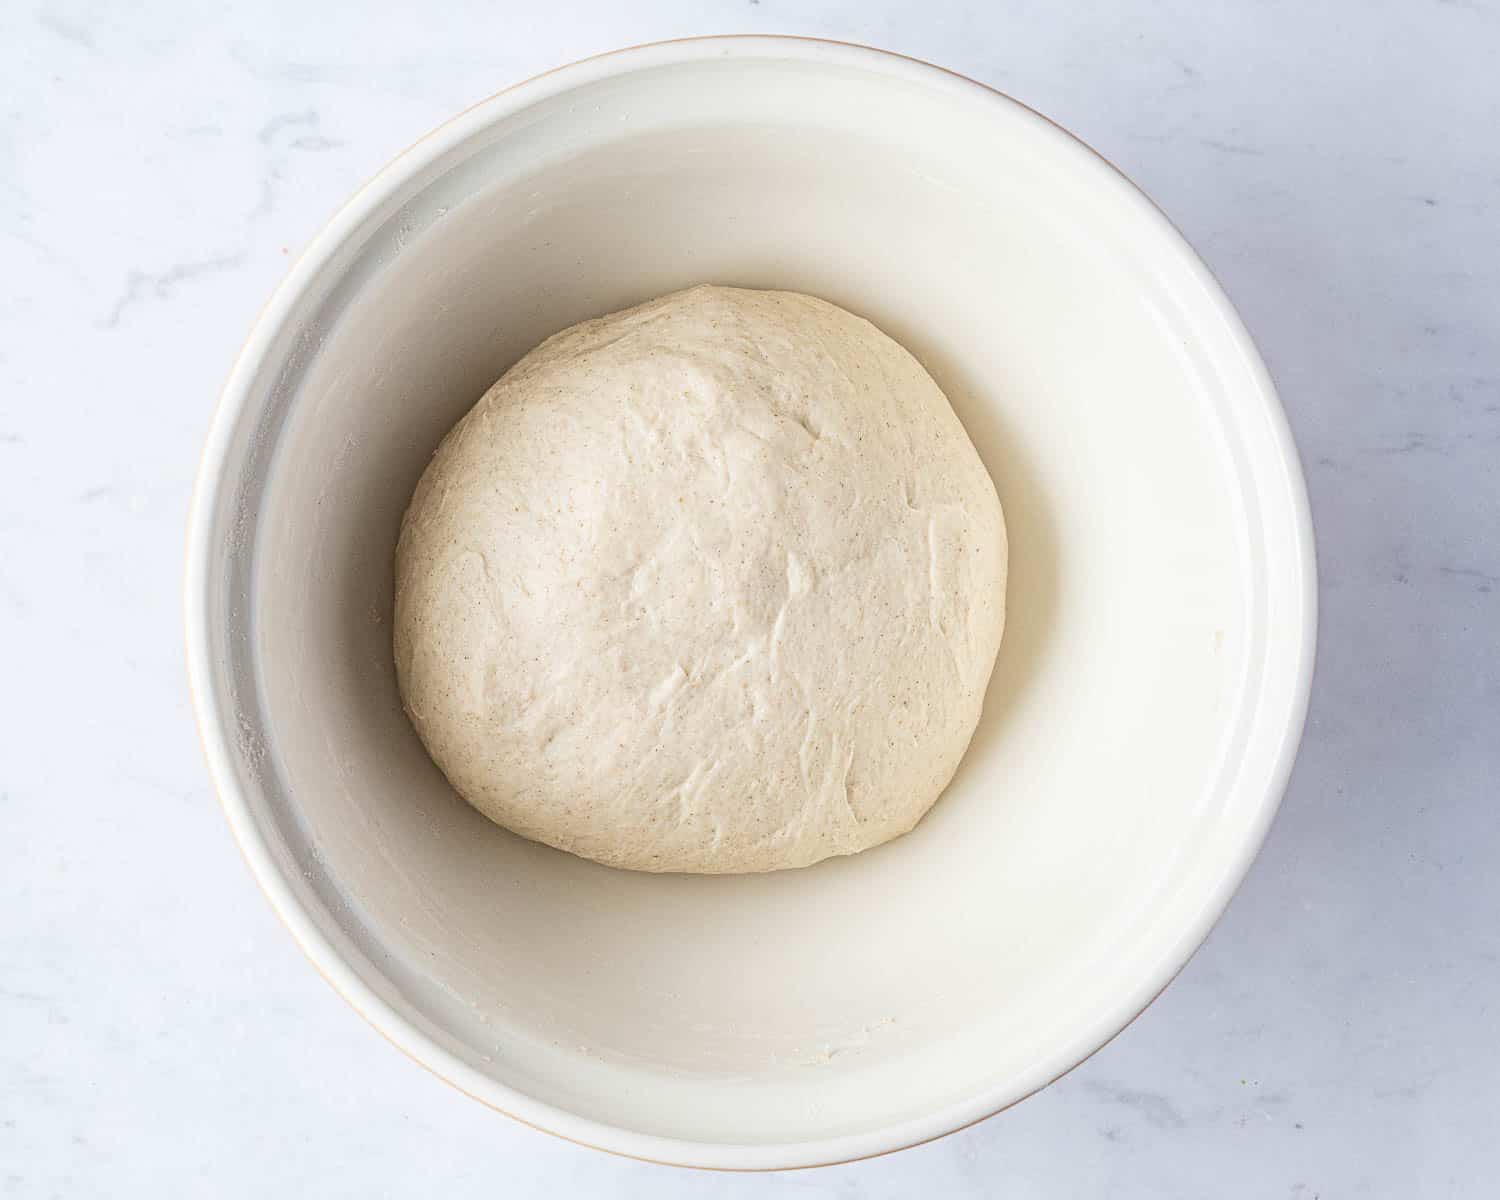
Add the chopped fresh thyme and dried oregano and knead through until they are evenly distributed.
Place the dough in an oiled bowl, cover and set aside to rise until doubled in size, about 1-2 hours.

Punch down the risen dough and give it a brief knead to knock out any air bubbles.
Divide the dough into 14 pieces. I use a scale for accuracy.

Roll each piece of dough out into a long, thin rope. Place them spaced apart on two baking parchment lined baking sheets.
Loosely cover with oiled clingfilm or baking parchment and set aside to rise for 30 minutes until they are puffy and spring back slowly most of the way if you poke one gently with a finger.
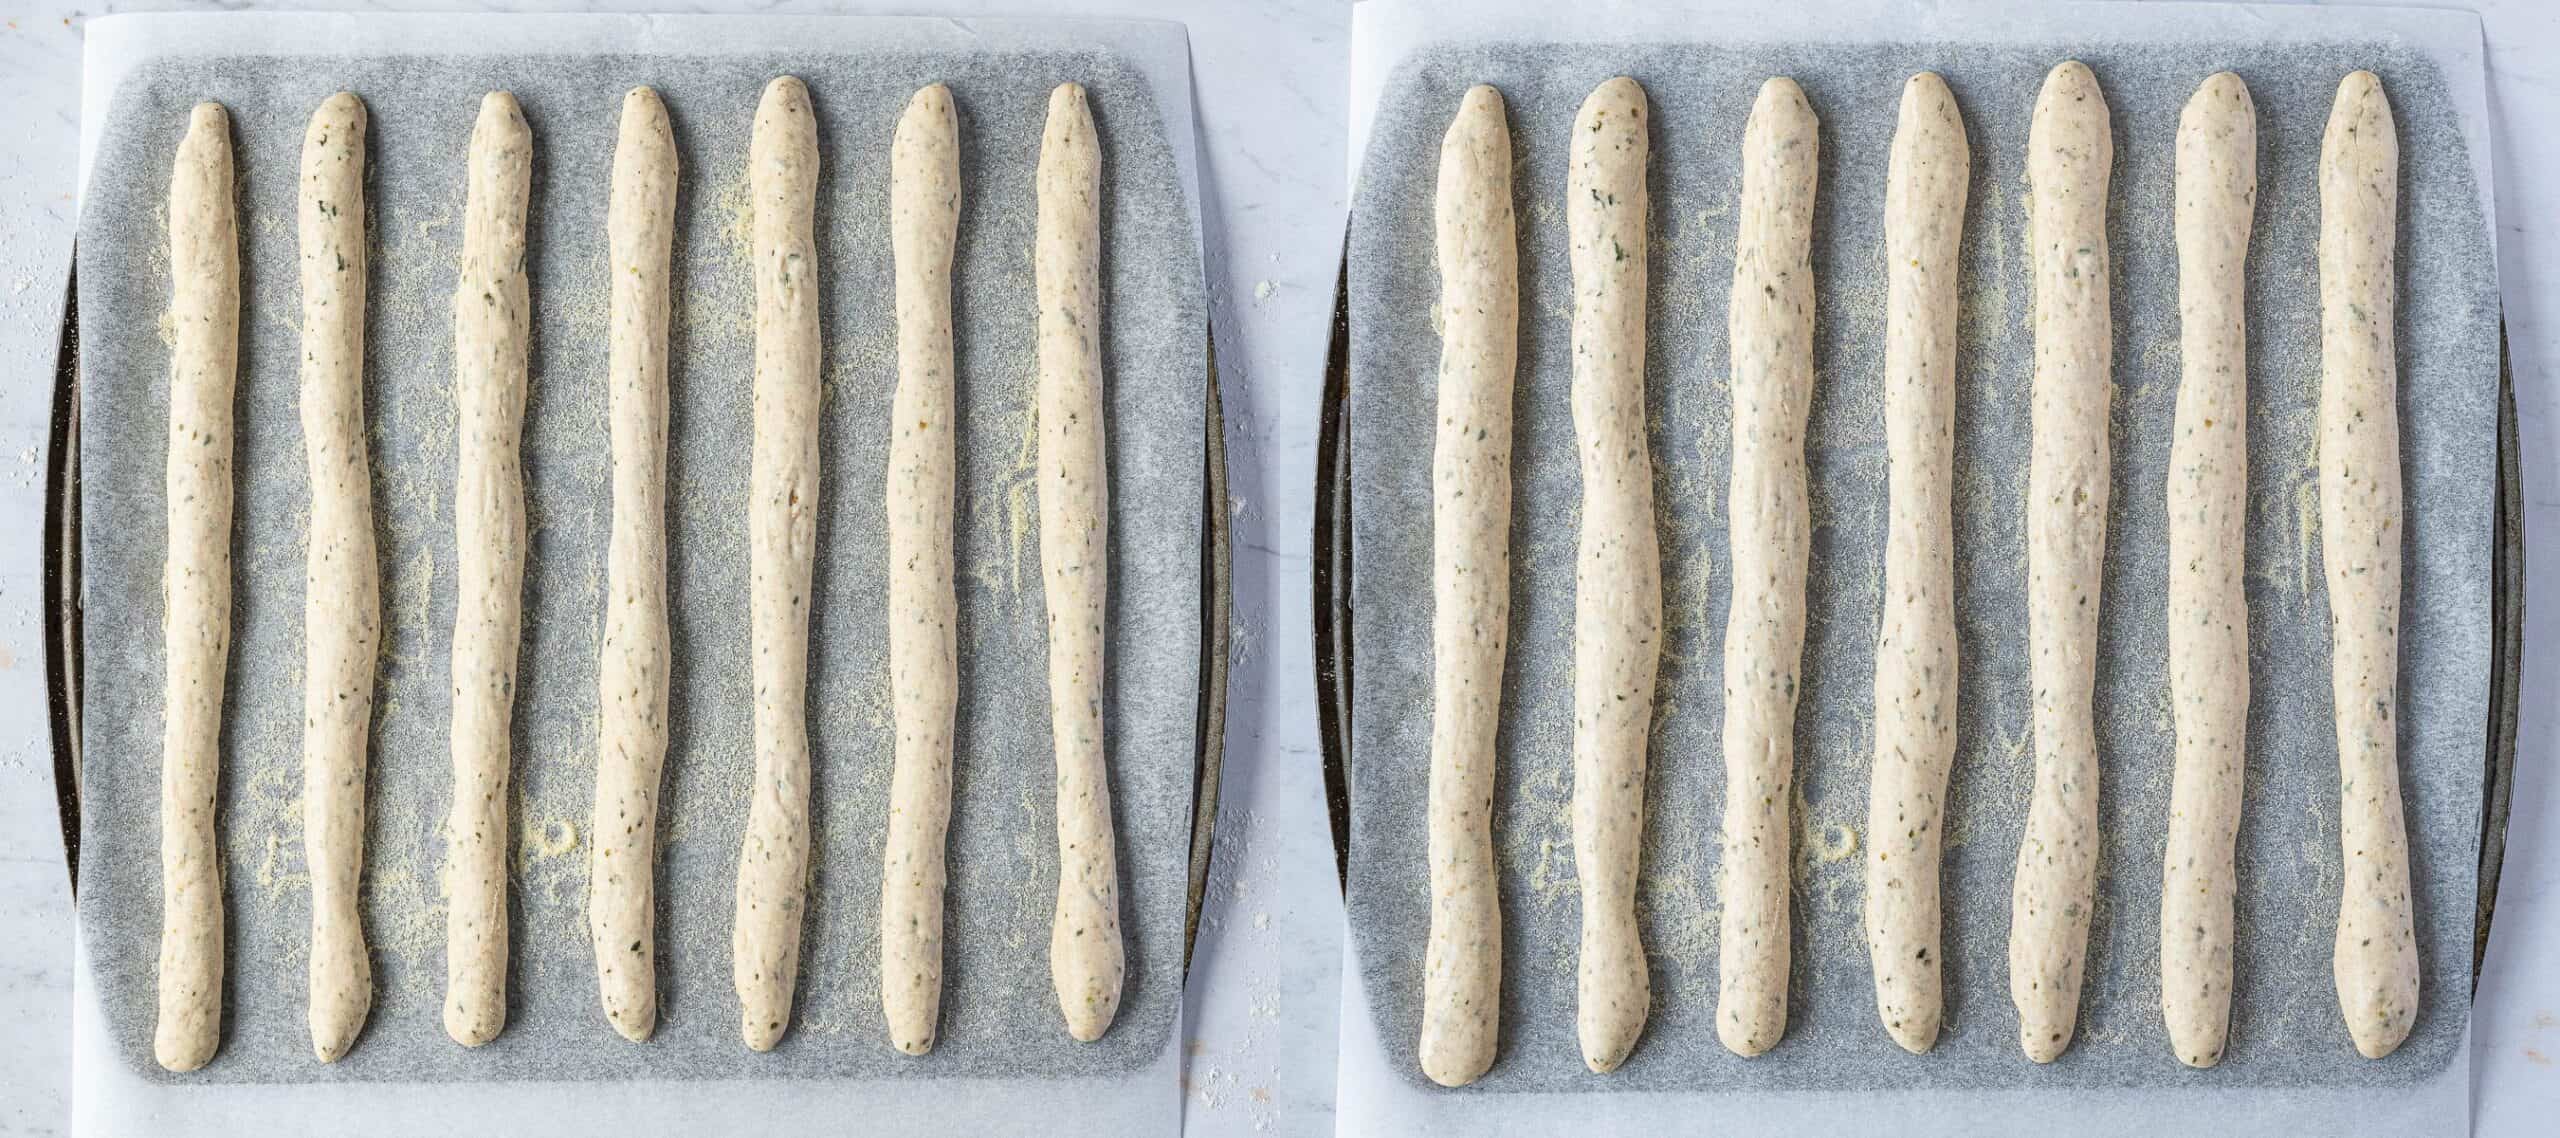
Gently brush the breadsticks with olive oil and sprinkle with flaky sea salt if you like.
Bake for 12-15 minutes until nicely browned.

Top Tips:
All of my recipes are developed using grams, and as with all of my baking recipes I really do recommend using the metric measurements with a digital scale rather than the cup conversions. Cups are a wildly inaccurate measuring system and you will get far better, more consistent results using a scale, not to mention that it is also easier and less messy than cups!
Make sure that your yeast isn’t out of date! Old yeast can lead to bread that doesn’t rise.
Don’t be tempted to add more flour to the dough (unless it is wet rather than sticky), it is supposed to be a bit soft and sticky. If you add too much flour the breadsticks will end up being dry and dense, not light and fluffy.
The rising time of the dough will vary depending on how warm it is; on hot days it will rise much faster than on cold ones.
You can make these herby vegan breadsticks all in one day, or you can make the dough in the evening and place it (covered) in the fridge to rise overnight then continue with the rest of the recipe in the morning. In this case the second rise may take longer as the dough will be cold.
The breadsticks are best eaten on the day they are baked, preferably still warm; but they will keep in an airtight container at room temperature for up to 2 days. Reheat them briefly before serving.

What Kind Of Yeast?:
I always use instant yeast (also called easy bake yeast) when I am baking bread as it doesn’t need to be activated in liquid first, you can just add it straight to the flour. I highly recommend buying instant yeast if possible.
If you are only able to get active dry yeast then you can still use it but the method will be a little different.
Use 10g (3 tsp) of active dry yeast. Mix the yeast with the lukewarm water (NOT hot!) and the sugar. Let it sit for 10-20 minutes until it has become bubbly then proceed with the rest of the recipe as written.
How To Speed Up The Rising Time:
If your room temperature is cold and you want to speed up the rising time a bit then you can heat the oven up on it’s lowest temperature for a couple of minutes then switch it off and open the door for 30 seconds to let some of the heat out.
Hold your hand in there for a few seconds to make sure it isn’t too hot. It should feel warm but not hot, like a warm summer day kind of temperature. If it is too hot it will kill the yeast so be careful!
Place the covered dough in the oven and shut the door. If it is a really cold day then you may need to warm the oven up again after a while but I usually find that once is enough.
Alternatively, place a bowl or loaf tin in the bottom of your (cold, switched off) oven and place the covered dough on the middle shelf. Fill the bowl with boiling water and close the oven door. The steam will create a warm environment for the dough to rise.
Can I Freeze These Herby Vegan Breadsticks?:
Yes, any leftover breadsticks can be frozen. Freeze them on the day that they are baked to preserve freshness but make sure that they have cooled completely first.
Freeze them in an airtight container or ziplock bag. Allow to defrost at room temperature then refresh them in a low oven before serving.
Can I Make Them In Advance?:
The breadsticks really need to be eaten on the day they are baked, preferably while they are still warm from the oven. So I don't recommend baking them in advance.
You can make the dough the evening before you want to bake them and let it rise (covered) in the fridge overnight; then continue with the recipe as written the following day.
Can I Make Them Gluten-Free?:
No, I’m afraid that you cannot use gluten free flour. Making gluten free bread is tricky and the entire recipe would need reworking. Gluten free baking is not my area of expertise so I cannot advise you.
It is best to use a recipe that is designed to be gluten free rather than trying to adapt a non gluten free recipe.
More Vegan Sharing Bread Recipes:
- Vegan garlic dough balls
- Sun dried tomato breadsticks
- Vegan pretzel bites
- Vegan garlic pull apart bread
- Vegan pesto bread
- Vegan beer pretzels
- Sea salt and rosemary focaccia
- Vegan naan bread
- Easy flatbreads
If you tried this recipe let me know how it went! Rate it, leave a comment or tag @domestic_gothess on Instagram and hashtag it #domesticgothess
All images and content on Domestic Gothess are copyright protected. If you want to share this recipe then please do so by using the share buttons provided. Do not screenshot or post the recipe or content in full, instead include a link to this post for the recipe.
Herby Vegan Breadsticks
Ingredients
- 500 g (4 cups) white bread flour
- 7 g (1 teaspoon) salt
- 1 teaspoon sugar
- 7 g (2 ¼ teaspoons) instant yeast
- 1 ½ teaspoons garlic powder
- 60 ml (¼ cup) olive oil
- 300 ml (1 + ¼ cups) warm water
- 2 Tablespoons chopped fresh thyme (leaves only)
- 2 teaspoons dried oregano
- fine semolina for dusting
- olive oil for brushing
- flaky sea salt for sprinkling
Instructions
- Place the bread flour in a large bowl (or the bowl of a stand mixer fitted with a dough hook), add the yeast to one side and the salt, sugar and garlic powder to the other. Stir to combine.
- Pour in the olive oil and water and mix to form a rough dough.
- Knead, either by hand on an unfloured surface or with the stand mixer on a medium/high speed, for 5-10 minutes until the dough is smooth and elastic. It should be slightly tacky to the touch but should pull away from the sides of the bowl cleanly. If it feels wet then you can add a little more flour but be careful, the dough is meant to be a bit sticky.
- Add the chopped fresh thyme and dried oregano and knead through until they are evenly distributed.
- Place the dough in an oiled bowl, cover and set aside to rise until doubled in size, about 1-2 hours.
- Punch down the risen dough and give it a brief knead to knock out any air bubbles. Divide the dough into 14 pieces. I use a scale for accuracy.
- Line two baking sheets with baking parchment and sprinkle them with fine semolina or cornmeal (optional).
- Roll each piece of dough out using your hands into a long, thin rope. Place them spaced apart on the baking sheets.
- Loosely cover with oiled clingfilm or baking parchment and set aside to rise for about 30 minutes until they are puffy and spring back slowly most of the way if you poke one gently with a finger.
- Meanwhile, preheat the oven to 220°C/200°C fan/425°F/gas mark 7.
- Gently brush the risen breadsticks with olive oil and sprinkle with flaky sea salt if you like. Bake for 12-15 minutes until nicely browned. Transfer the baked breadsticks to a wire rack to cool slightly before serving.
Notes
- See post above for tips, details and step-by-step photos.
- All of my recipes are developed using grams, and as with all of my baking recipes I really do recommend using the metric measurements with a digital scale rather than the cup conversions. Cups are a wildly inaccurate measuring system and you will get far better, more consistent results using a scale, not to mention that it is also easier and less messy than cups!
- If kneading the dough by hand then a bench scraper will be very useful.

Olive
Amazinggg! I left out the garlic powder and used the dried yeast packets and they still turned out great. The dough was really easy to work with as well which made shaping and kneading pretty quick. And they're a perfect combo of crusty outside and soft inside, when you break them in half it's so satisfying hah.. Thank you for the recipe!