

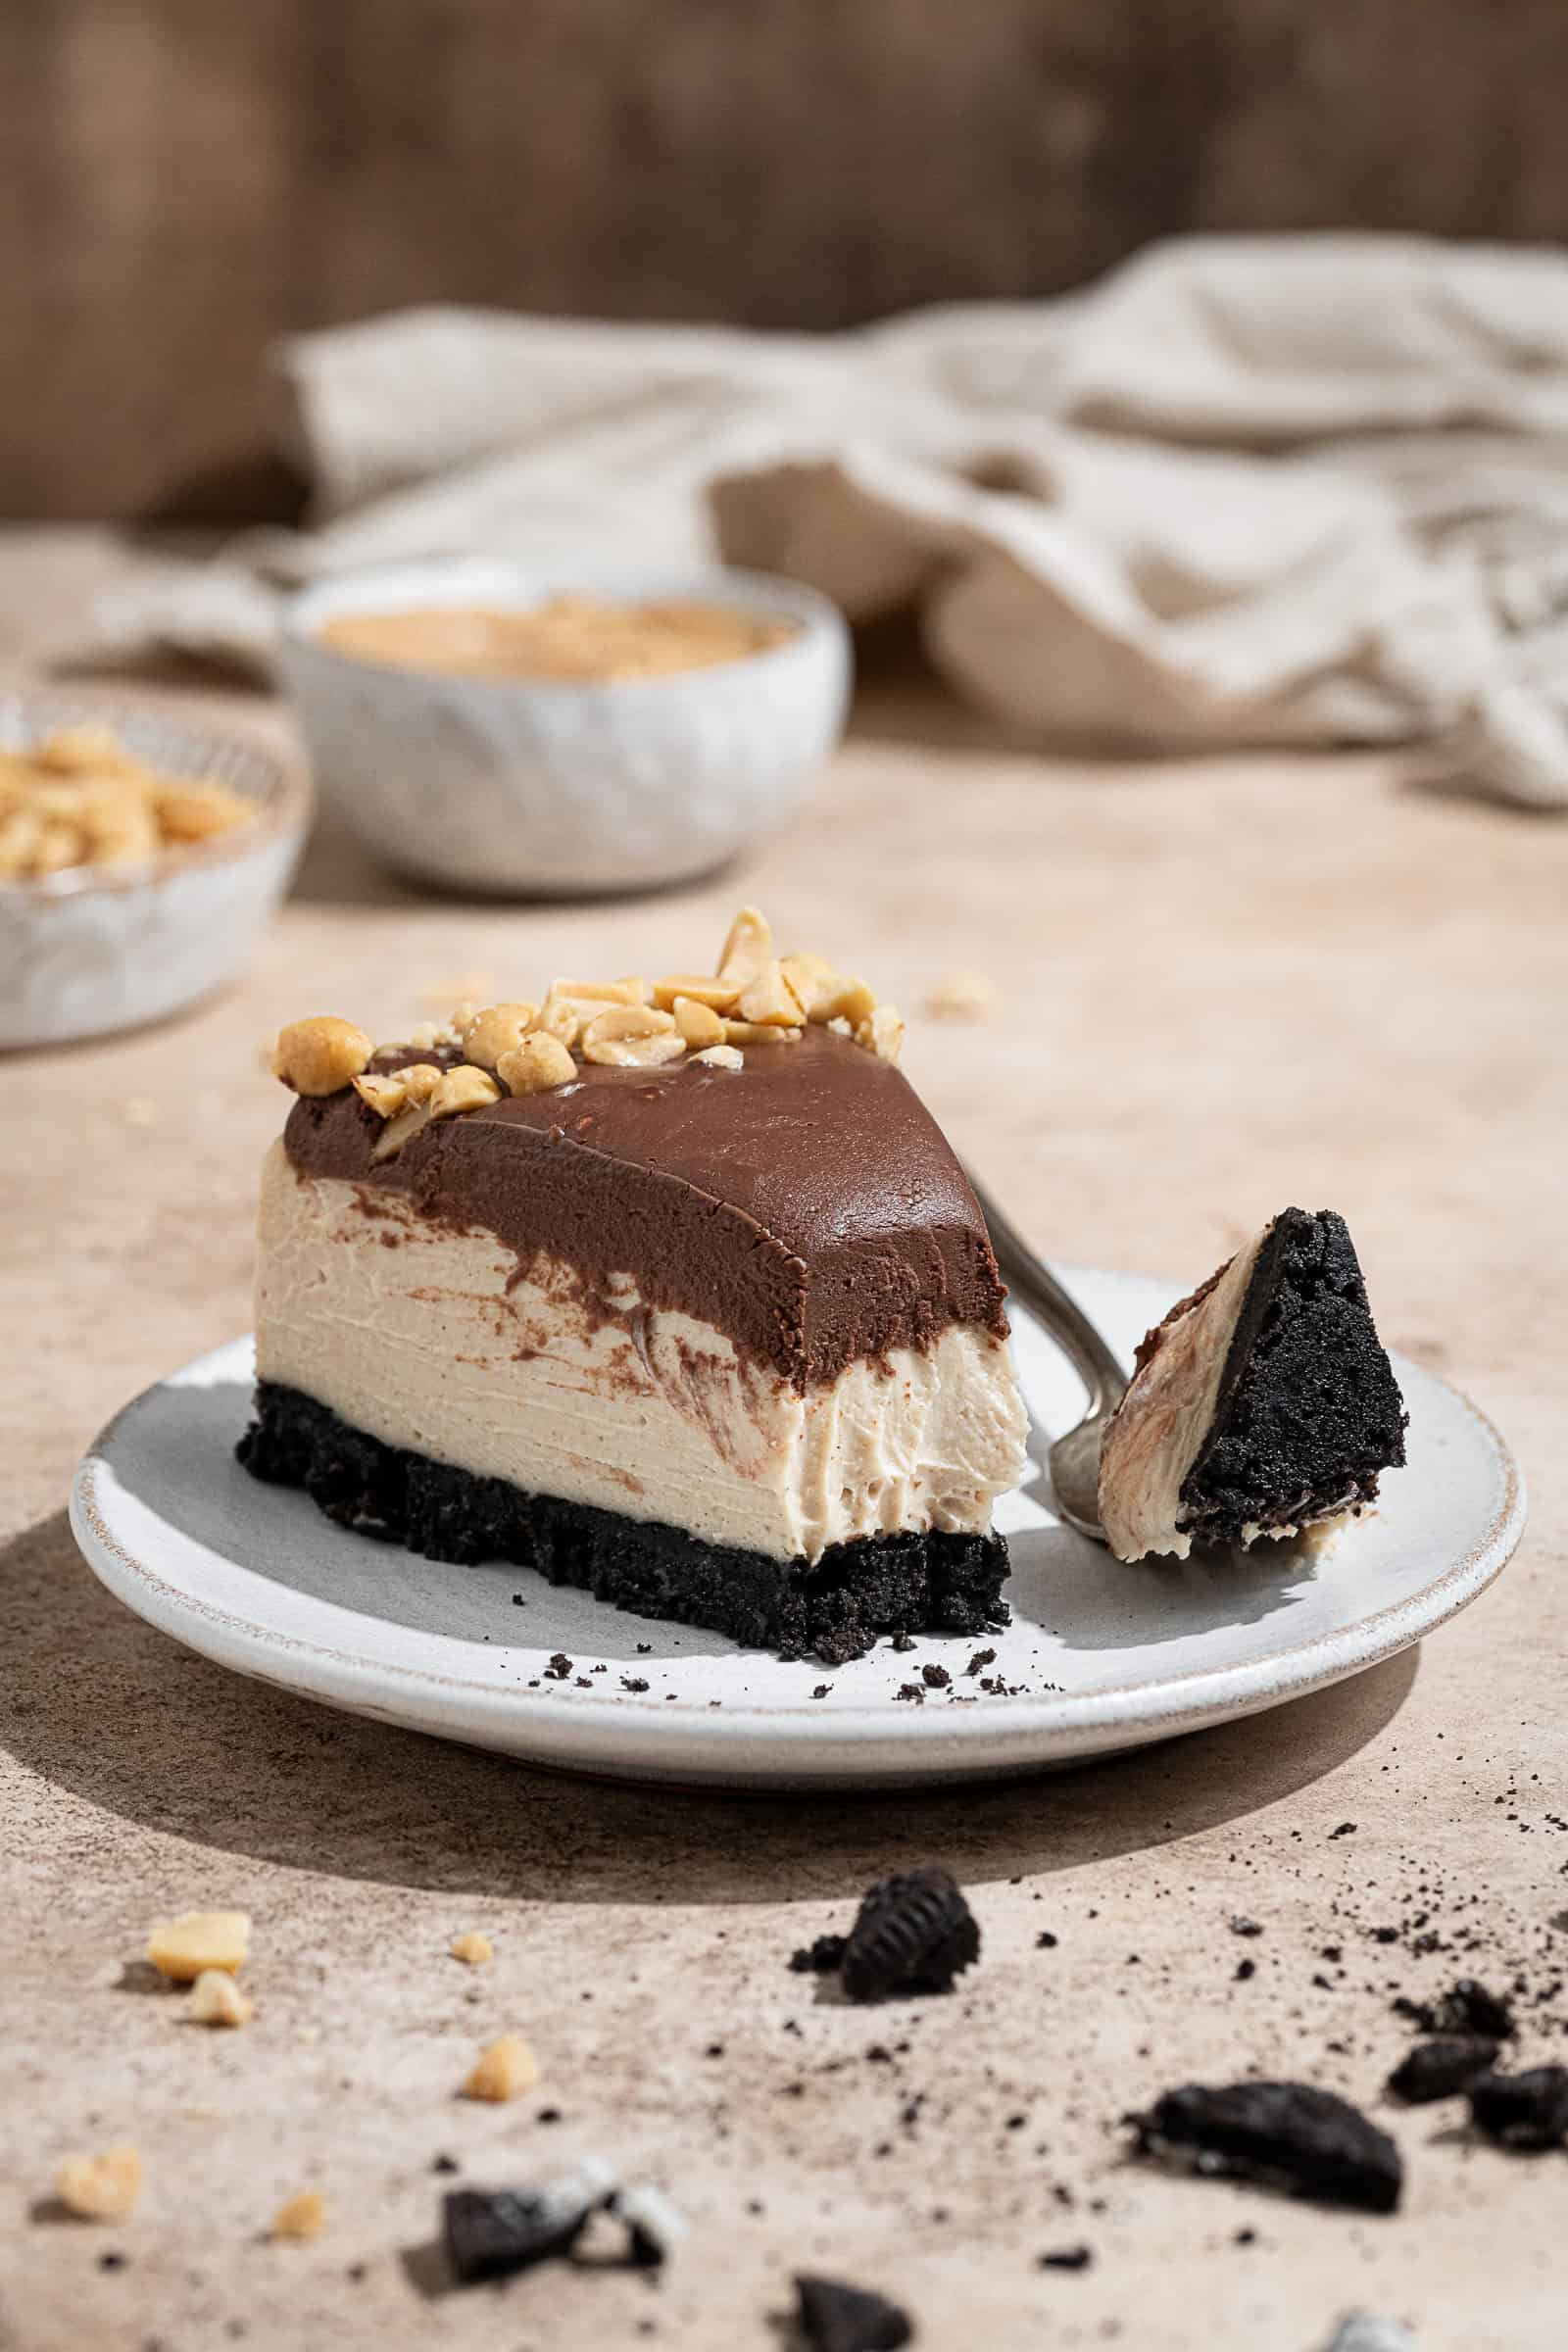
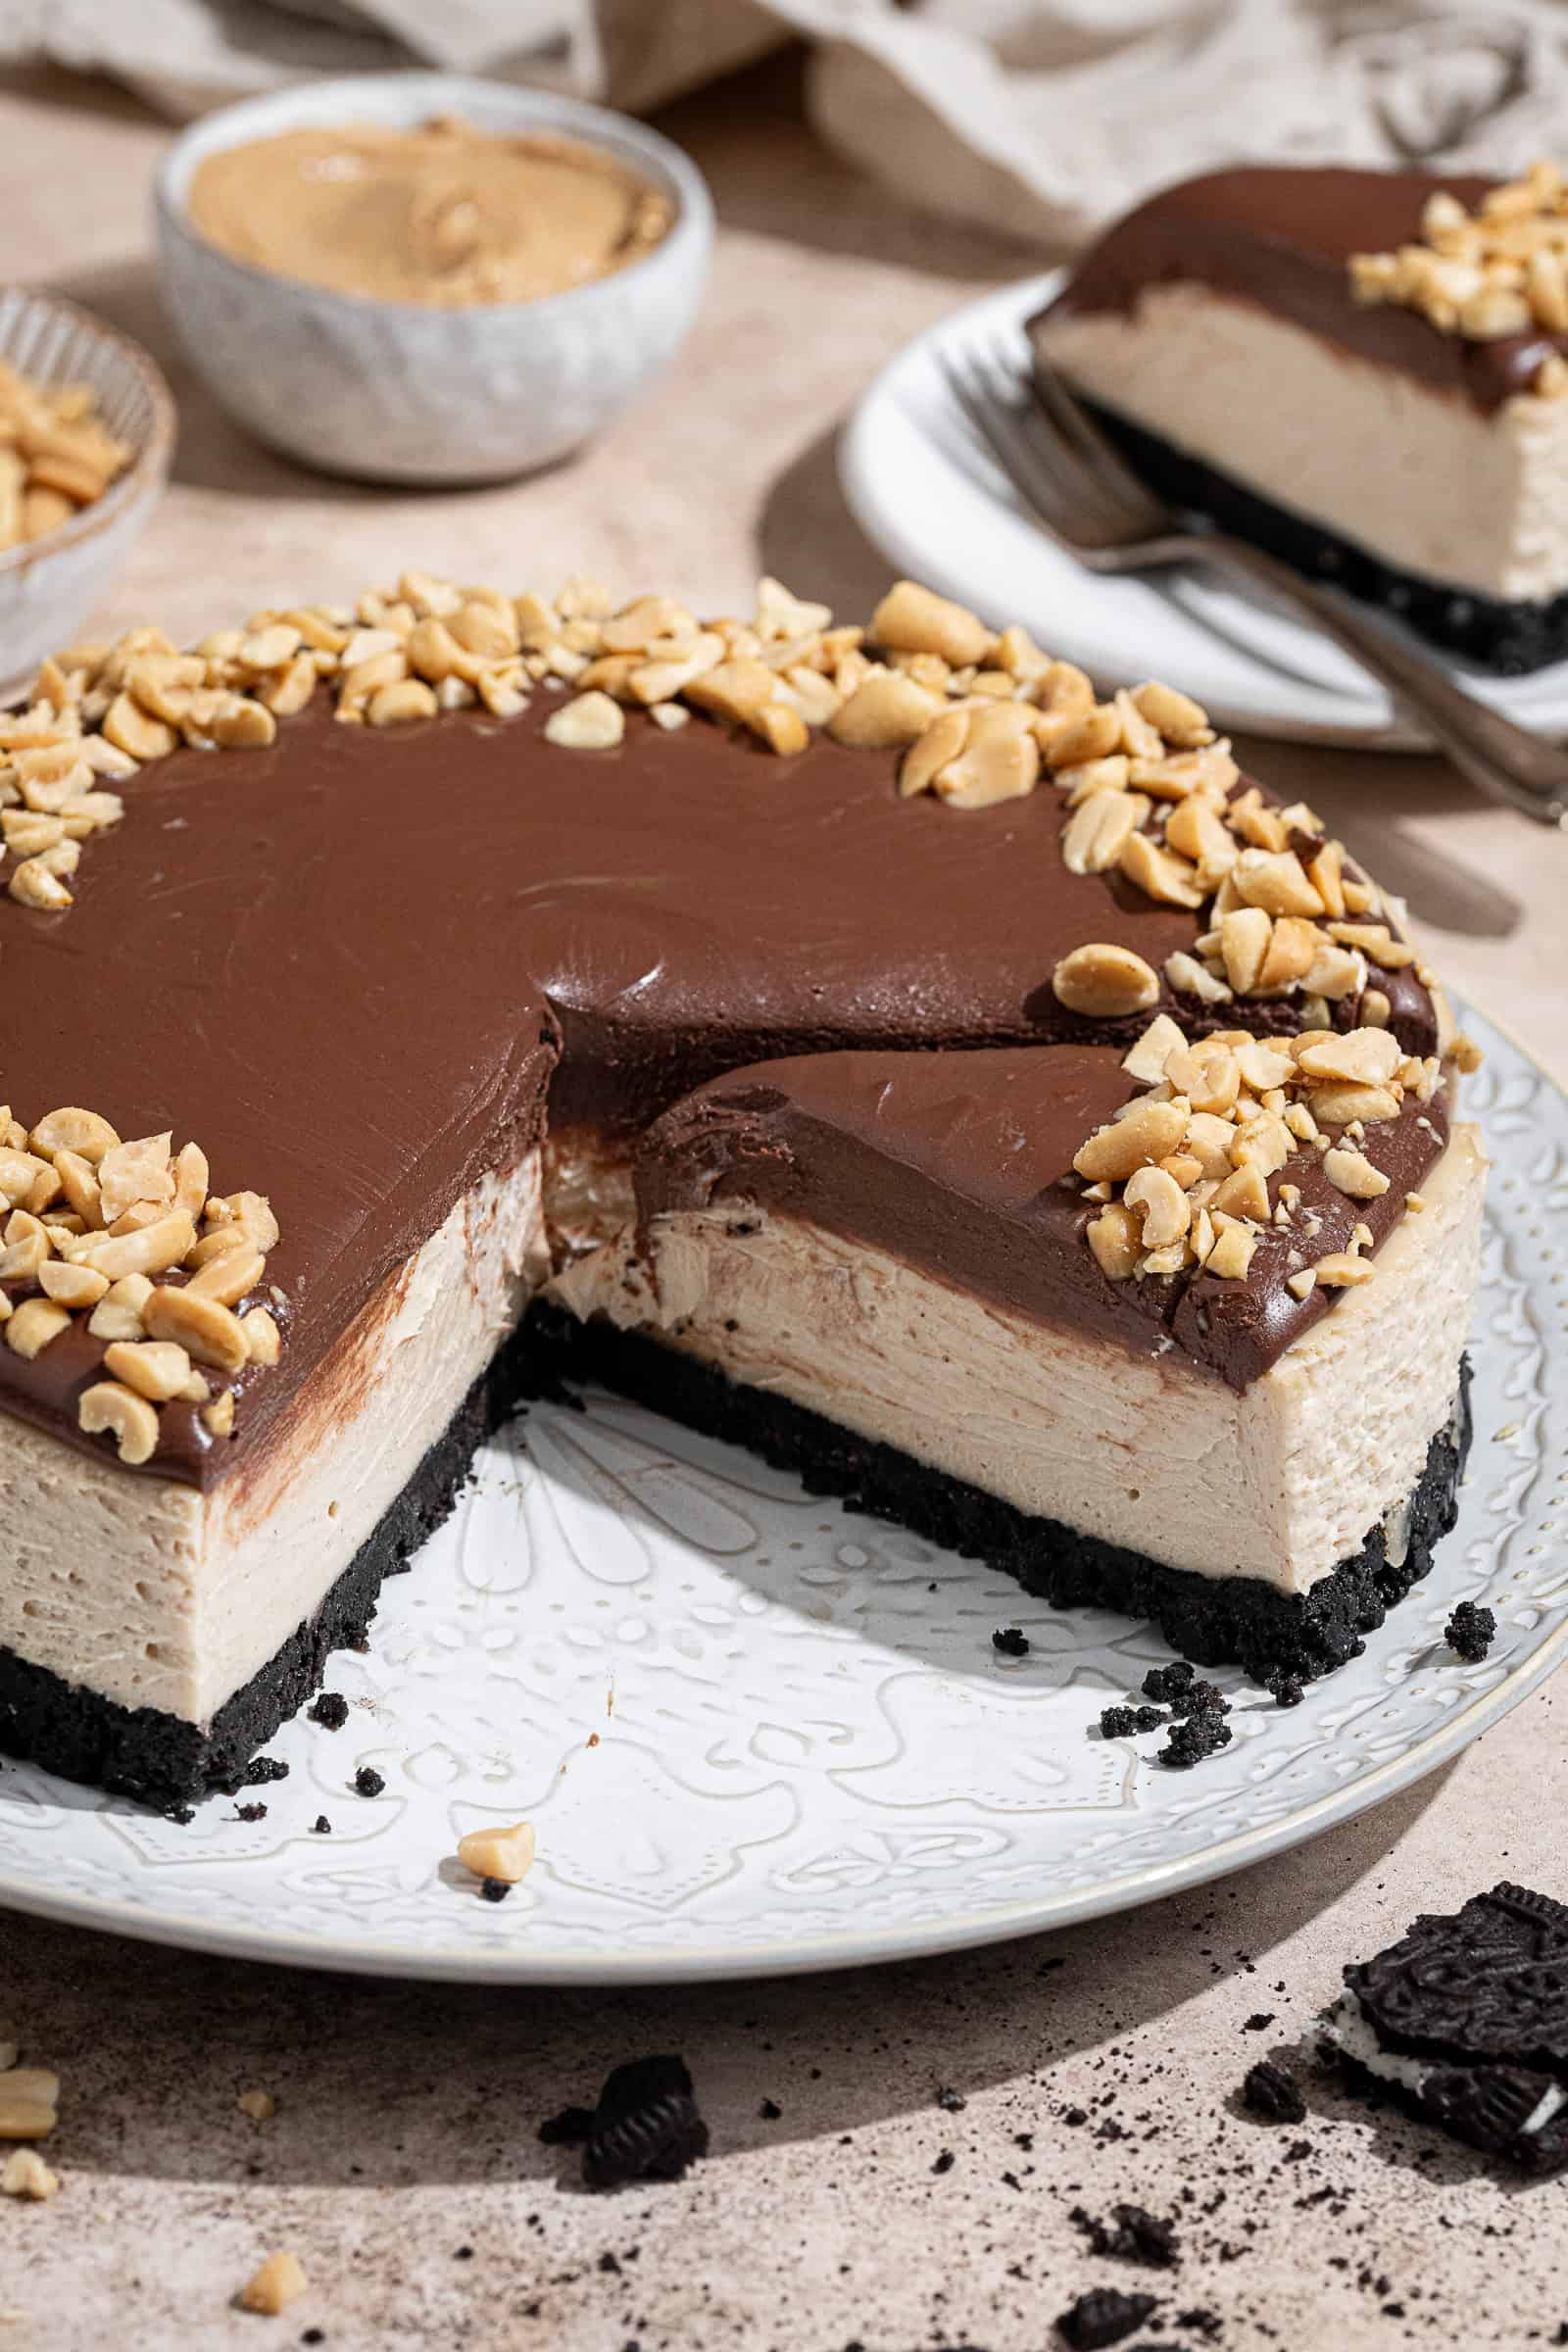
This vegan, no-bake peanut butter cheesecake is the perfect Summer dessert. It is rich and creamy yet light and soft, with an incredible peanut butter and chocolate flavour, and there's no need to switch on the oven!

Based on my no-bake vegan raspberry cheesecake and vegan peanut butter pie recipes, this no-bake peanut butter cheesecake is one for lovers of peanut butter and chocolate!
Consisting of a simple Oreo cookie crust, a light, creamy, soft peanut butter cheesecake filling and a rich peanut butter chocolate ganache topping, this vegan cheesecake is easy to make with just a blender and is the perfect crowd-pleasing dessert for any occasion.
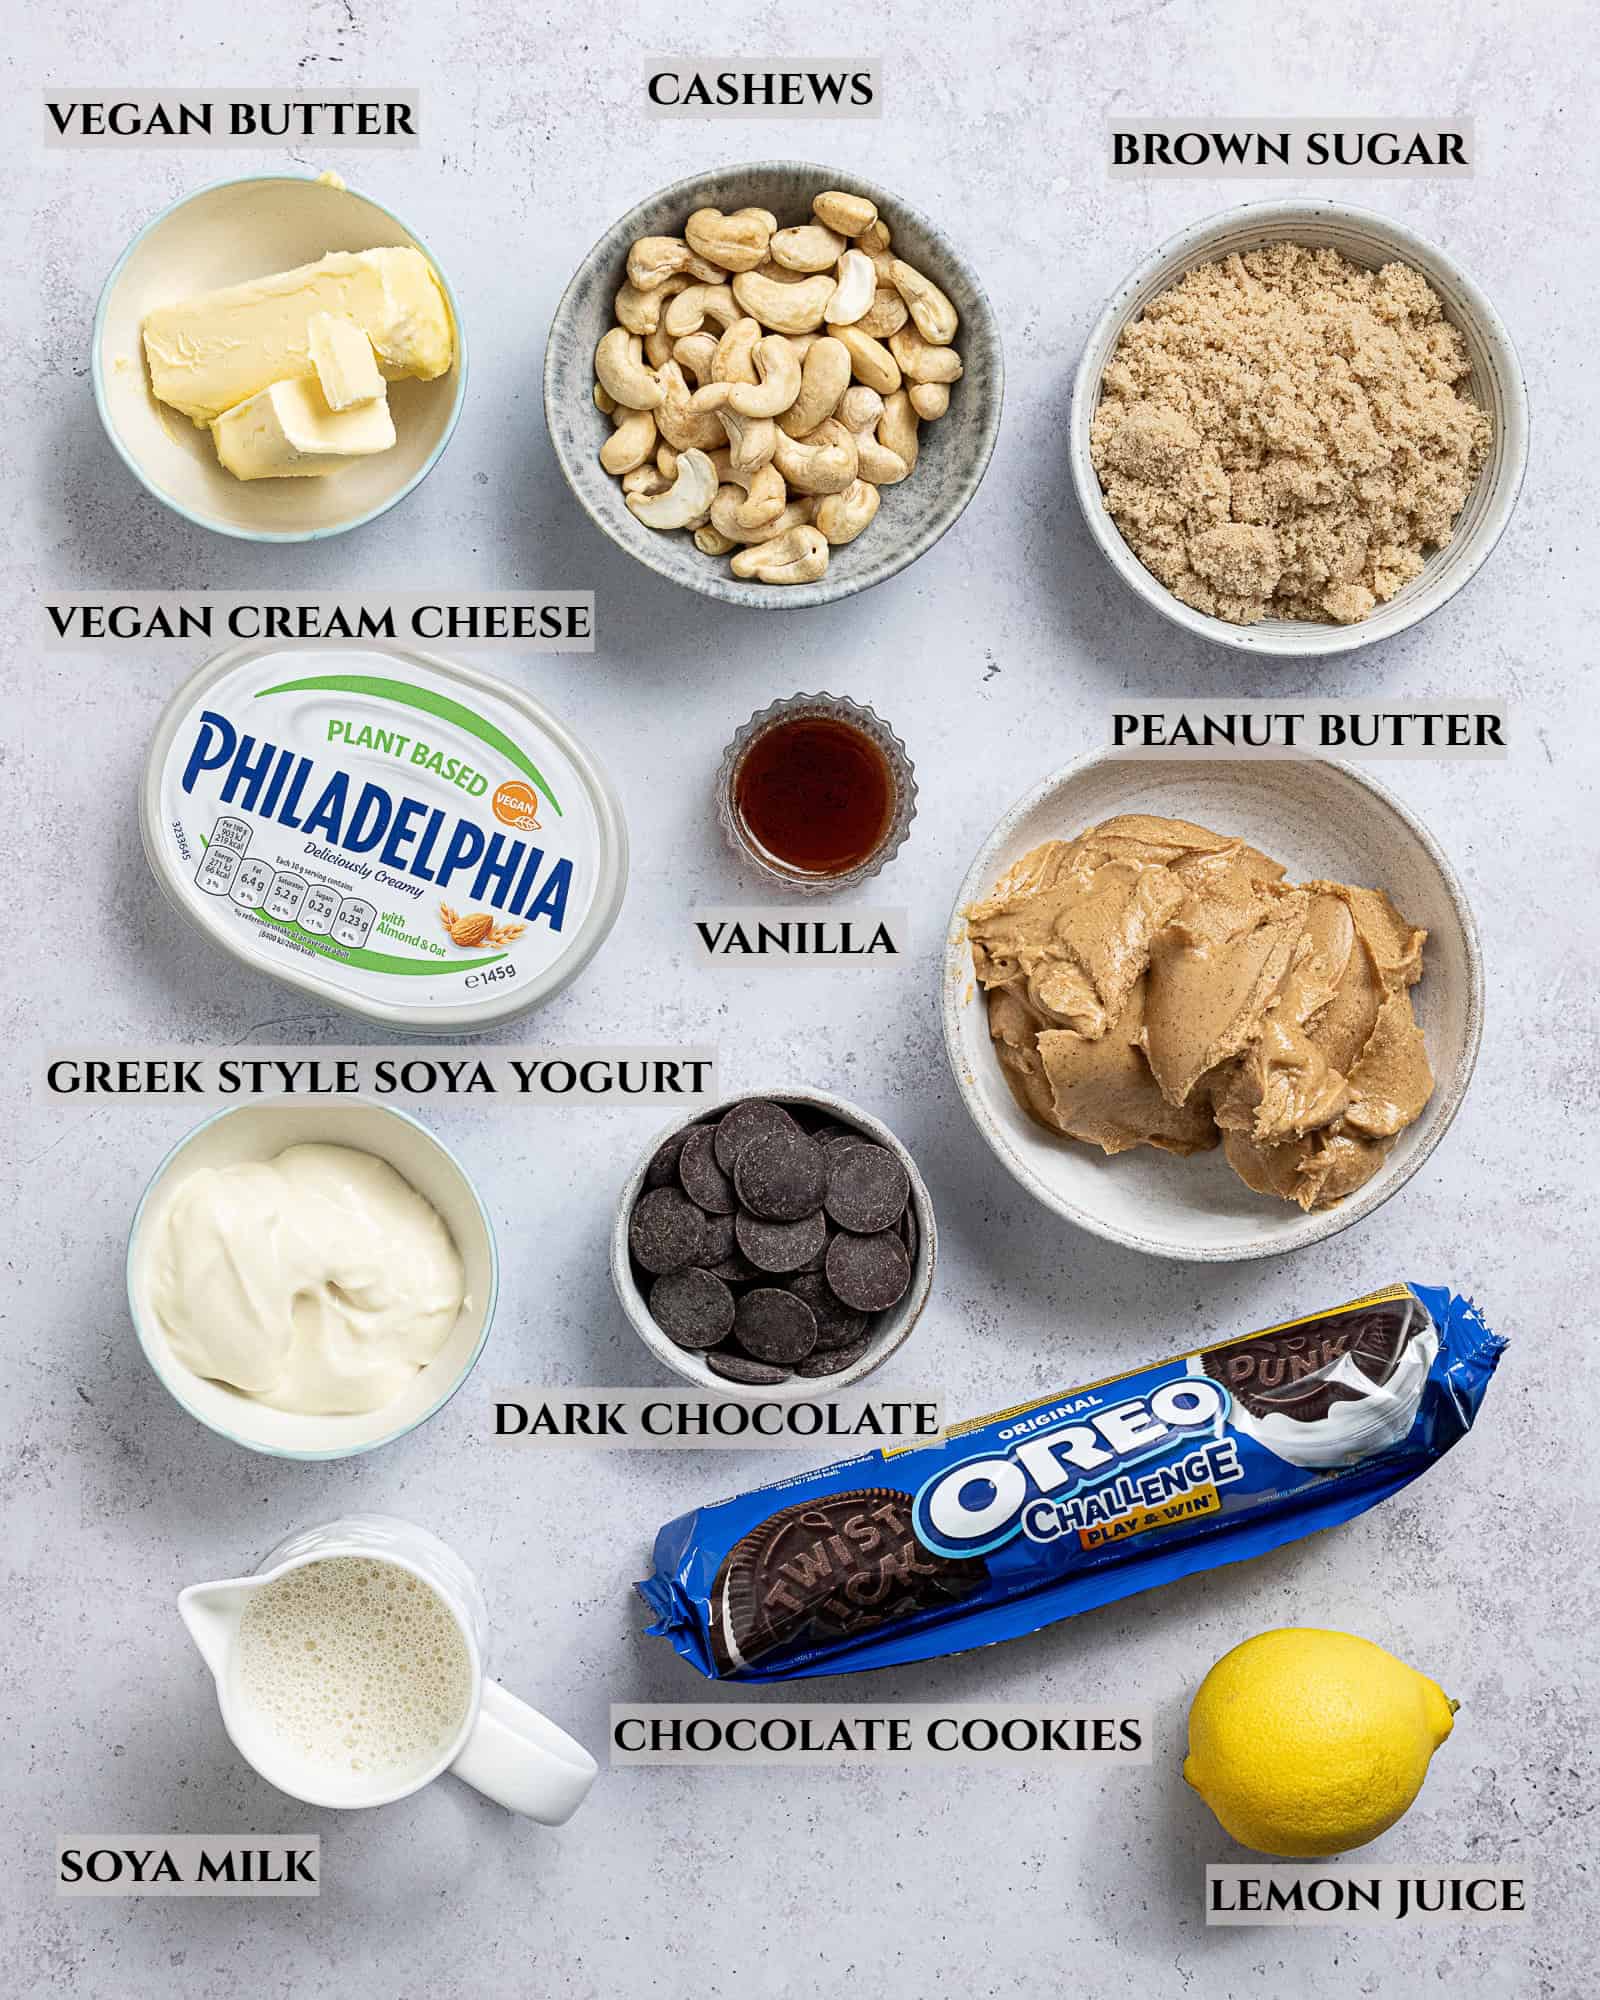
Ingredient Details:
Chocolate sandwich cookies: You will need vegan friendly chocolate sandwich cookies to make the crust; I used Oreos but Bourbon biscuits will work well too.
Vegan butter: Make sure that you use a block variety of vegan butter, not the spreadable kind in a tub. I like Naturli vegan block or Flora plant butter.
Peanut butter: You ideally need use a smooth, creamy peanut butter NOT a natural one. As natural doesn't contain any added palm oil it is too runny and your filling might not set. I like Whole Earth peanut butter.
Cream cheese: Make sure that you use a vegan cream cheese with a firmish texture and that you like the flavour of. I use Philadelphia vegan cream cheese. Do not use a low fat variety!
Cashews: Blended soaked cashews help give a creamy consistency and add structure to the cheesecake filling.
Light brown sugar: Brown sugar adds flavour as well as sweetness. You can use coconut sugar or caster/granulated sugar instead but do not use maple syrup or other liquid sugars as they will make the filling too soft.
Lemon Juice: Vegan cream cheese tends to be less 'tangy' than dairy cream cheese so adding a bit of lemon juice replaces that classic tang and helps bring out the raspberry flavour. Either fresh or bottled is fine.
Vegan yogurt: I like to use part Greek style vegan yogurt to help lighten the cheesecake up a bit while still adding a tangy flavour. You can use silken tofu or coconut cream instead.
Dark chocolate: For the ganache topping. I recommend using one with around 60-70% cocoa solids.
How To Make Vegan No-Bake Peanut Butter Cheesecake:
(Full measurements and instructions can be found in the recipe card at the bottom of the page)
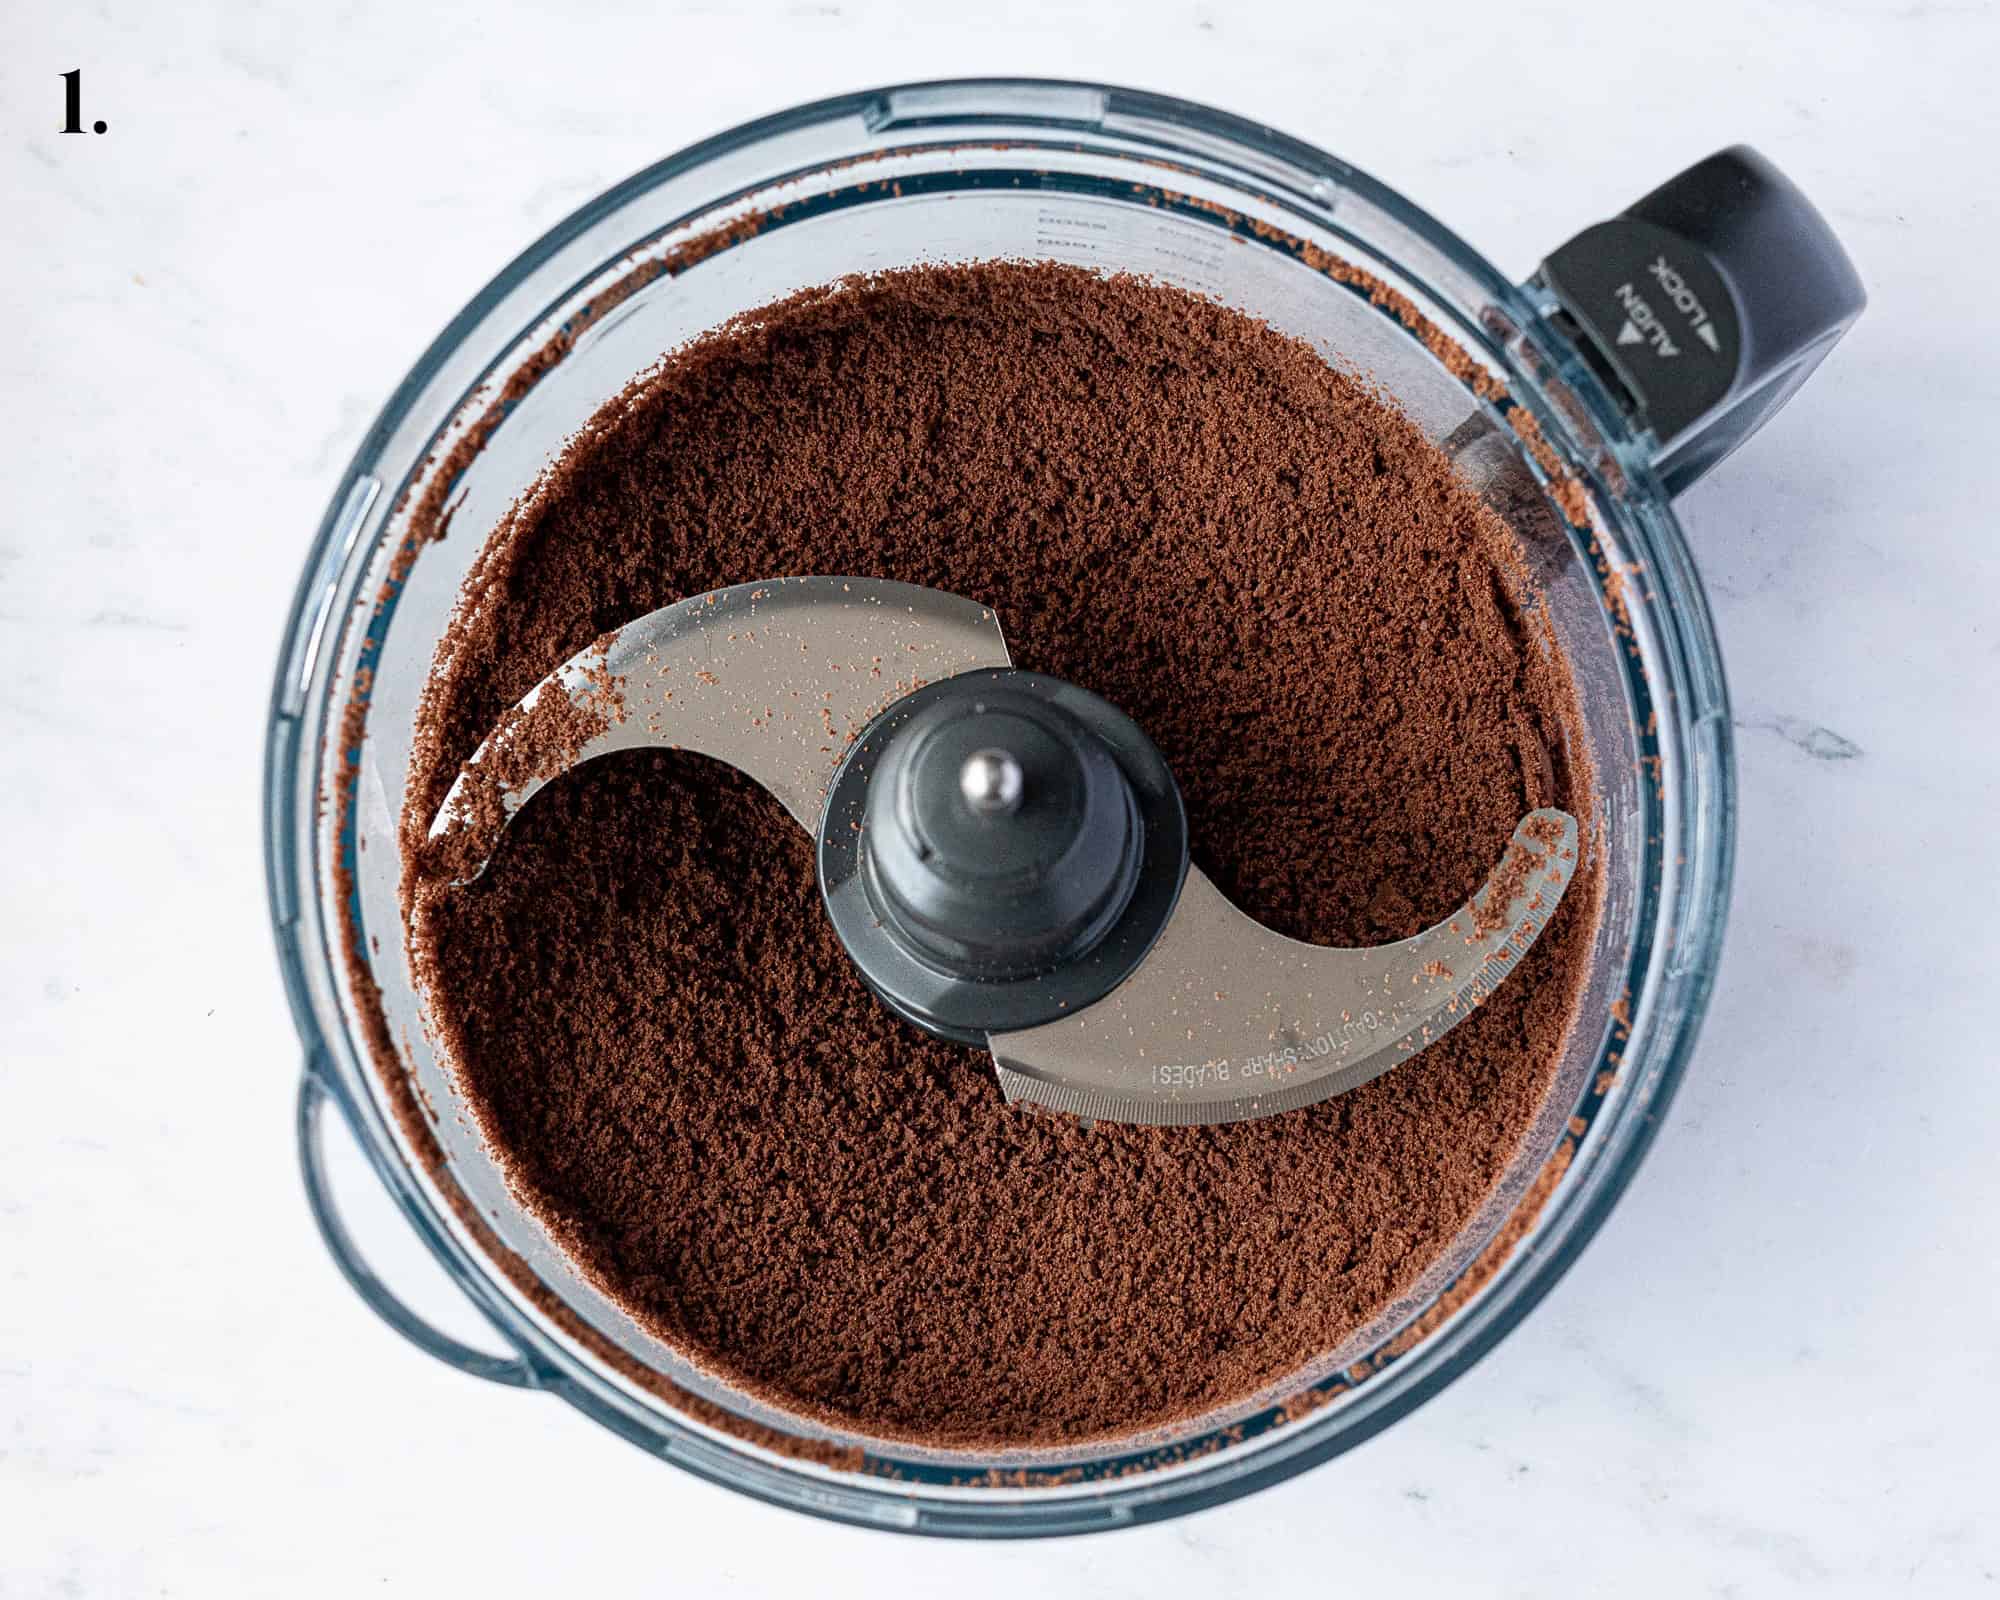
- Step 1: To make the crust, blitz the cookies to fine crumbs in a food processor, or place them in a sealed sandwich bag and bash with a rolling pin.
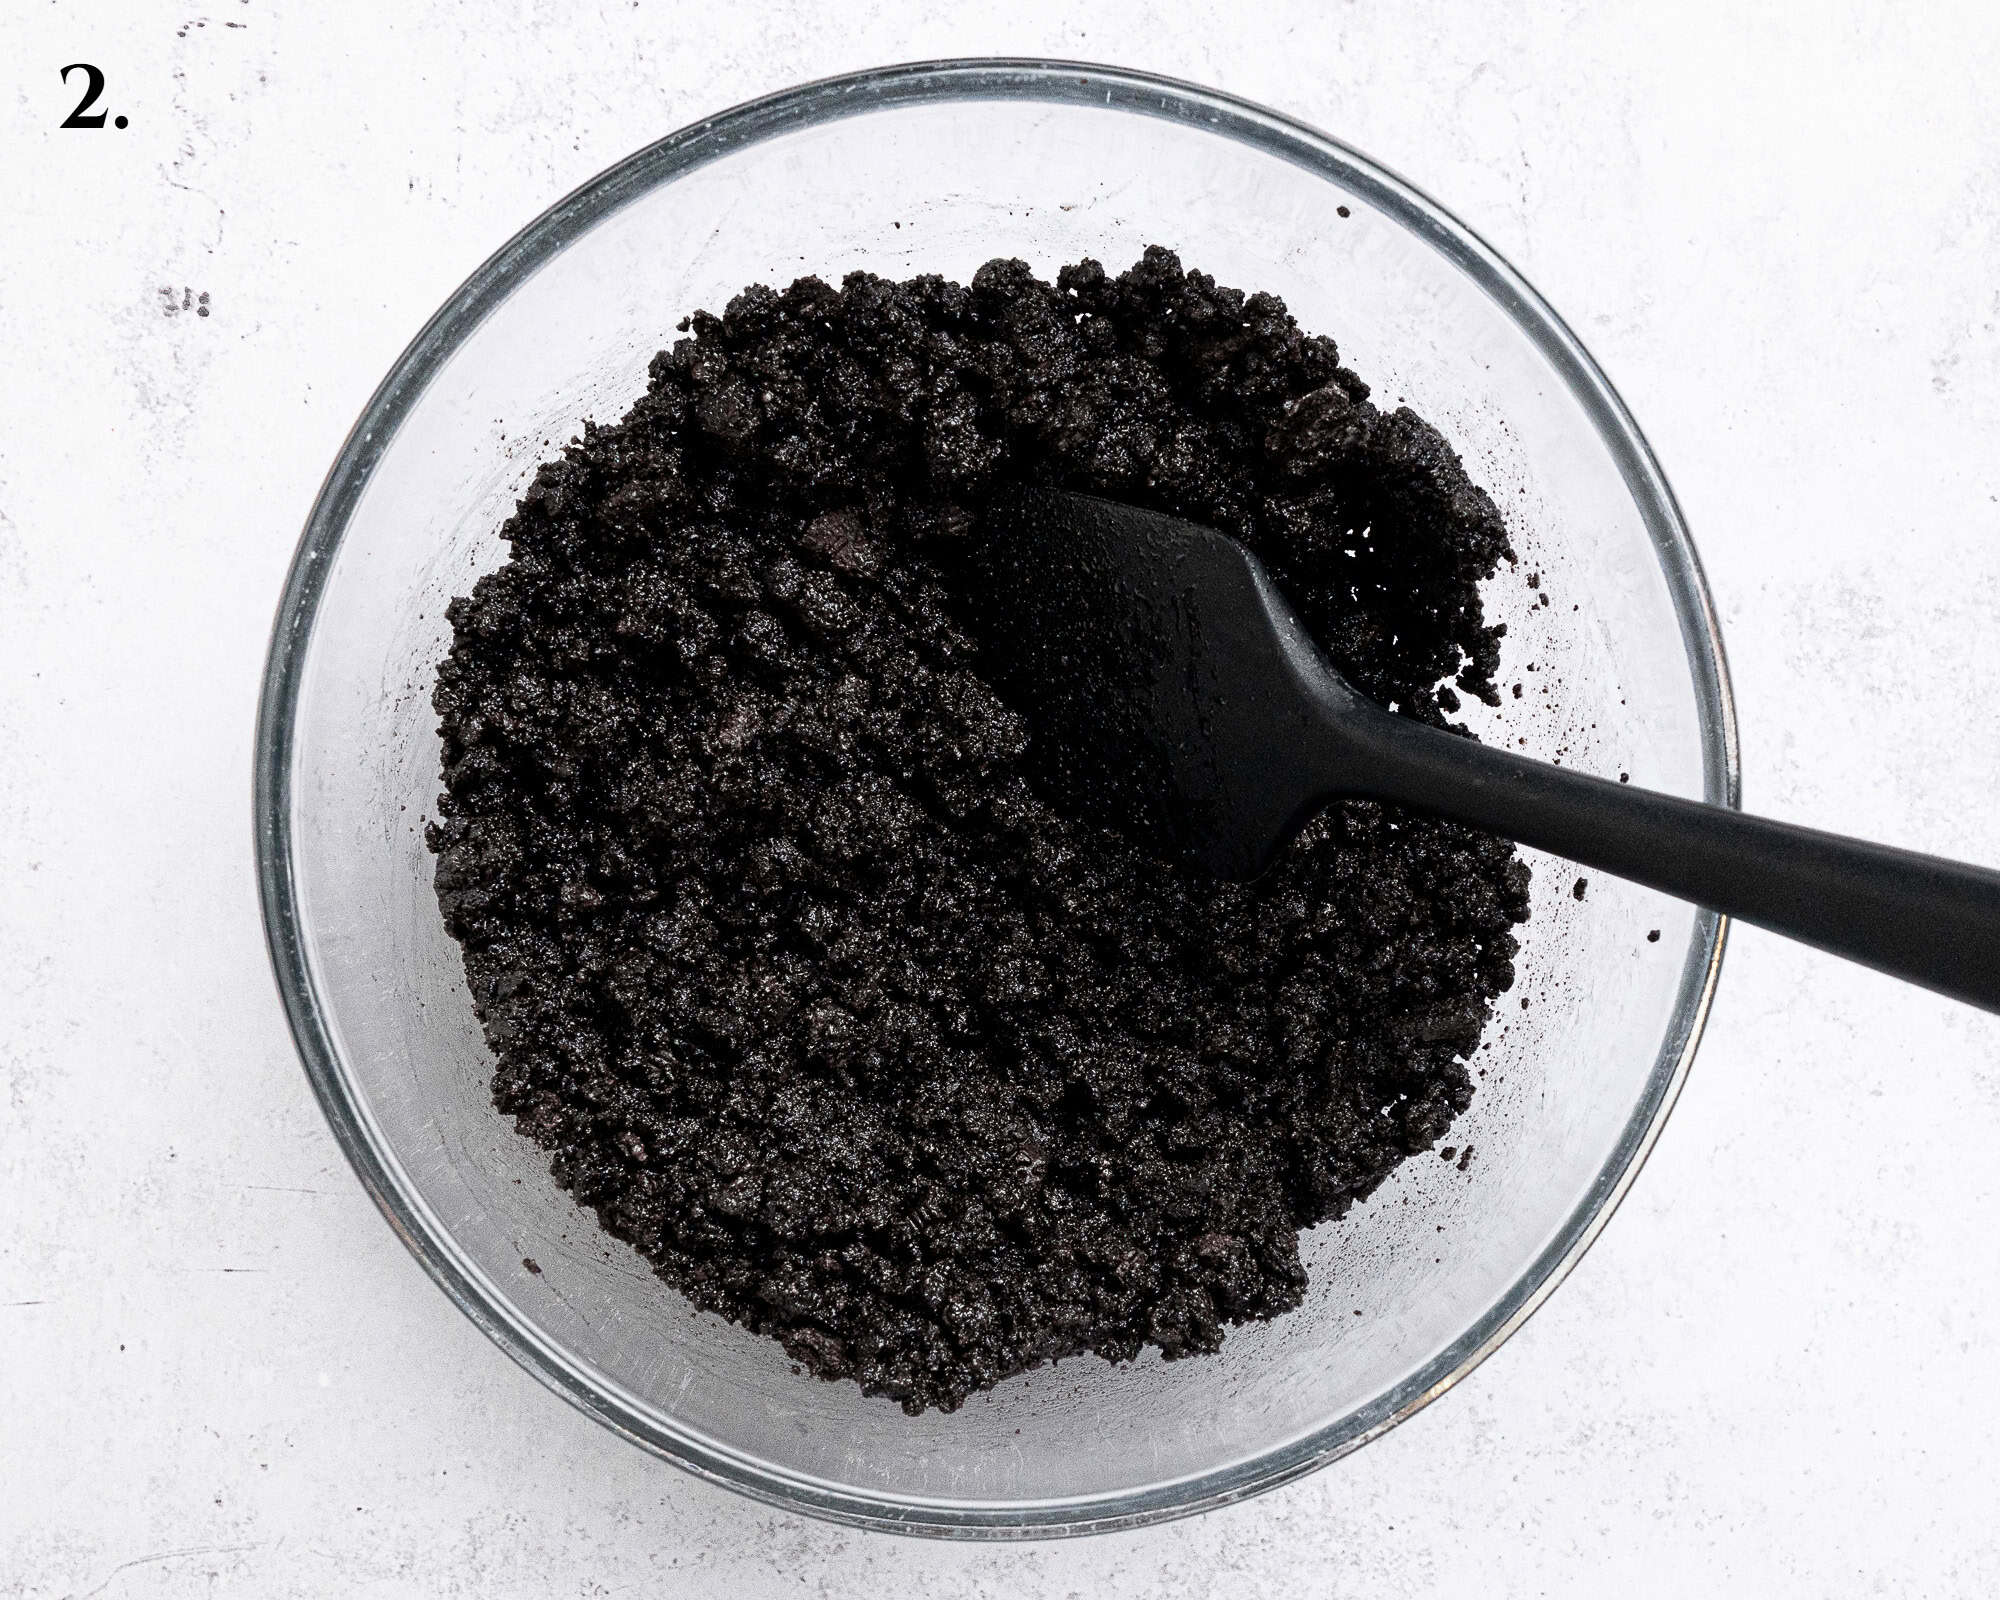
- Step 2: Tip the crumbs into a bowl and stir in the melted butter.
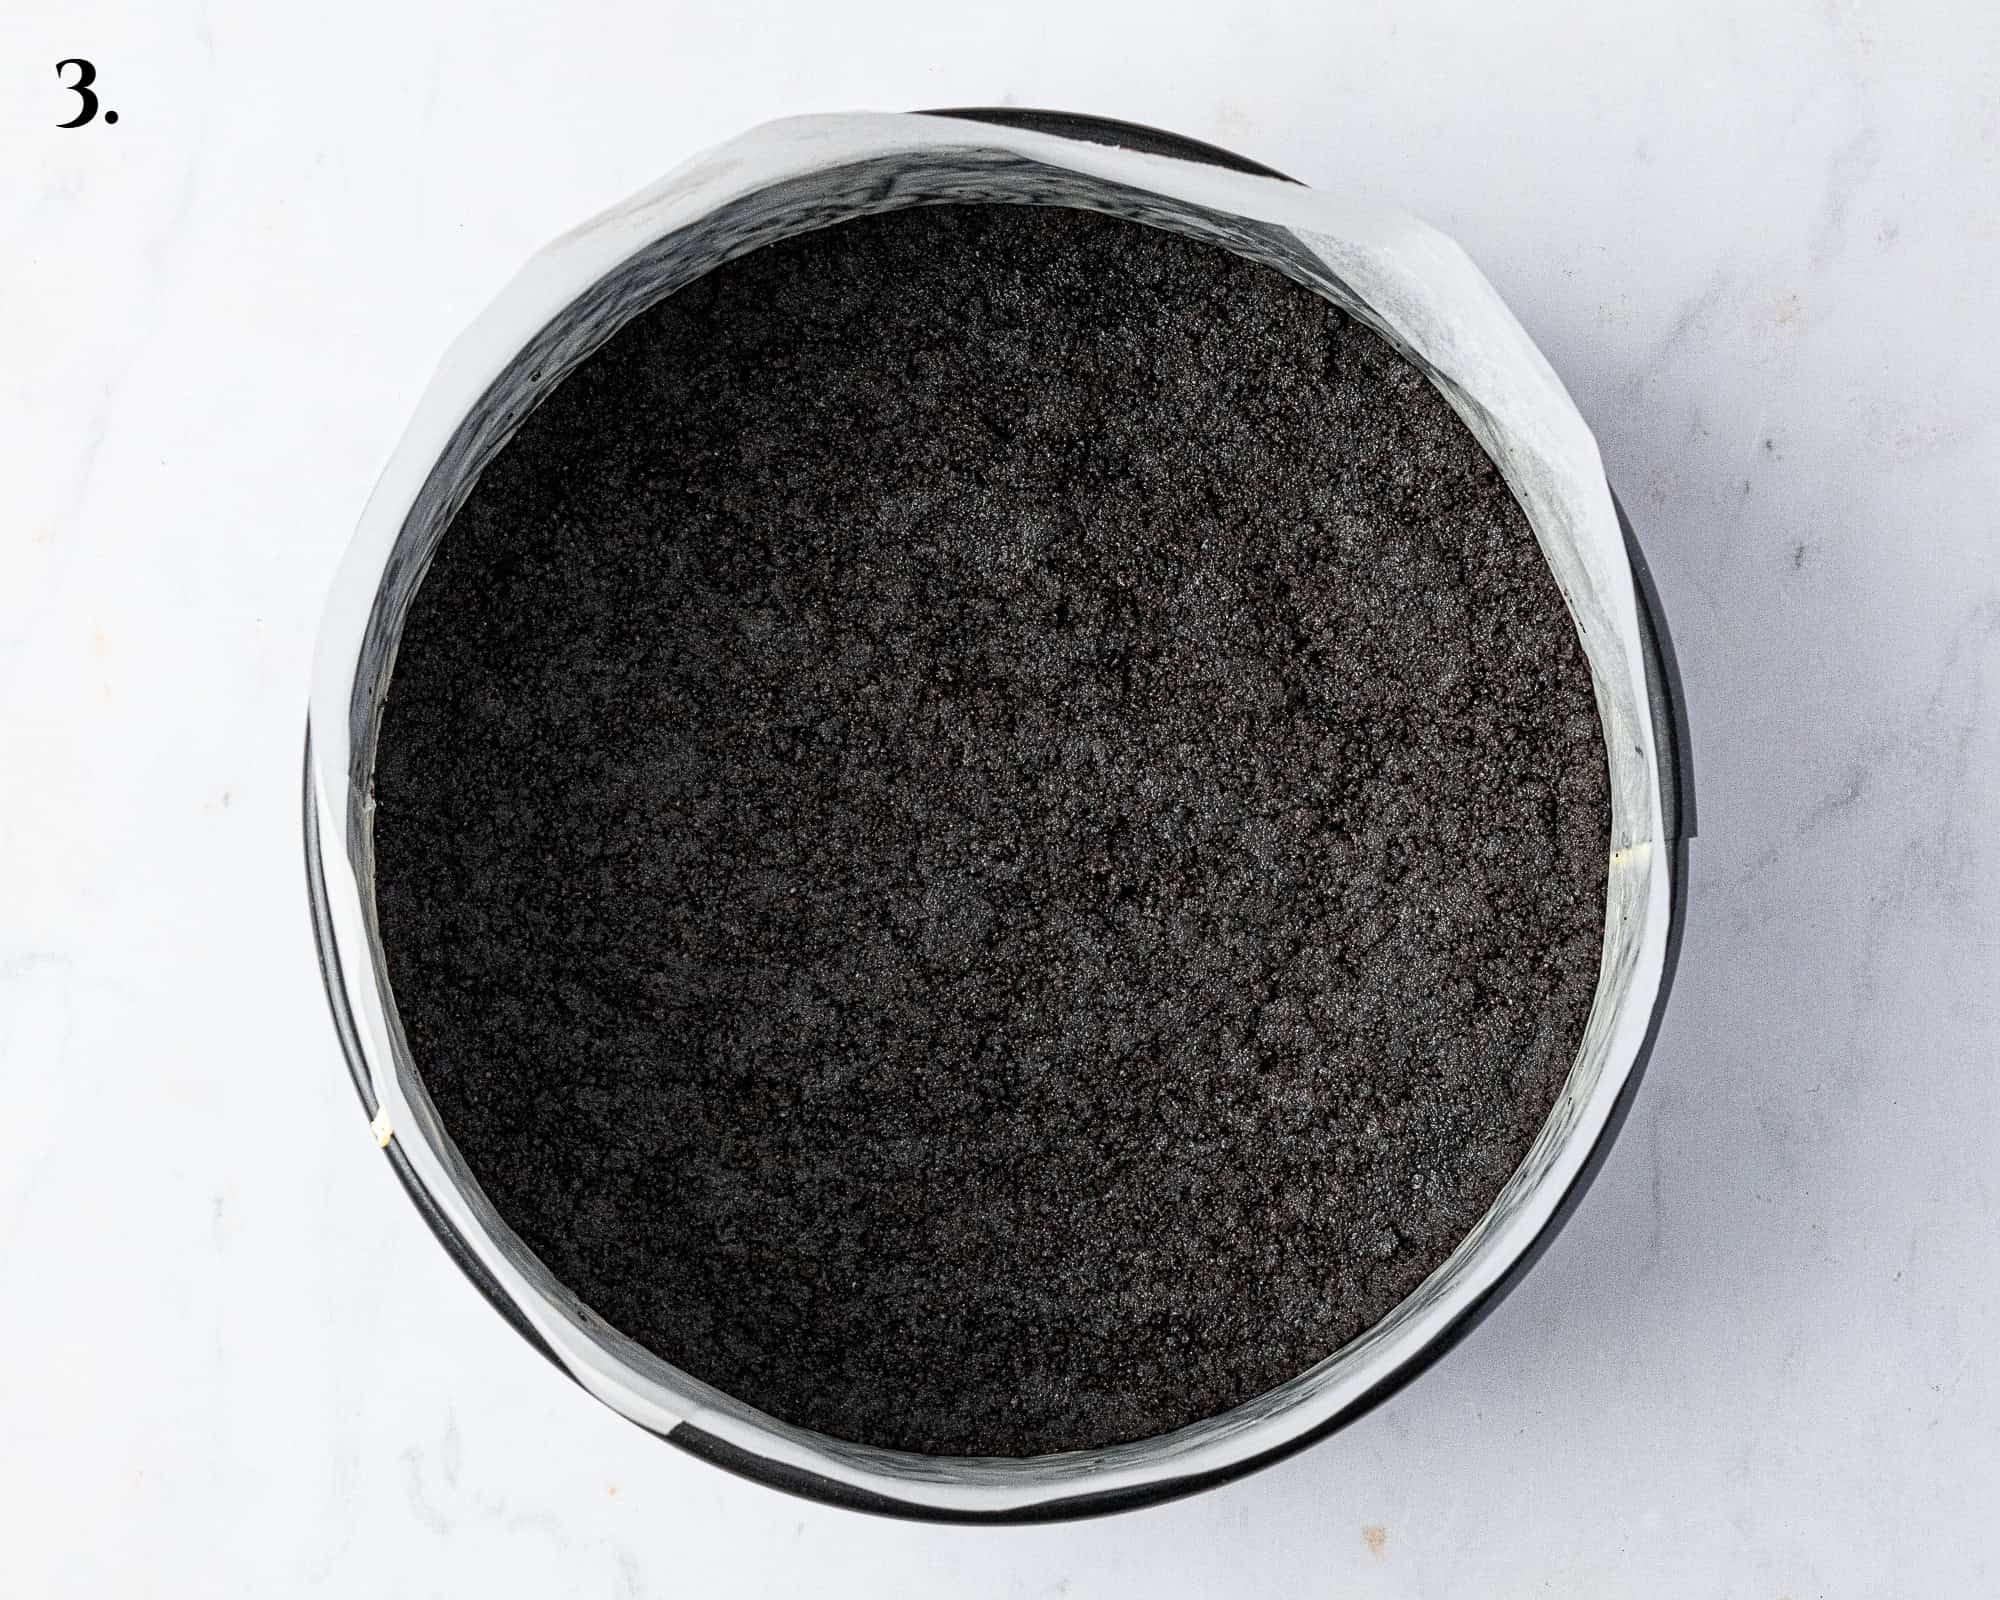
- Step 3: Tip into a 20 cm springform cake tin and pack the crumbs down really firmly, use the base of a glass to help press them down.
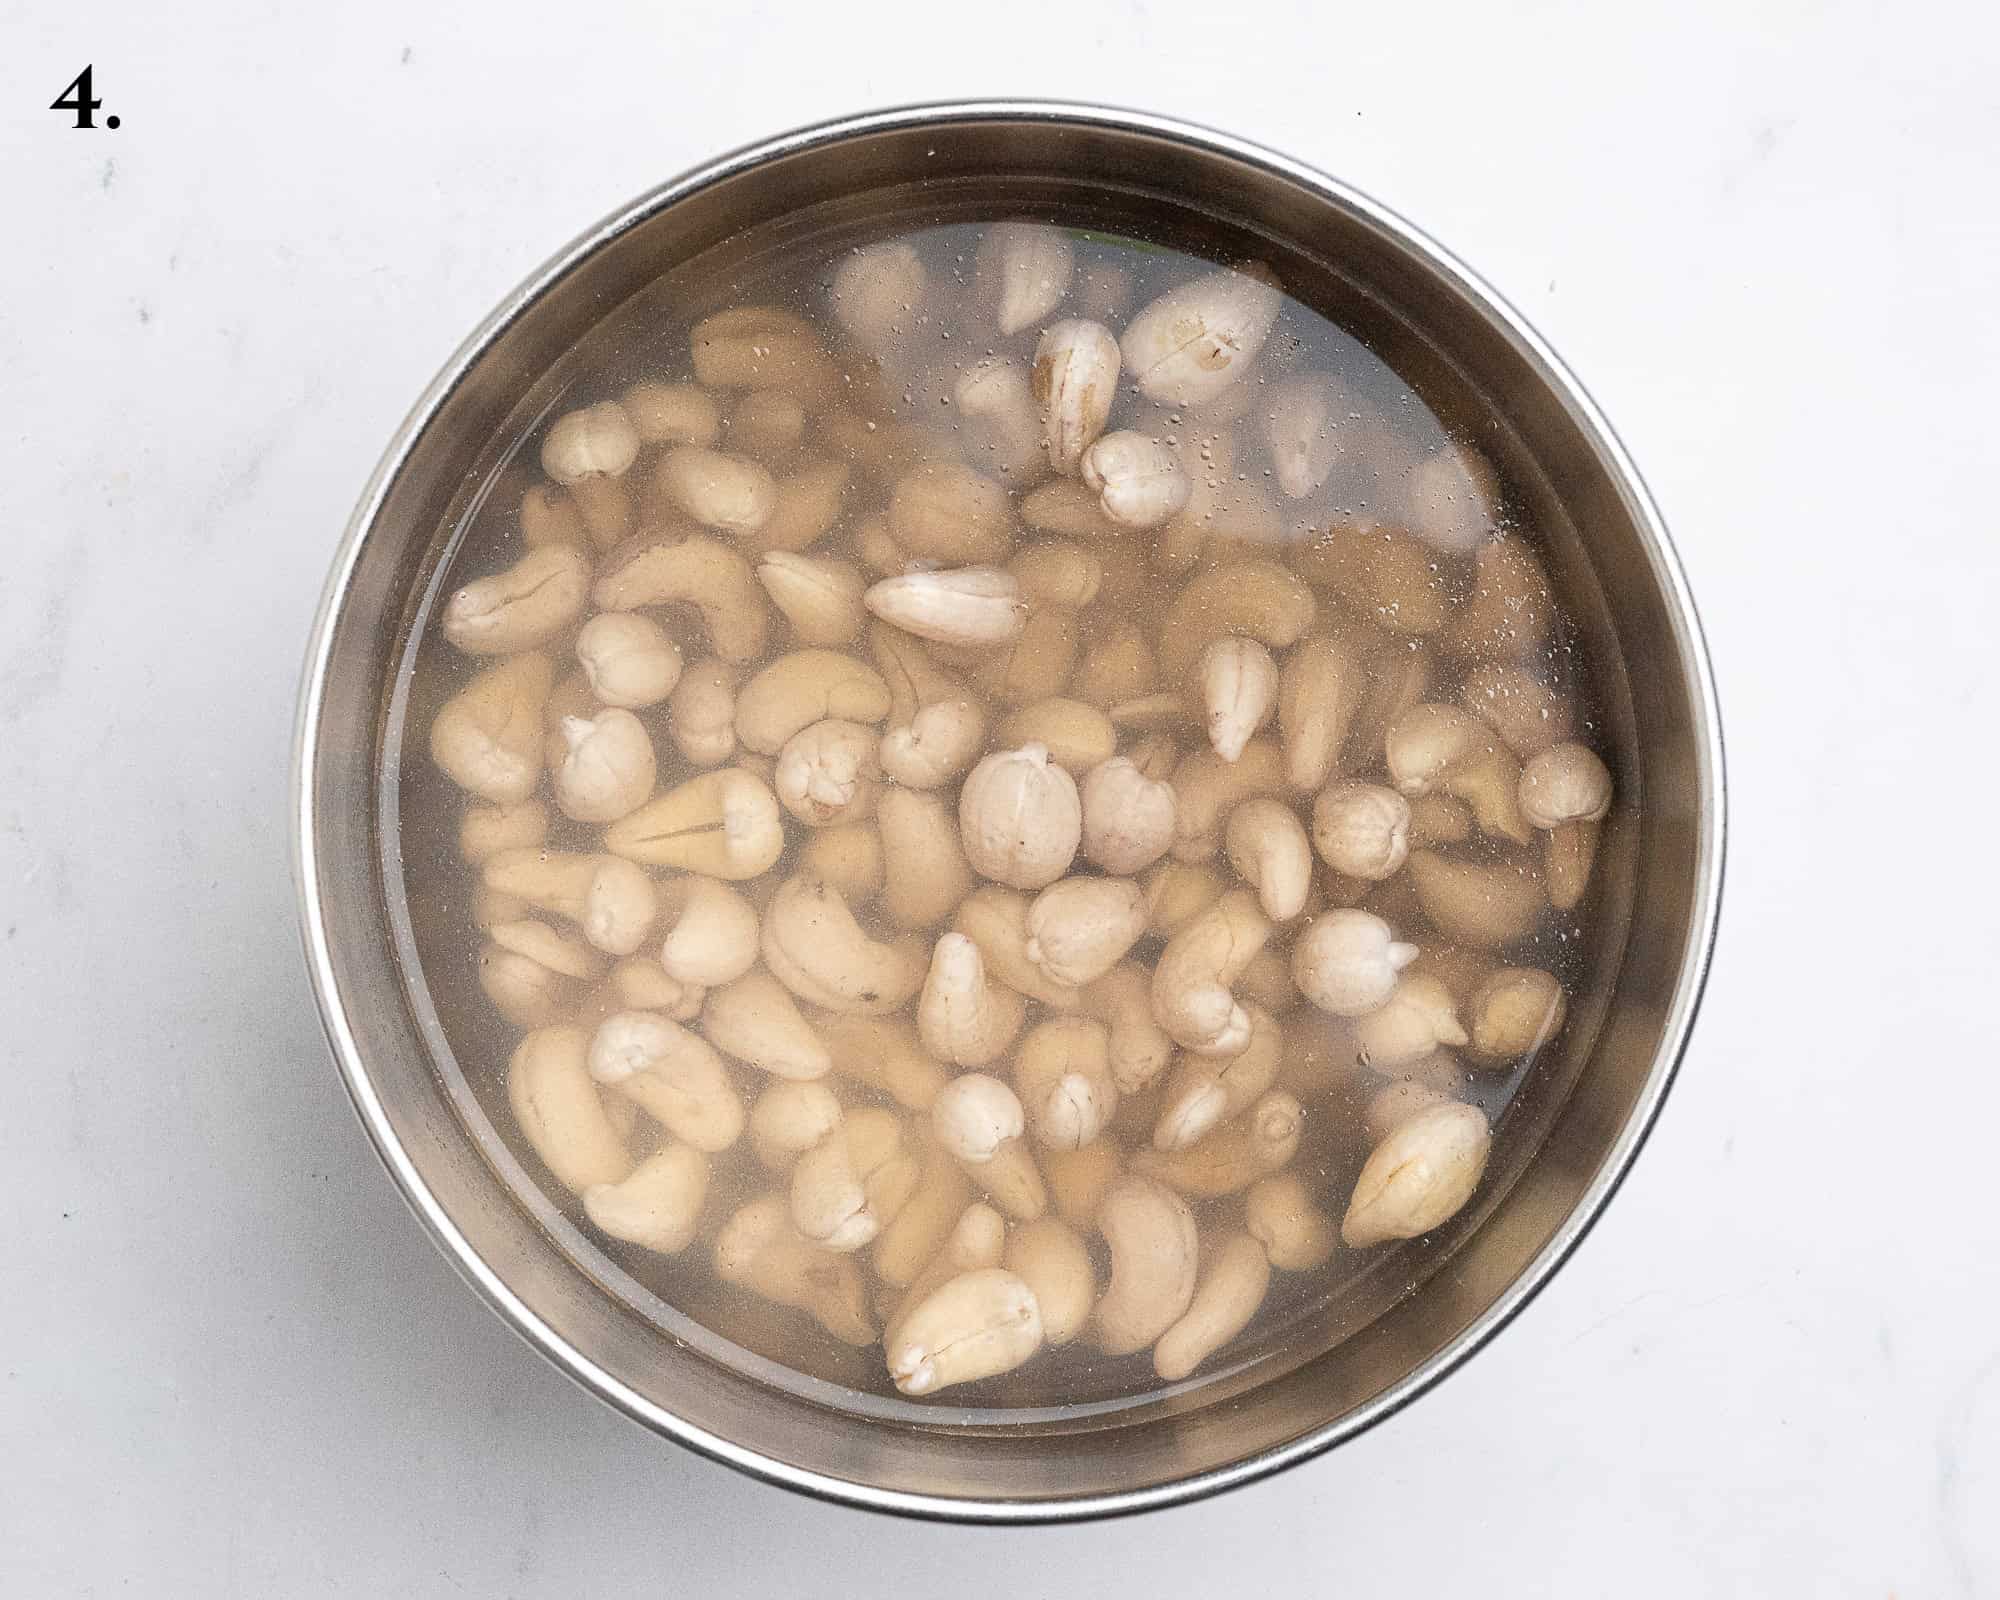
- Step 4: Soak the cashews in boiling water for 1-2 hours then drain really well.
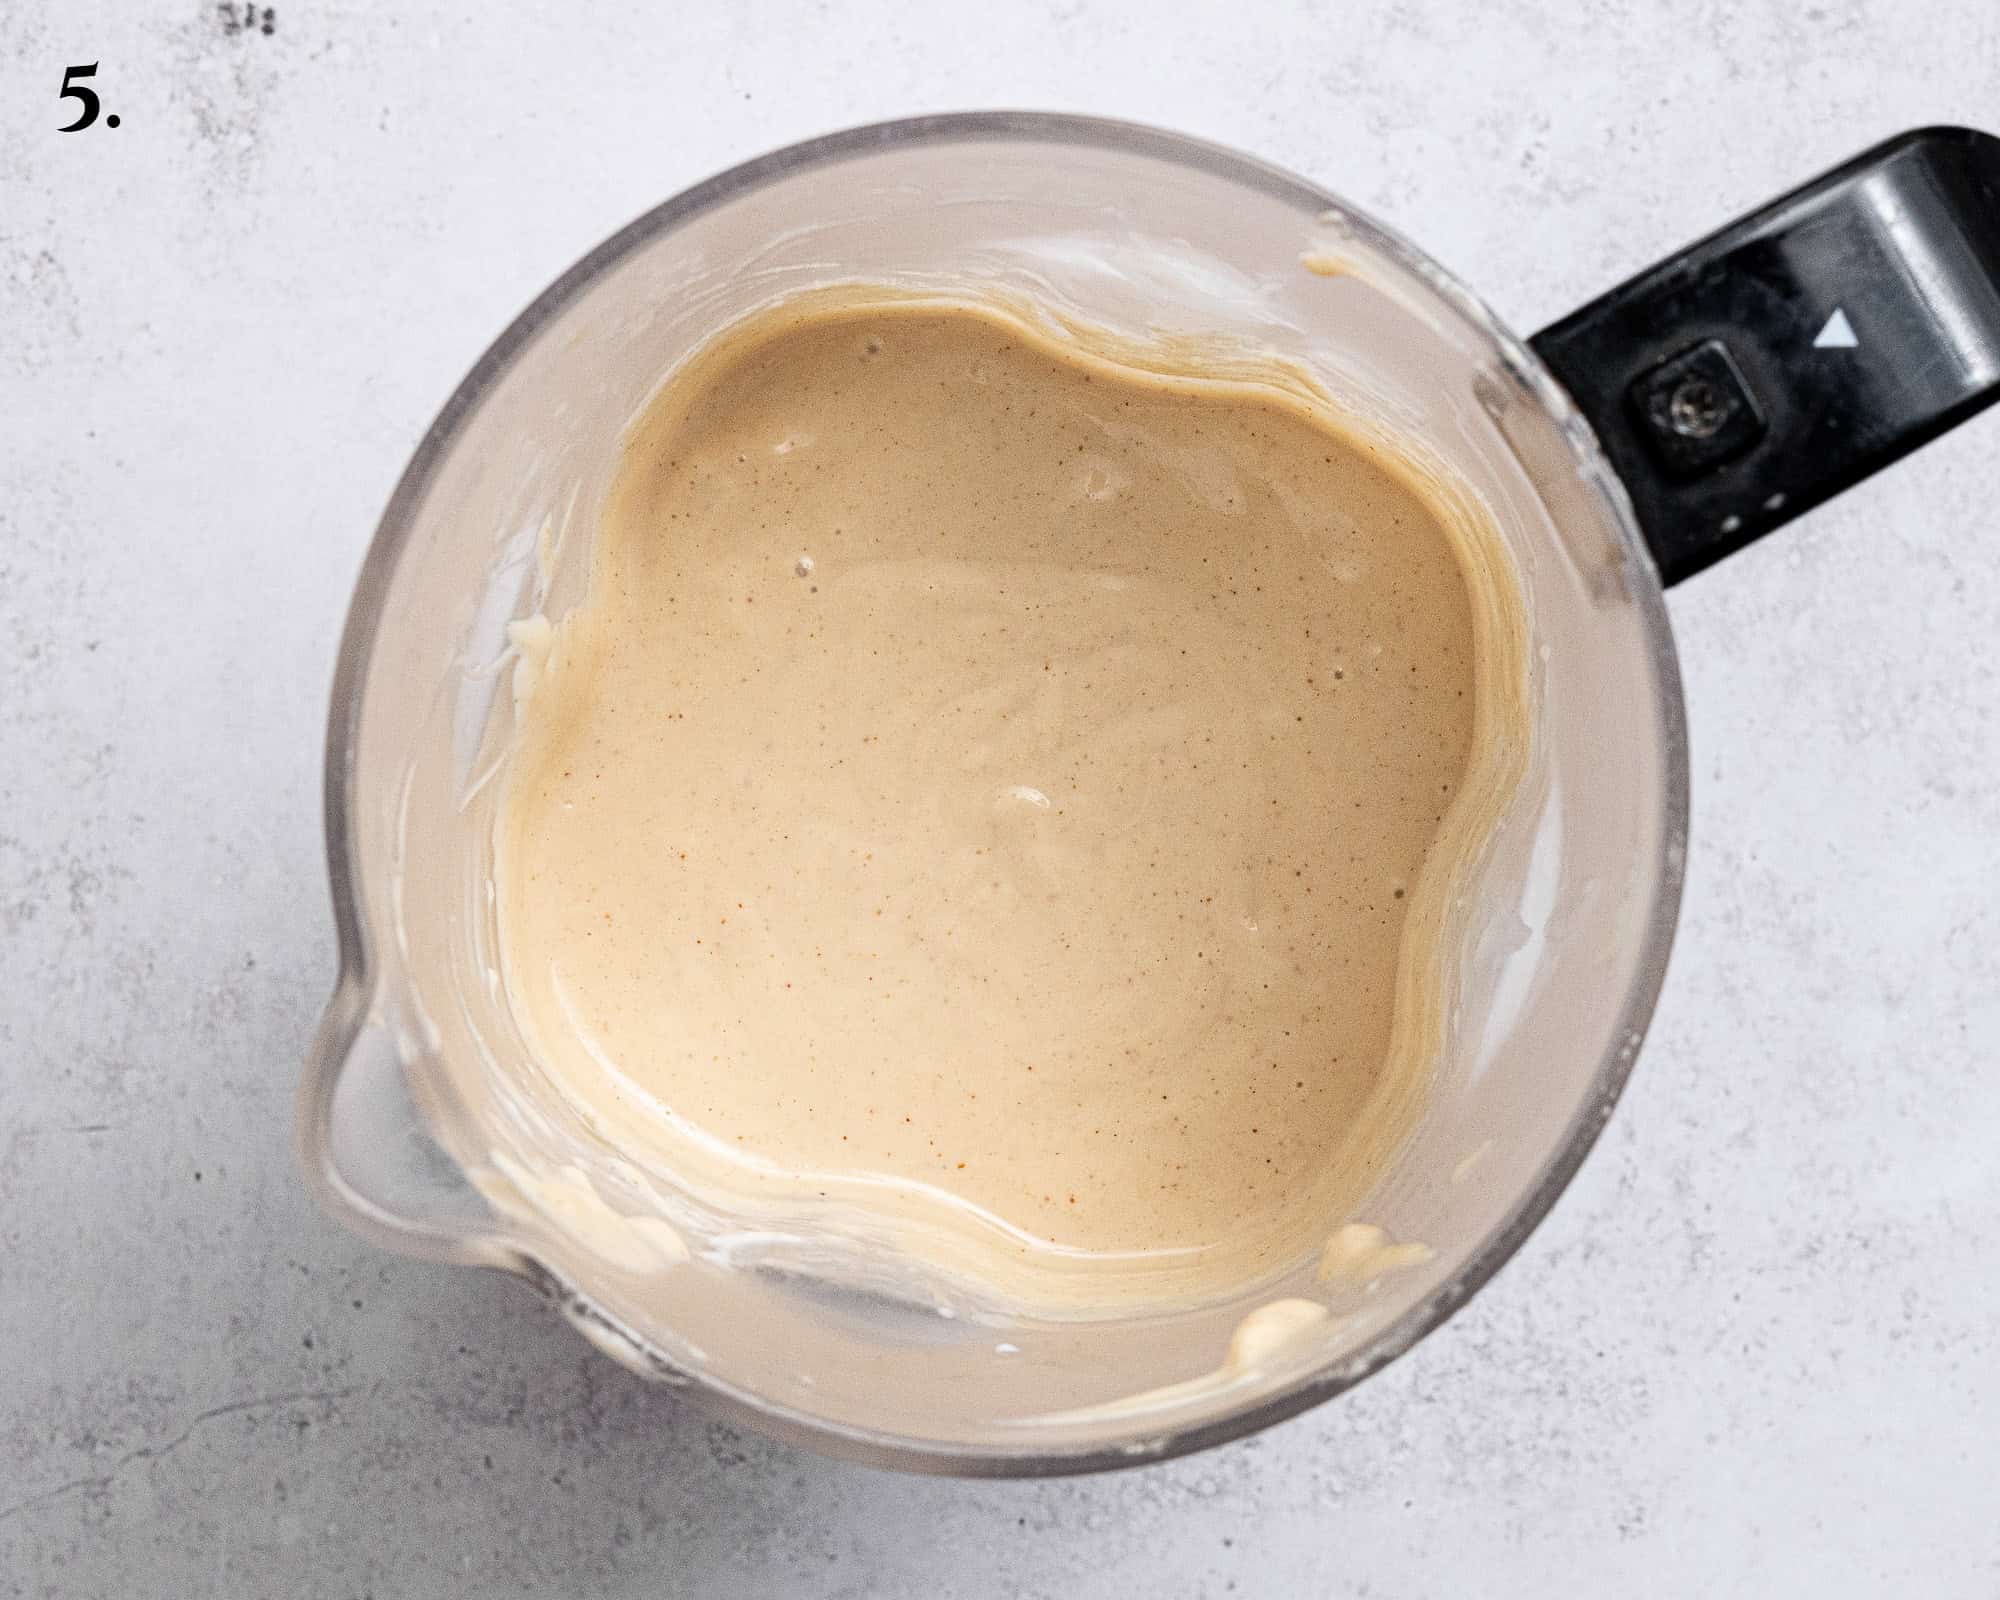
- Step 5: Place all of the filling ingredients into a high-speed blender and blend until completely smooth.
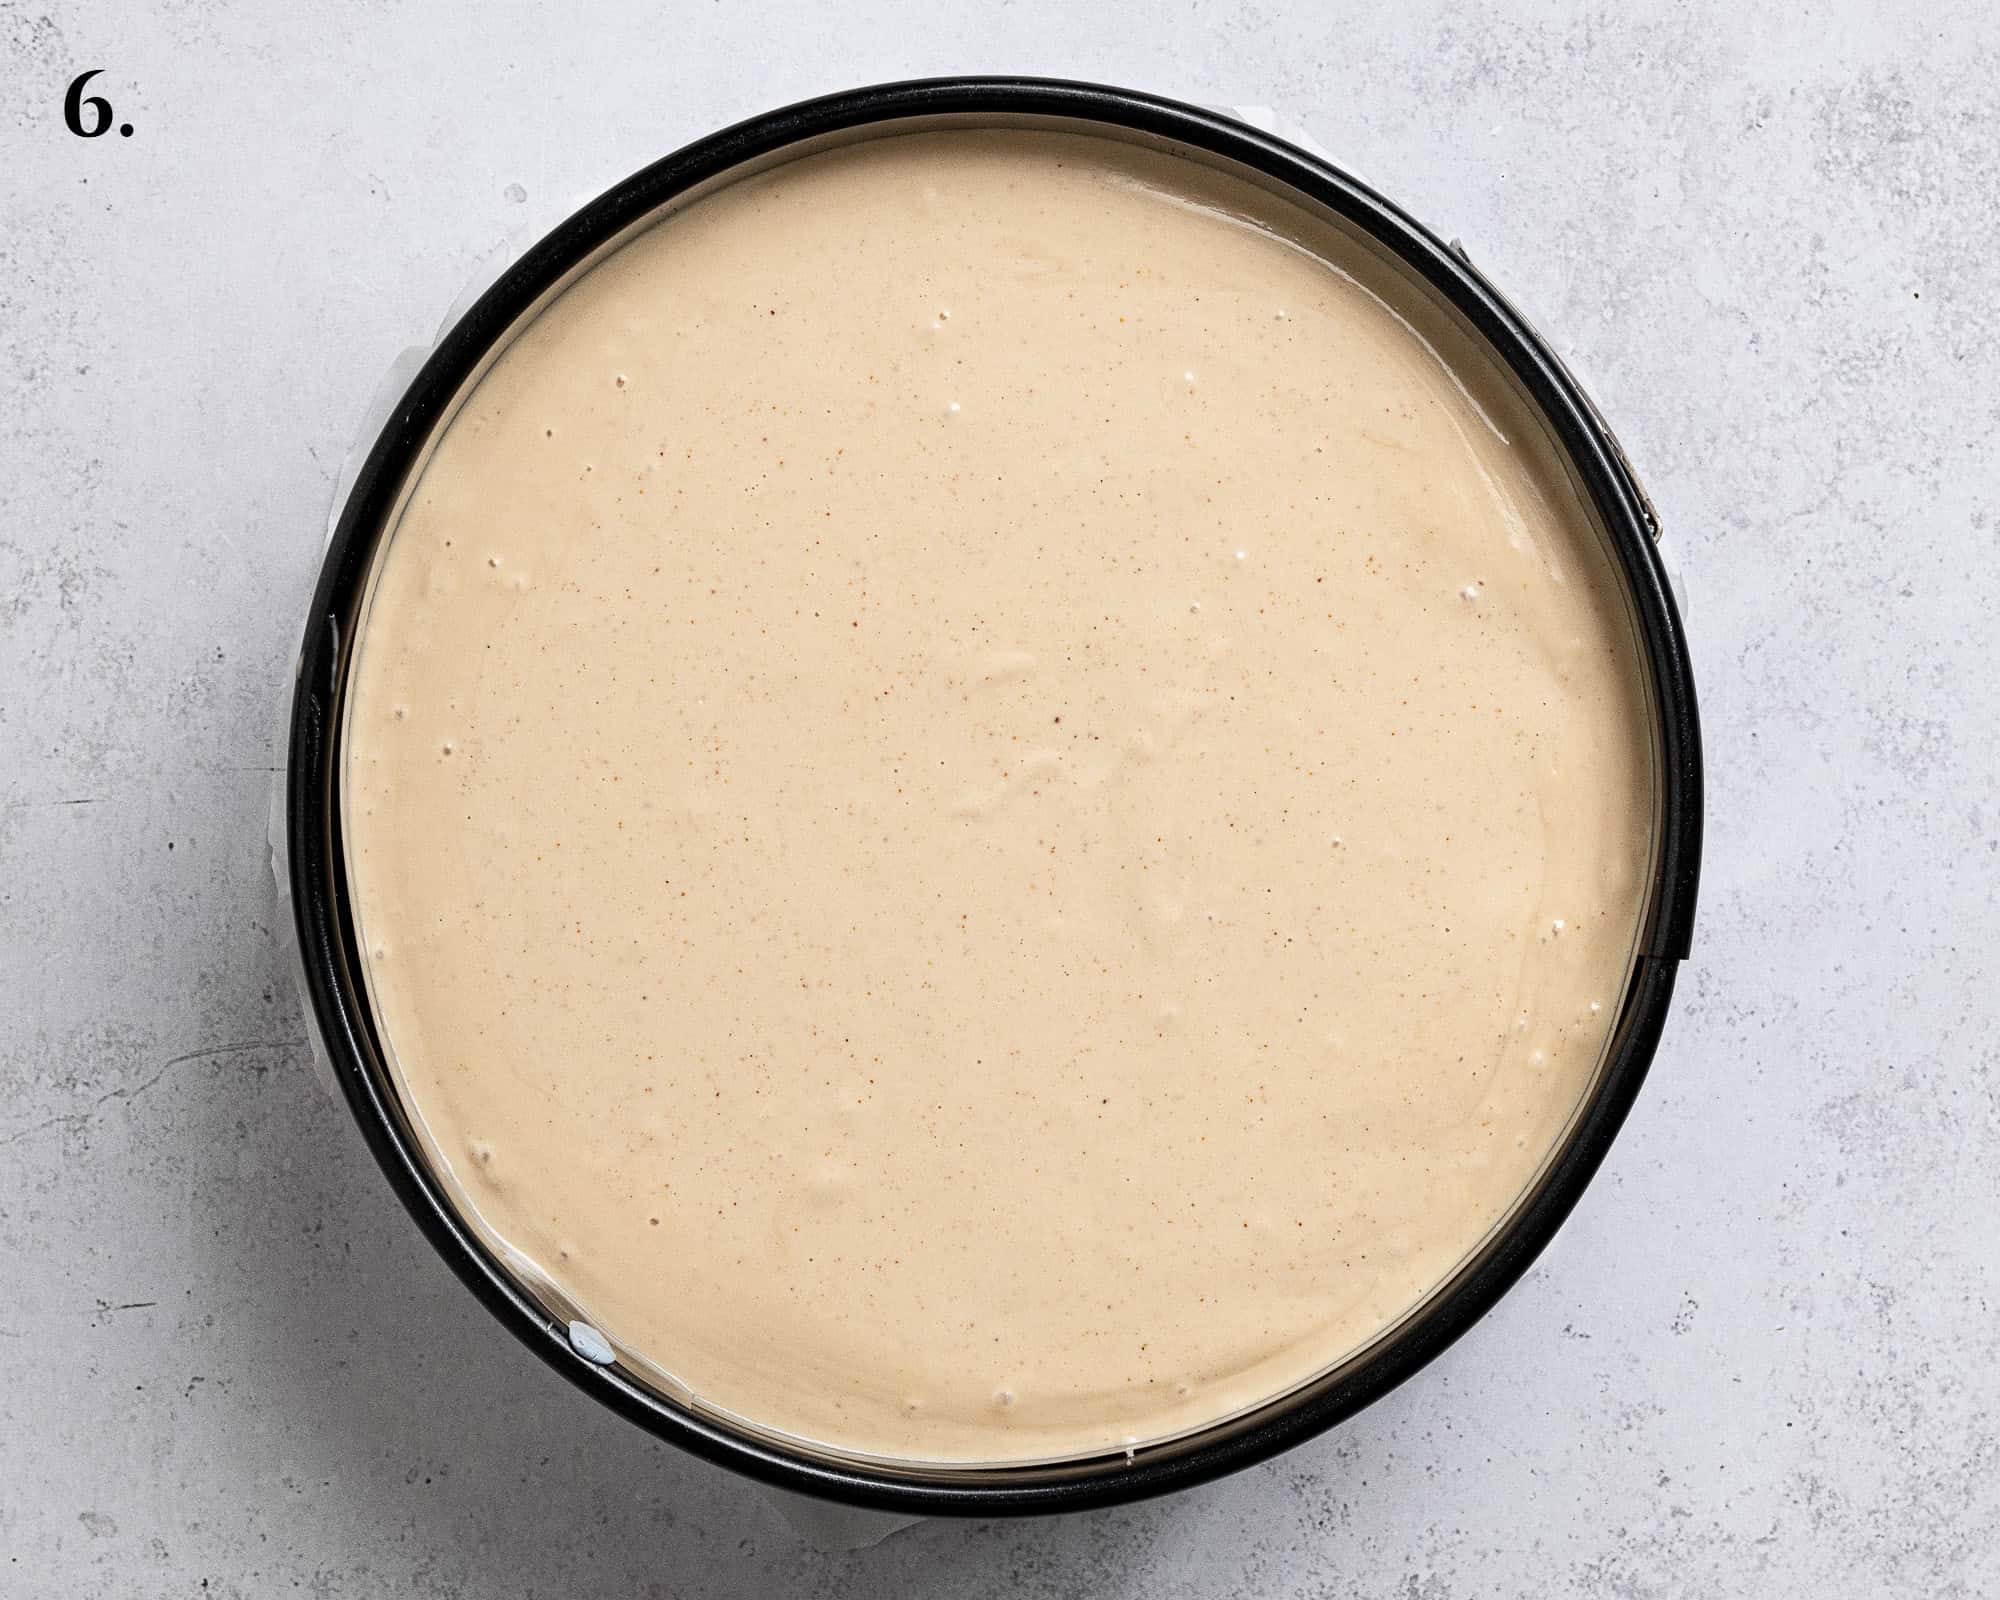
- Step 6: Pour the filling over the crust and refrigerate overnight to set.
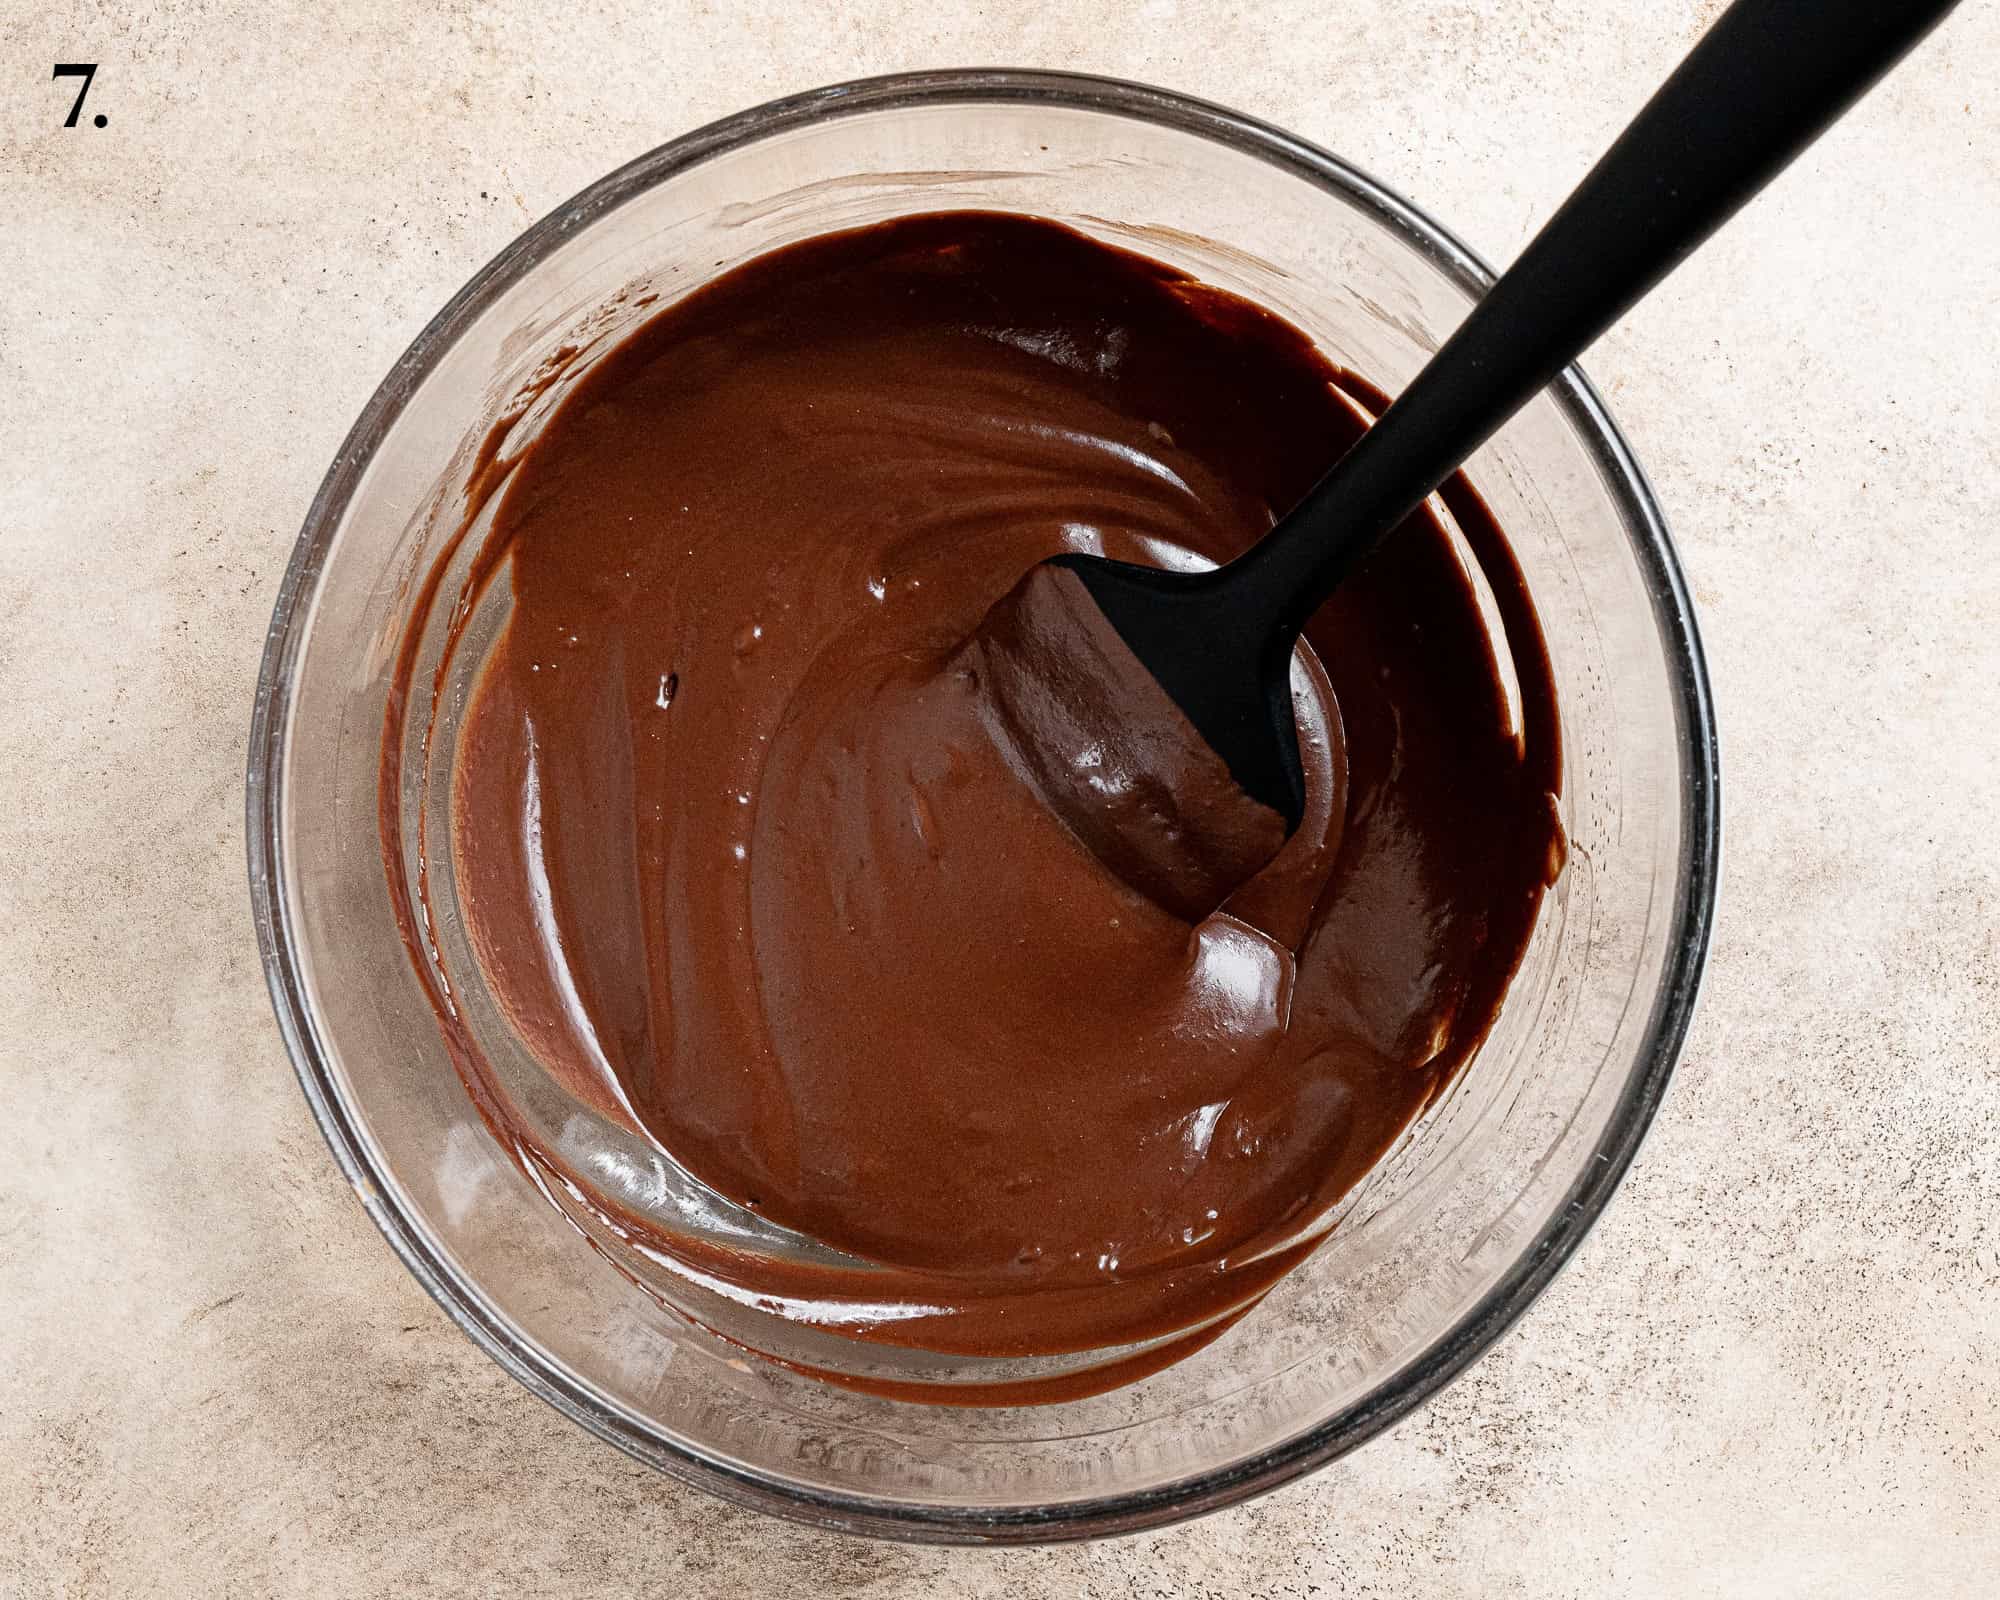
- Step 7: To make the ganache, heat the milk until just coming up to a simmer then pour it over the chopped chocolate and peanut butter, leave to sit for 5 minutes then stir until melted and smooth. Allow to cool and thicken slightly.
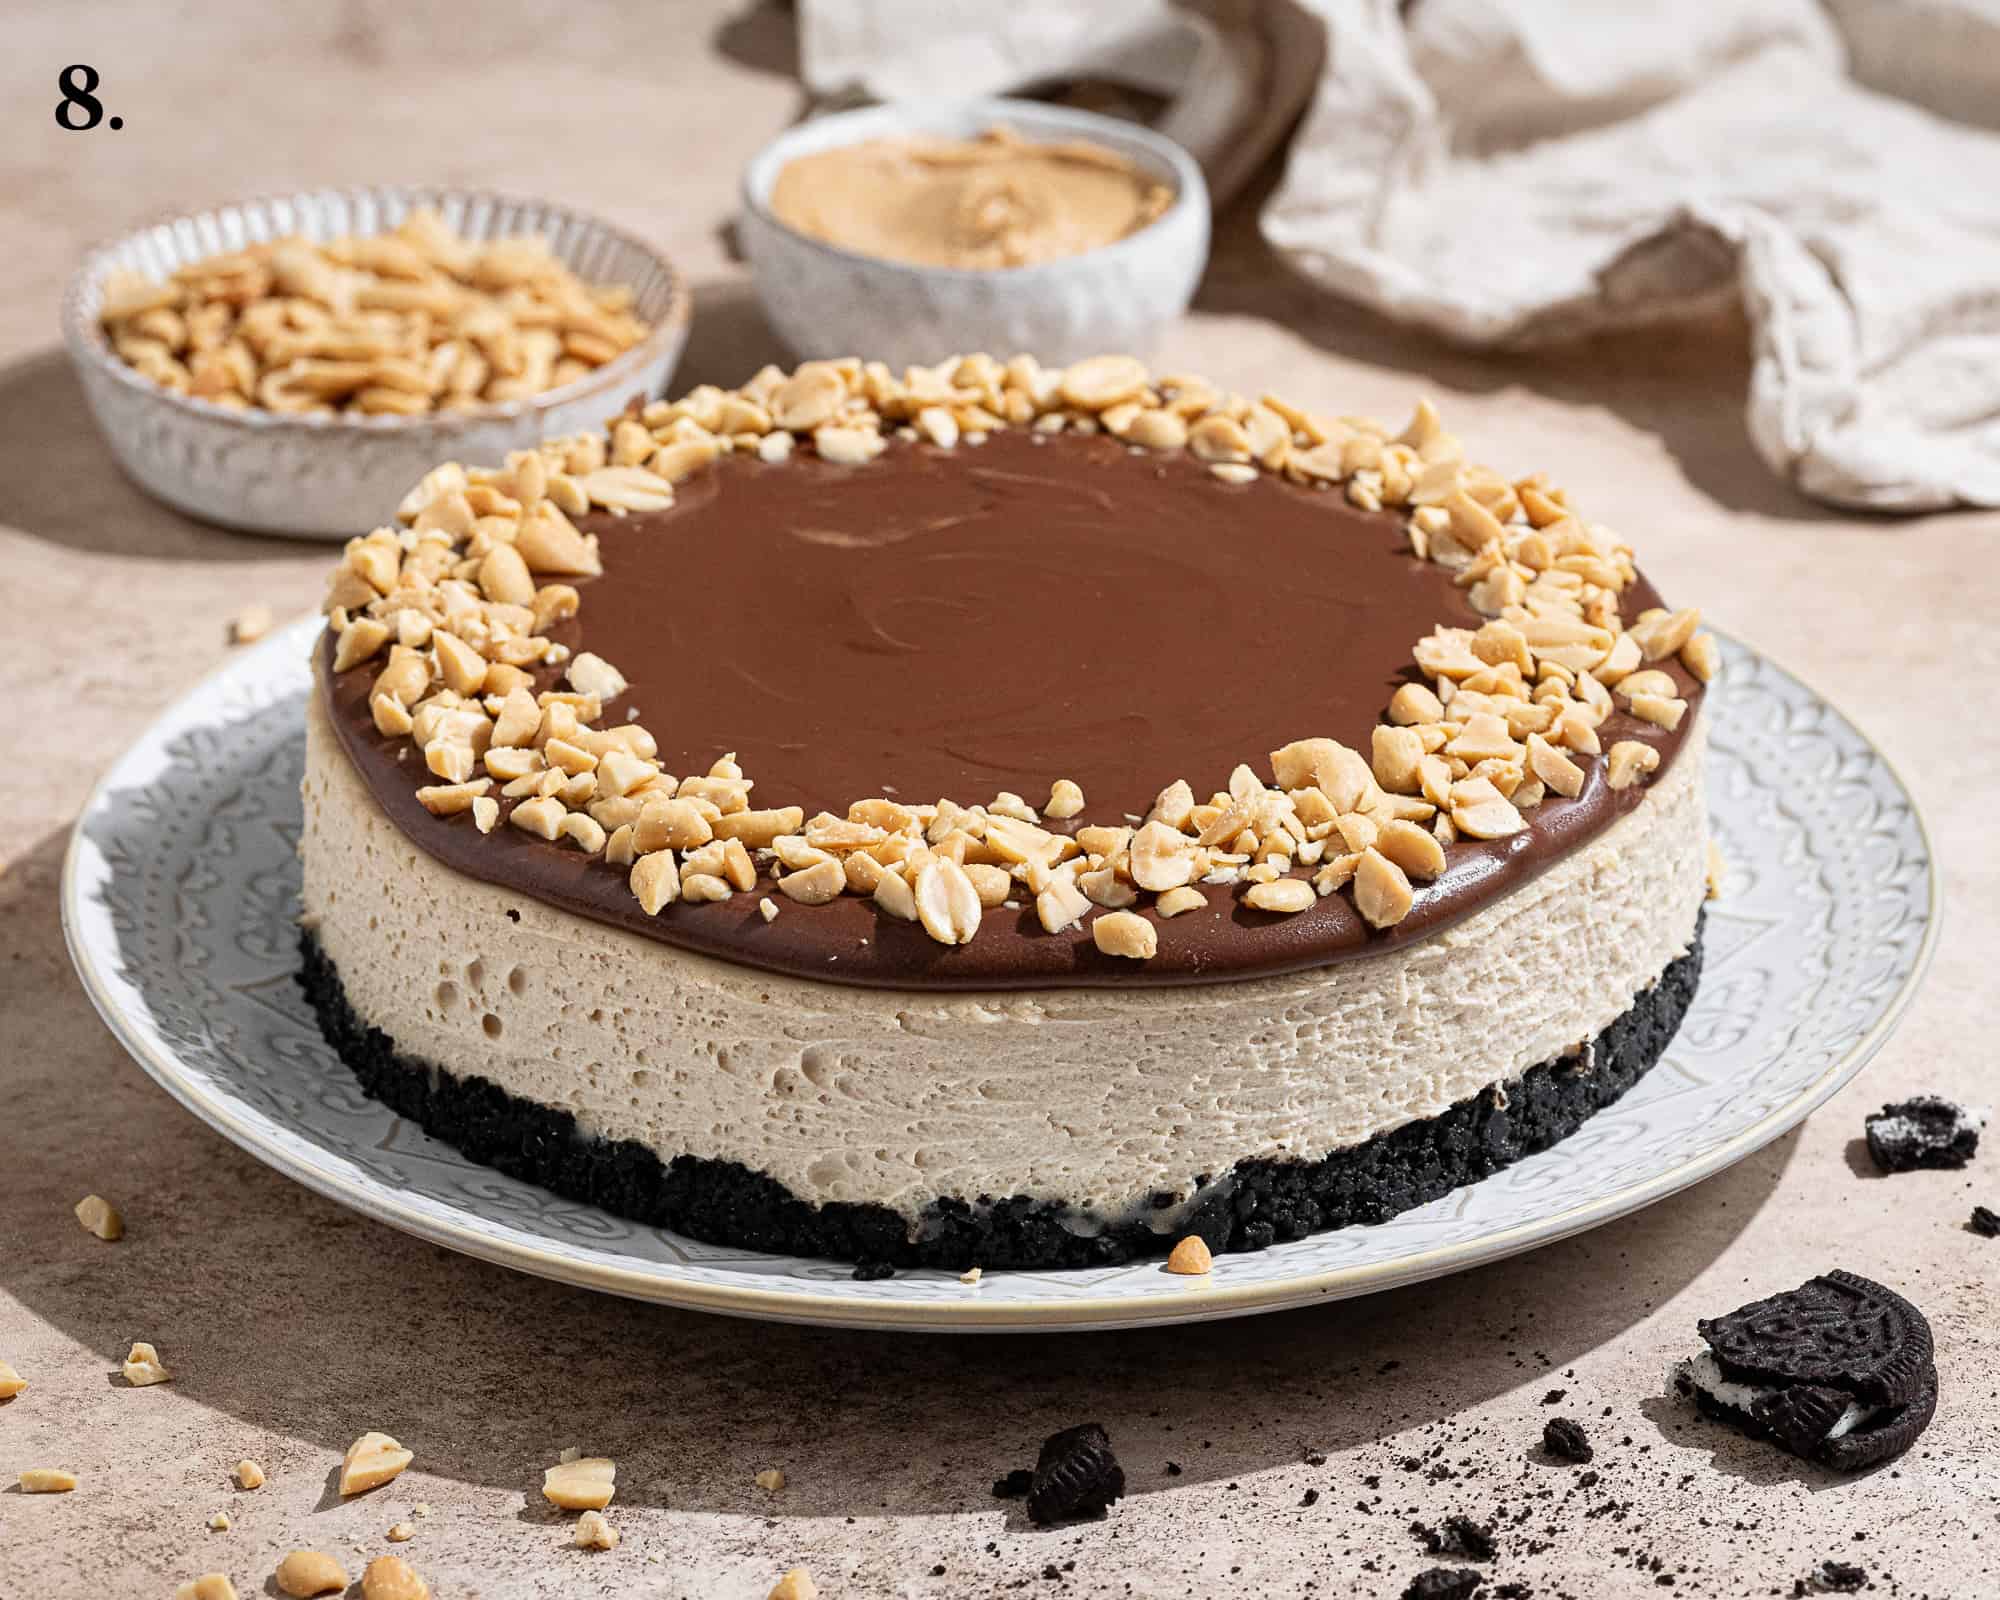
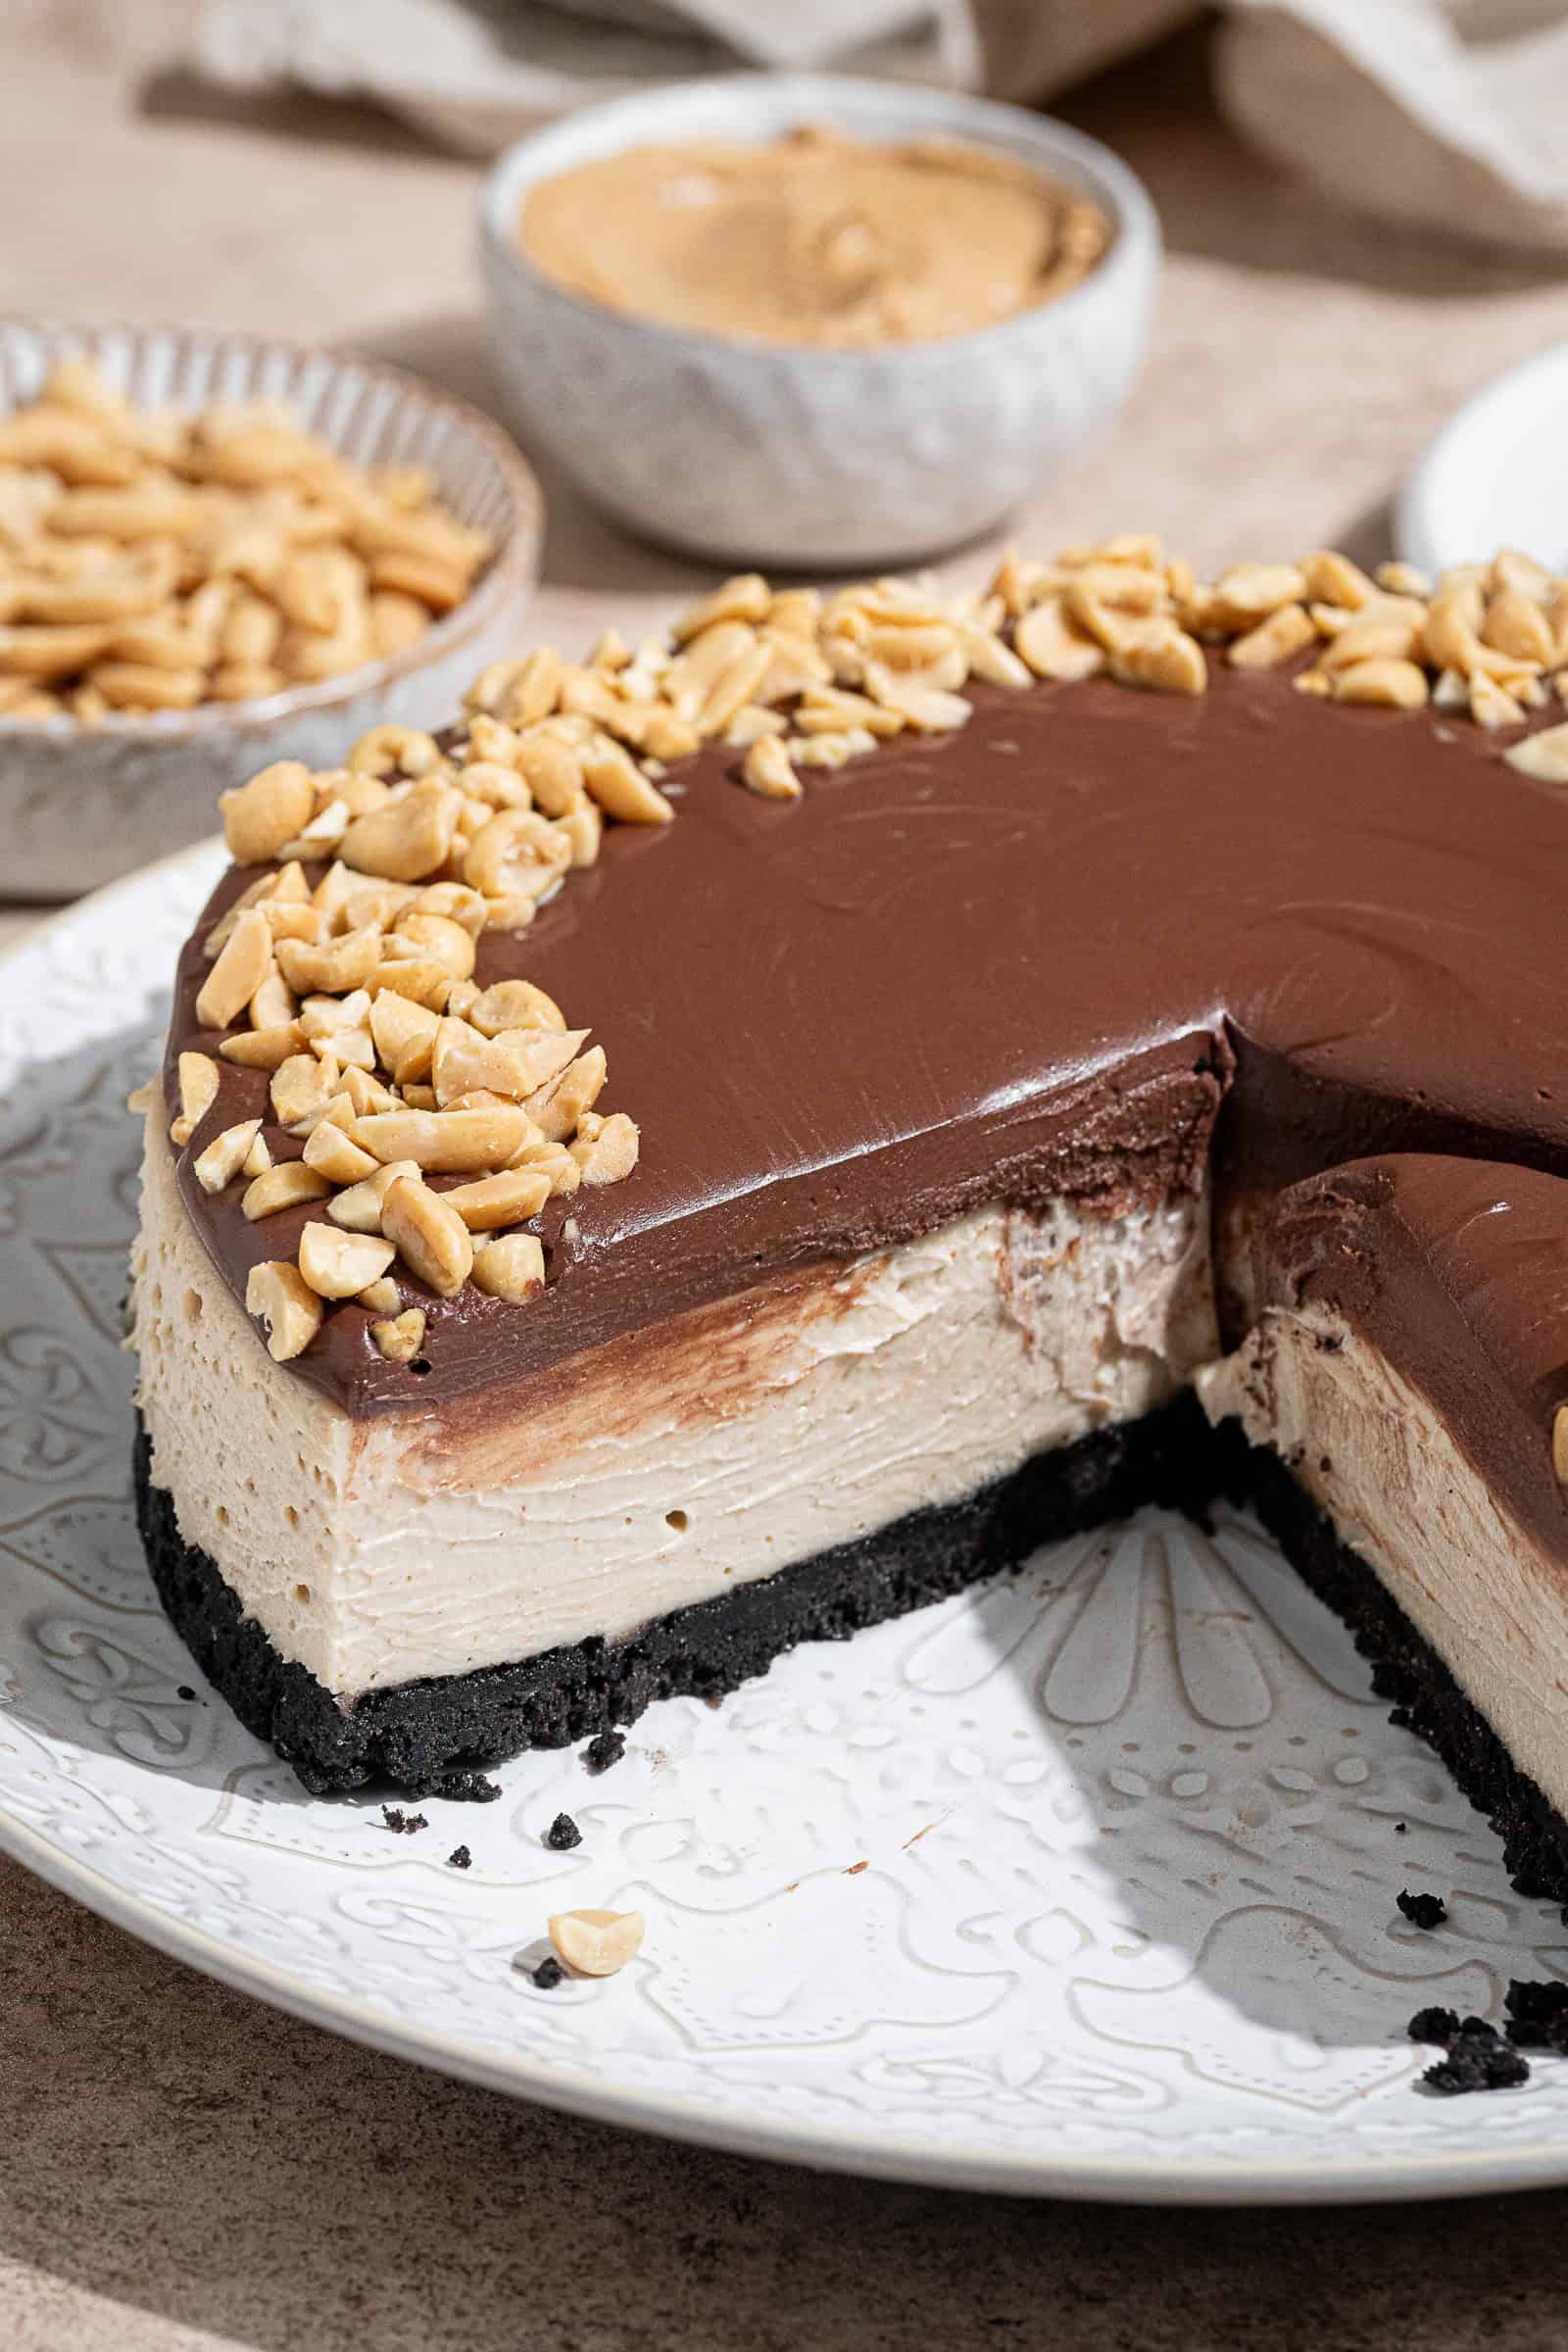
- Step 8: Carefully remove the cheesecake from the tin, spoon over the ganache and spread it level. Sprinkle with chopped roasted peanuts then return to the fridge for about 30 minutes to set.
Top Tips:
For the best results use the weight measurements. Using volume measurements is inaccurate and may affect the set of the cheesecake.
You ideally need to use a 20 cm/8 in springform cake tin to make this vegan peanut butter cheesecake so that it is easy to remove from the tin. A loose bottomed one would be second choice. Make sure that you line both the base and sides of the tin with baking parchment so that the cheesecake doesn't stick to the tin.
Ideally you need a power blender (such as Froothie/Vitamix) for the smoothest cheesecake. You can still make it with a regular blender, but it may take longer to achieve a smooth enough result. Make sure to stop the blender regularly to give the motor a rest and scrape down the sides to ensure even blending.
The cheesecake will need at least 6 hours in the fridge to set, ideally overnight, so make sure that you factor this in and give yourself enough time. I recommend making the cheesecake a day or two in advance of serving.
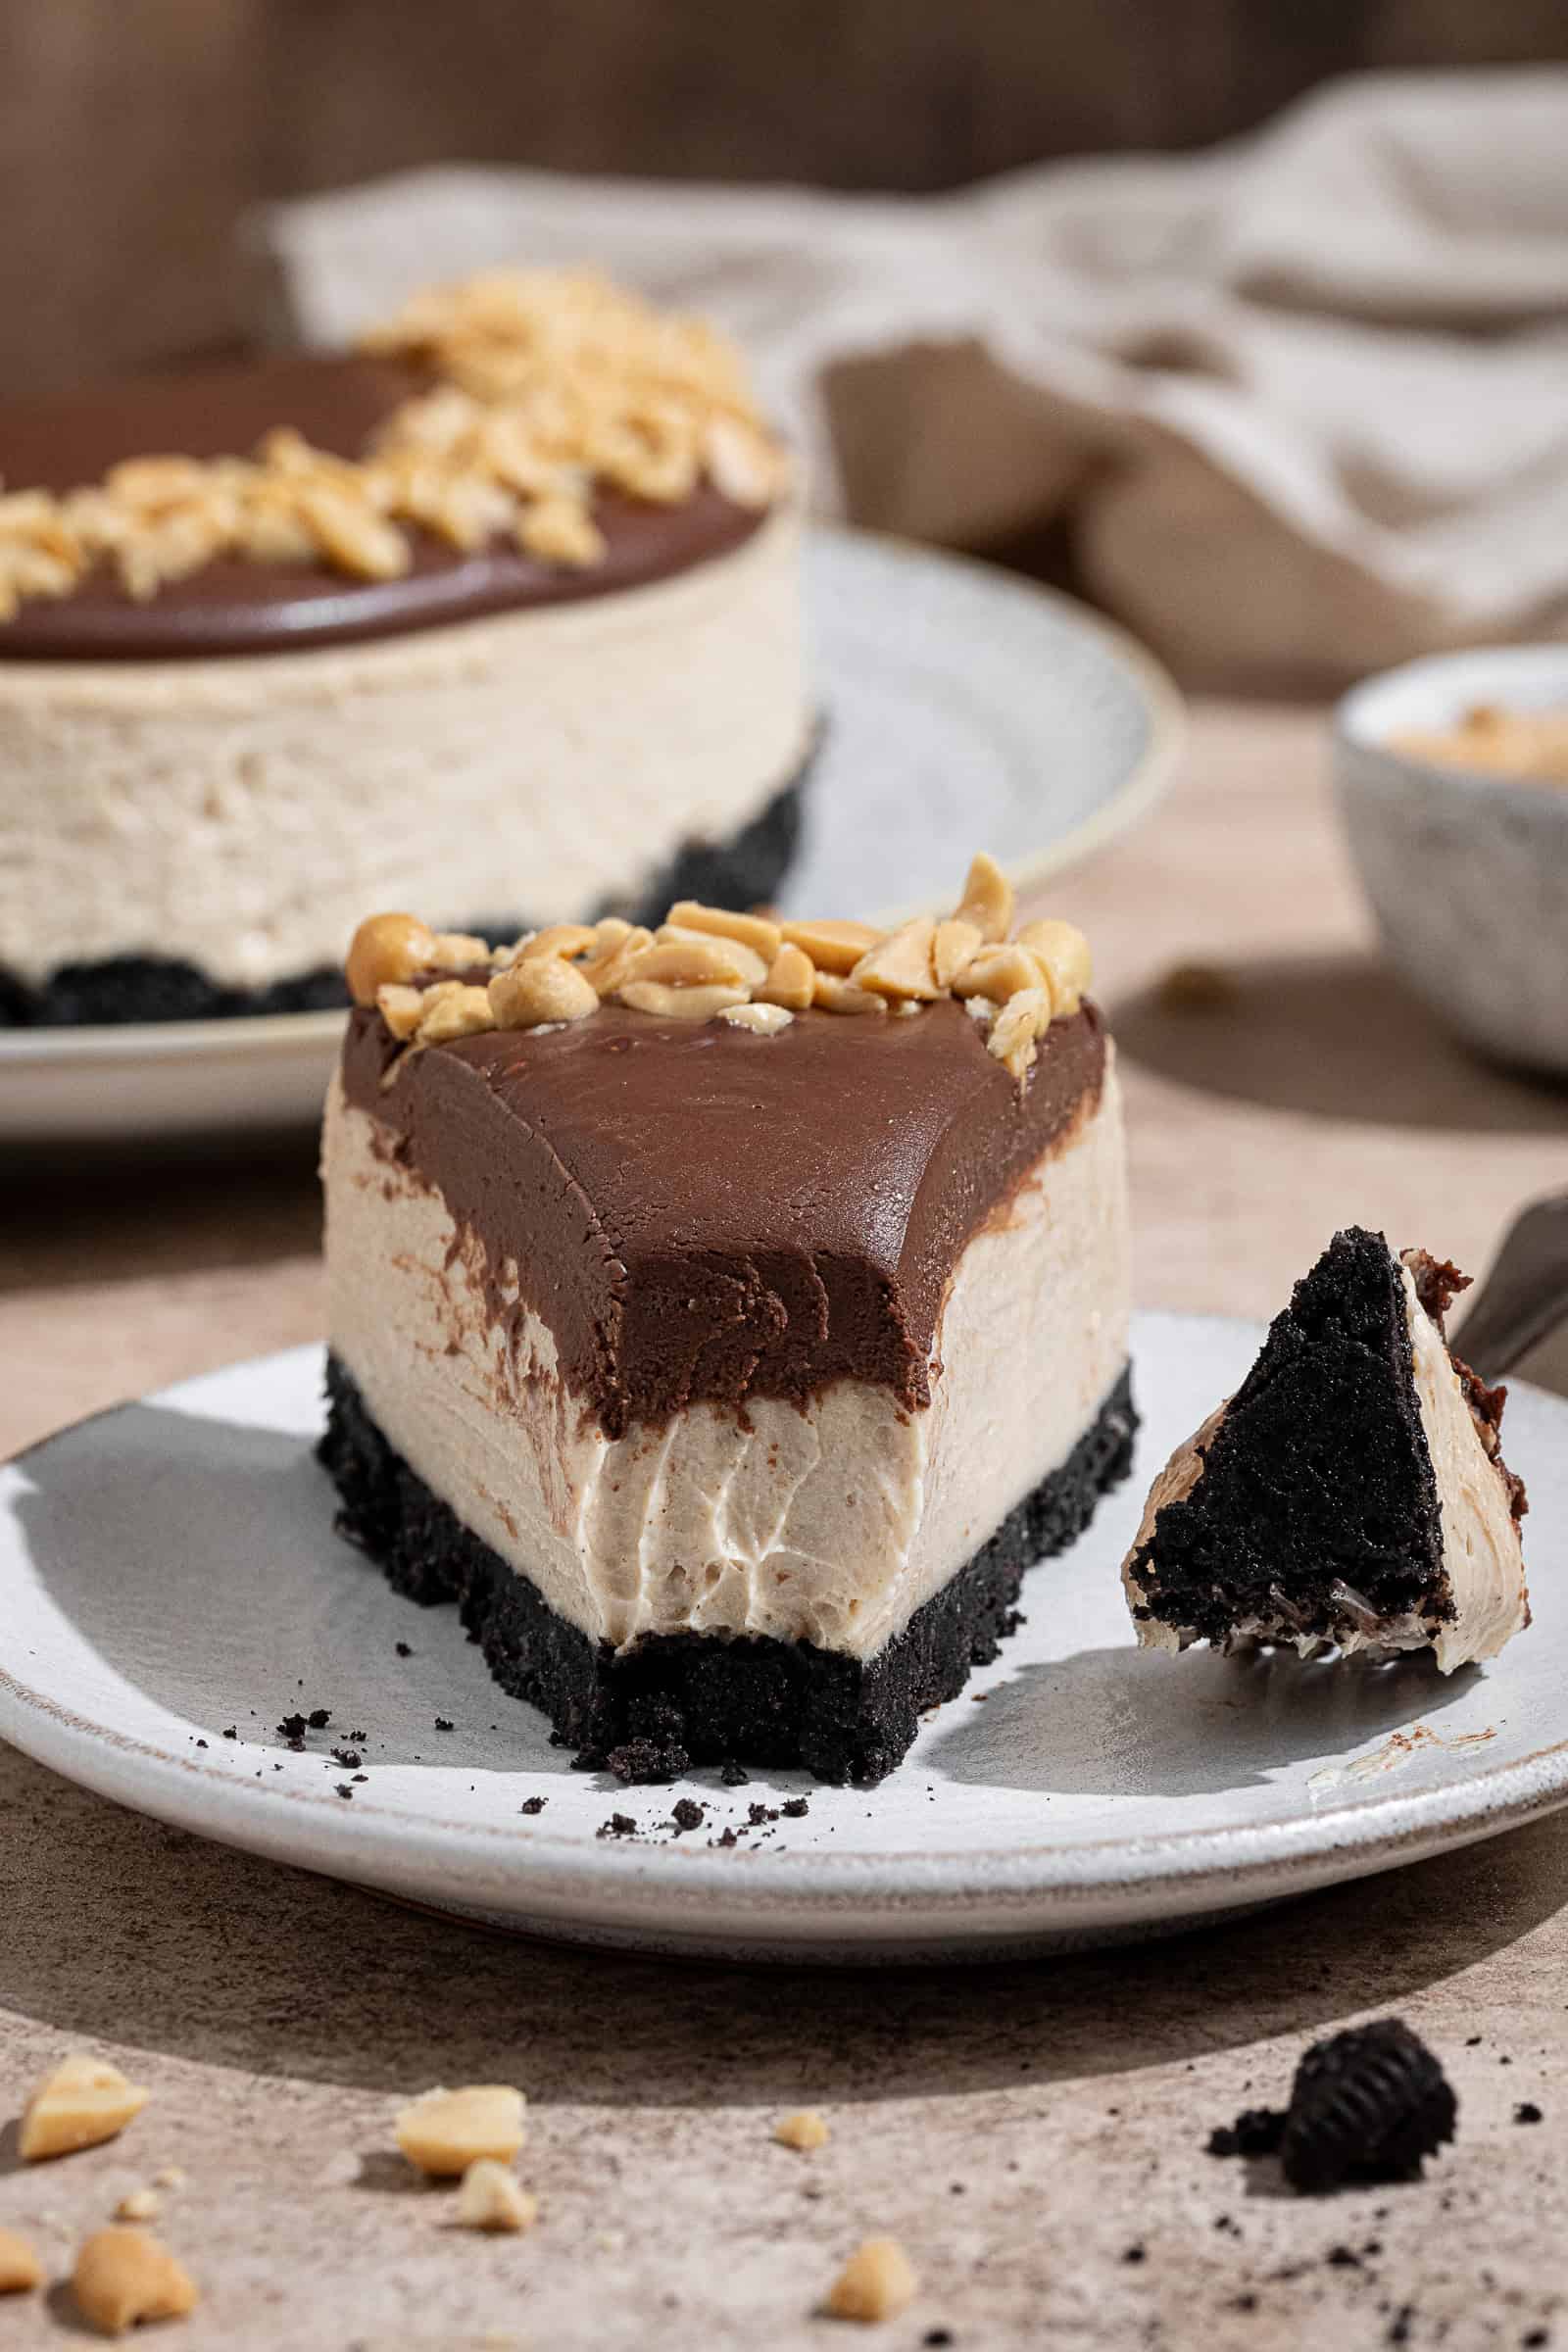
For neat, clean slices, dip a sharp knife in boiling water and wipe it dry before slicing the cheesecake. Wipe the blade clean in between cuts and re-heat it with more hot water as needed.
FAQ's:
It will keep in an airtight container in the fridge for around 4-5 days. It will become soft at room temperature so make sure that you keep it chilled at all times unless serving.
Yes but I recommend freezing any leftovers rather than making the cheesecake in advance and freezing it as the texture may change upon defrosting. Freeze it in slices in an airtight container for up to 3 months. Allow to defrost in the fridge for a few hours or overnight to serve.
Yes, simply use GF cookies for the base, the cheesecake filling is already gluten-free (but double check the brand of cream cheese you are using just in case).


All images and content on Domestic Gothess are copyright protected. If you want to share this recipe then please do so by using the share buttons provided. Do not screenshot or post the recipe or content in full, instead include a link to this post for the recipe.
If you love this recipe, please leave a 5-star ★★★★★ rating at the bottom of the page! This provides helpful feedback to both me and other readers.
Also be sure to add us as a trusted site on Google so that our recipes show up more in your searches!
To keep up to date with all my latest recipes you can subscribe to my newsletter and follow along on social media!
No-Bake Peanut Butter Cheesecake (vegan)
Equipment
- blender
- 20 cm/8 in springform cake tin
Ingredients
Cookie Crust:
- 275 g (25 cookies) Oreos or Bourbon biscuits
- 75 g (⅓ cup) vegan butter melted
Cheesecake Filling:
- 130 g (1 heaped cup) unroasted cashews
- 260 g (1 cup) smooth, creamy peanut butter (NOT the runny natural kind)*
- 500 g (18 oz) vegan cream cheese
- 80 g (⅓ cup) thick, Greek style soya yogurt OR coconut cream OR silken tofu
- 100 g (½ cup) light brown soft sugar
- 2 Tablespoons lemon juice
- 1 Tablespoon vanilla extract
Ganache:
- 125 g (4 ½ oz) 60-70% dark chocolate finely chopped
- 35 g (2 Tablespoons) smooth peanut butter
- 135 g (½ cup + 1 Tablespoon) non-dairy milk (I use soy)
- a couple of handfuls roasted salted peanuts roughly chopped
Instructions
- Place the cashews in a large bowl, cover with a generous amount of boiling water and leave to soak for about 60 minutes.130 g (1 heaped cup) unroasted cashews
- Line the base and sides of a 20 cm/8 in round springform cake tin with baking paper.
- To make the crust, place the sandwich cookies in a food processor and blitz to fine crumbs. (Alternatively, place them in a sealable freezer bag wrapped in a tea towel and bash them with a rolling pin.)275 g (25 cookies) Oreos or Bourbon biscuits
- Tip the crumbs into a bowl and stir in the melted vegan butter. The mixture should resemble wet sand.75 g (⅓ cup) vegan butter
- Tip the biscuit mixture into the prepared tin and pack the crumbs down really firmly and evenly, use the base of a glass to help press them down. Pop it in the fridge while you prepare the filling.
- Drain the soaked cashews really well and transfer them to a blender along with the peanut butter, cream cheese, yogurt, brown sugar, lemon juice and vanilla extract. Blend until totally smooth with no hint of graininess. This can take a while so stop regularly to let the blender cool down and scrape down the sides as needed.260 g (1 cup) smooth, creamy peanut butter (NOT the runny natural kind)*, 500 g (18 oz) vegan cream cheese, 80 g (⅓ cup) thick, Greek style soya yogurt OR coconut cream OR silken tofu, 100 g (½ cup) light brown soft sugar, 2 Tablespoons lemon juice, 1 Tablespoon vanilla extract
- Pour the cheesecake mixture on top of the biscuit base and spread it level. Refrigerate for at least 6 hours, preferably overnight, until firm.
- Once the cheesecake has set, unclip the springform tin and remove the sides. Gently slide it onto a serving plate, a cake lifter is useful for this; then peel the baking paper off the sides of the cheesecake.
- To make the ganache, place the chopped chocolate and the peanut butter in a heat-proof bowl. Heat the milk until just coming up to a simmer then pour it over the chocolate. Leave to sit for 5 minutes, then stir until melted and smooth. Allow to cool for about 20 minutes, until it has thickened slightly and is no longer hot to the touch.125 g (4 ½ oz) 60-70% dark chocolate, 35 g (2 Tablespoons) smooth peanut butter, 135 g (½ cup + 1 Tablespoon) non-dairy milk (I use soy)
- Spoon the ganache on top of the cheesecake and spread it level, sprinkle with chopped roasted peanuts then return the cheesecake to the fridge for 30 minutes for the ganache to set before serving. Keep the cheesecake refrigerated in a covered container until ready to serve.a couple of handfuls roasted salted peanuts
Notes
- *This is the kind of peanut butter that contains added oil, giving it a thick, creamy texture. I use Whole Earth but brands like Skippy or Sun-Pat will also work. Avoid using 100% peanuts peanut butter as it has a runny texture which may cause the cheesecake to not set properly.
- I recommend making the cheesecake the day before you want to serve it as it will need at least 6 hours in the fridge to set.
- See post above for tips, details, storage instructions and step-by-step photos.
- All of my recipes are developed using grams, and as with all of my baking recipes I really do recommend using the metric measurements with a digital scale rather than the cup coversions. Cups are a wildly inaccurate measuring system and you will get far better, more consistent results using a scale, not to mention that it is also easier and less messy than cups!
- If you prefer a slightly firmer set cheesecake then you can add 55g (4 Tablespoons) of melted coconut oil to the filling.
If you tried this recipe let me know how it went! Rate it, leave a comment or tag @domestic_gothess on Instagram and hashtag it #domesticgothess
Leave a Reply