

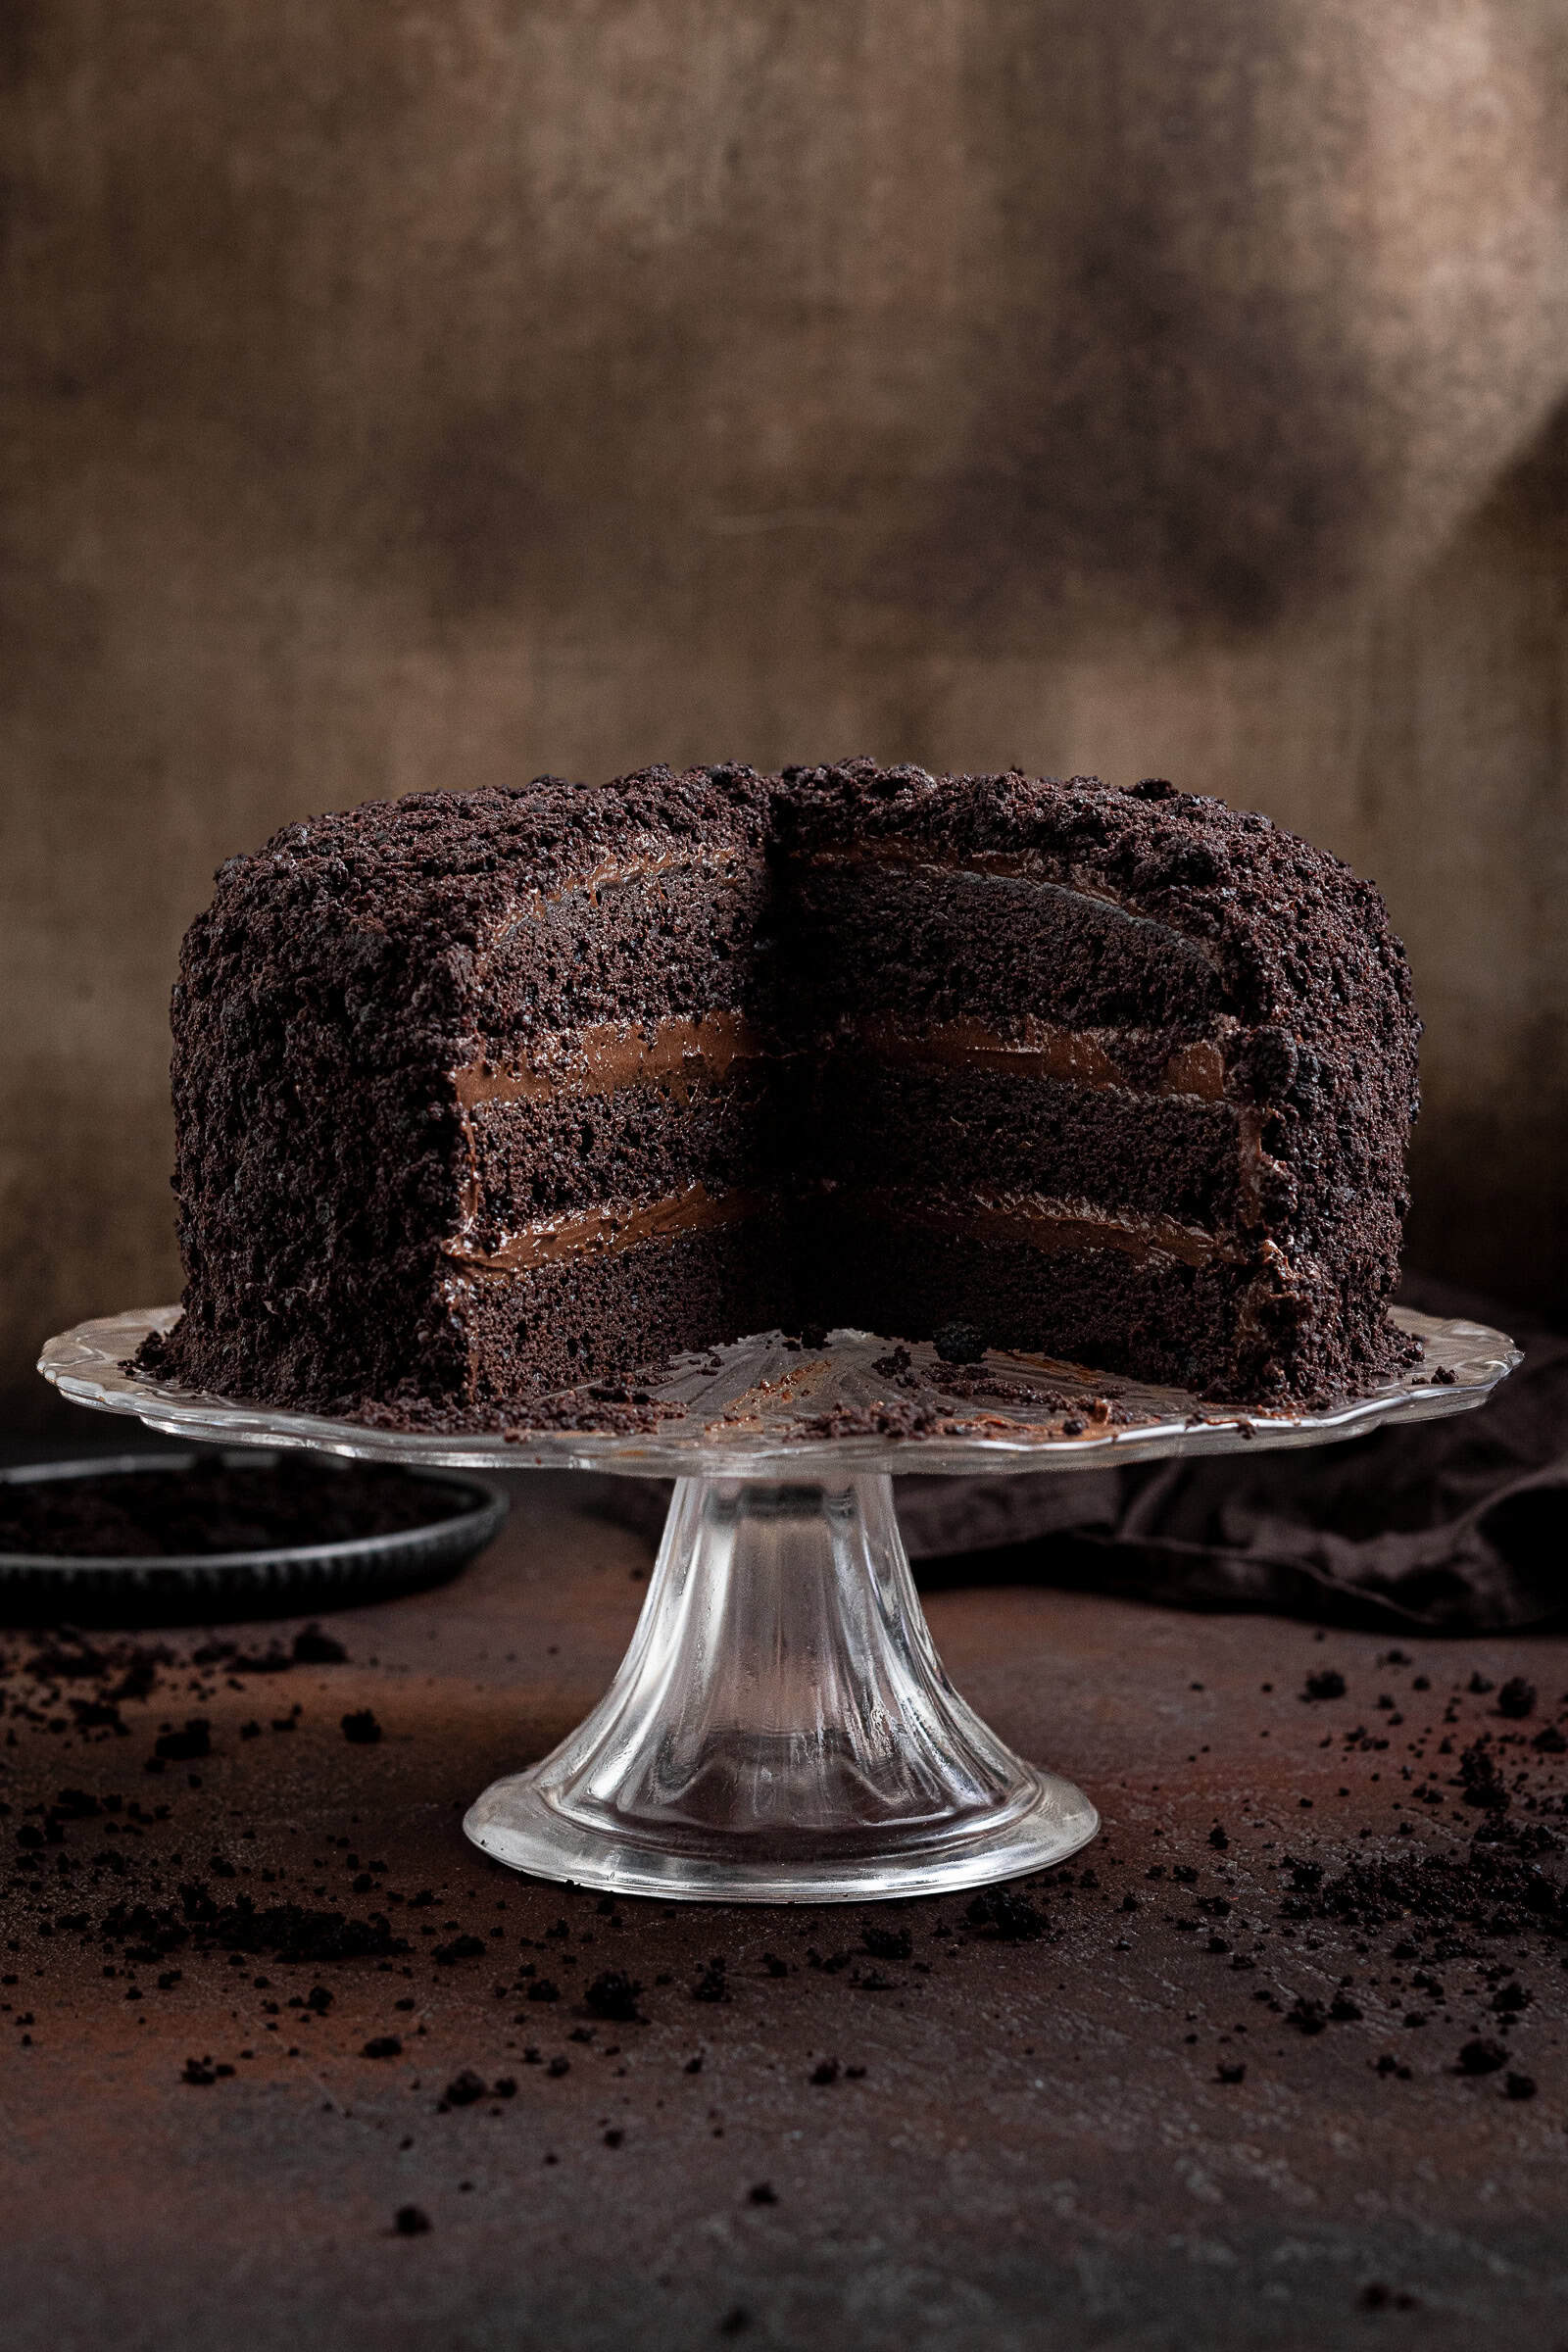
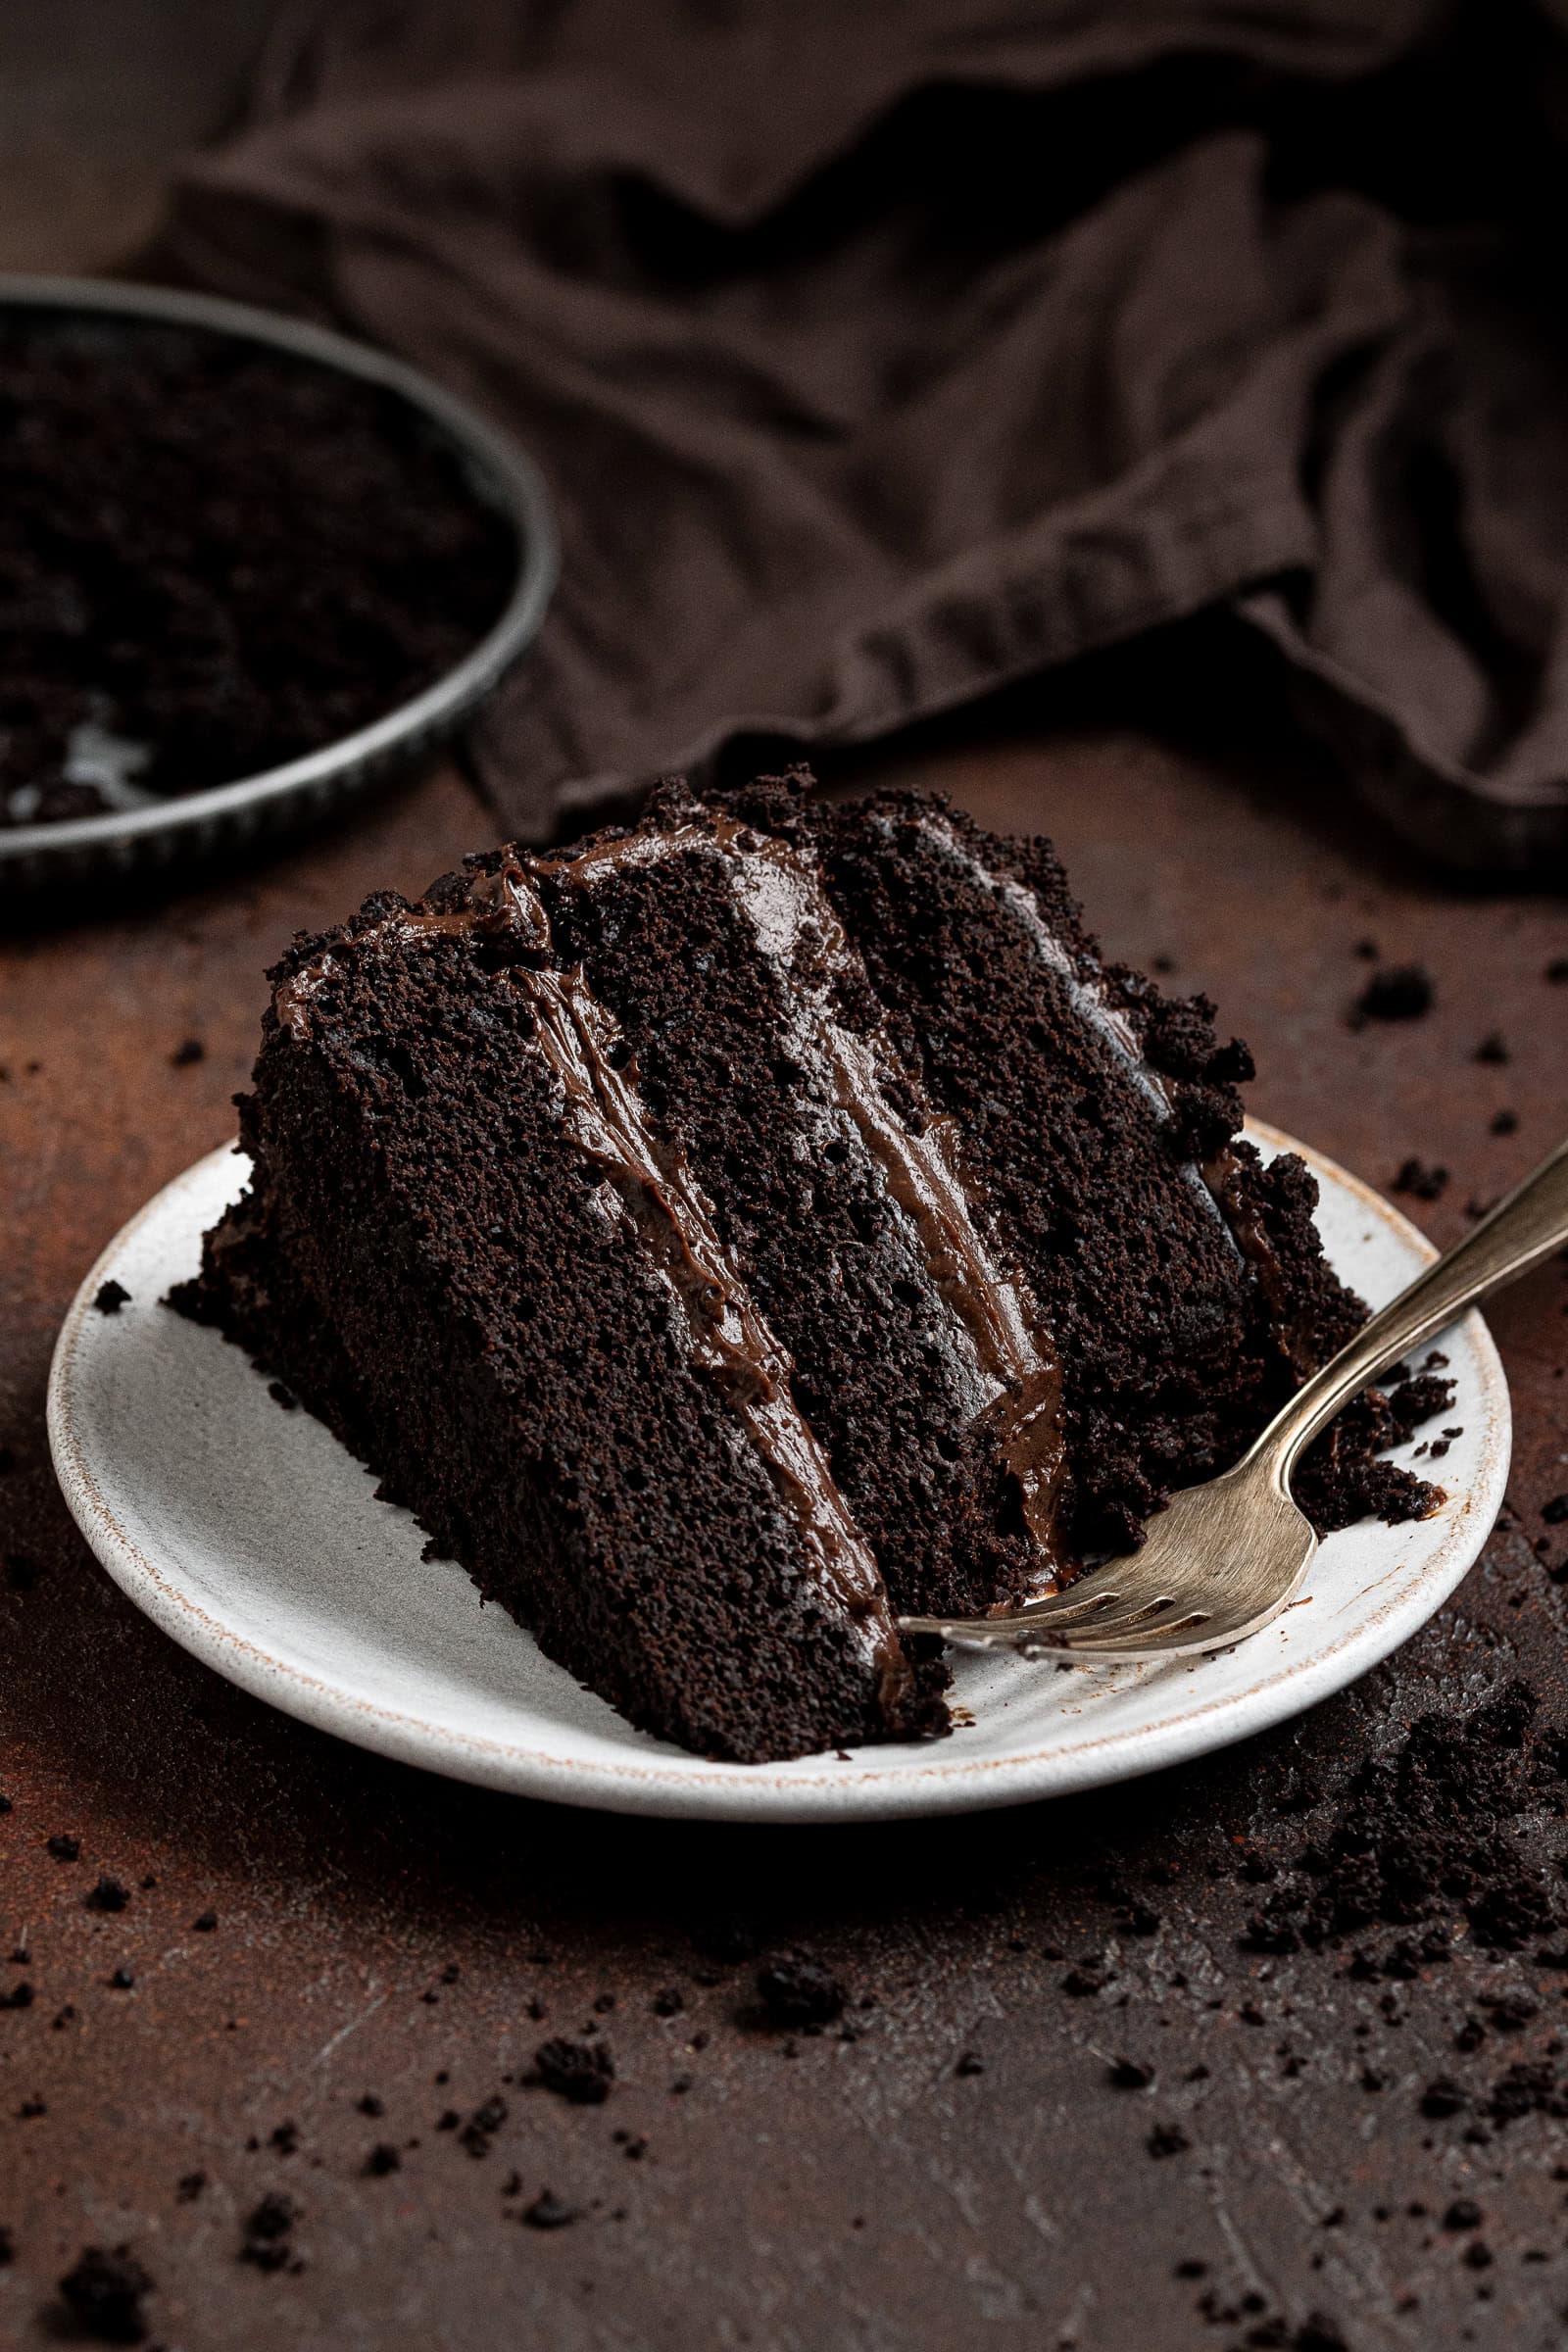
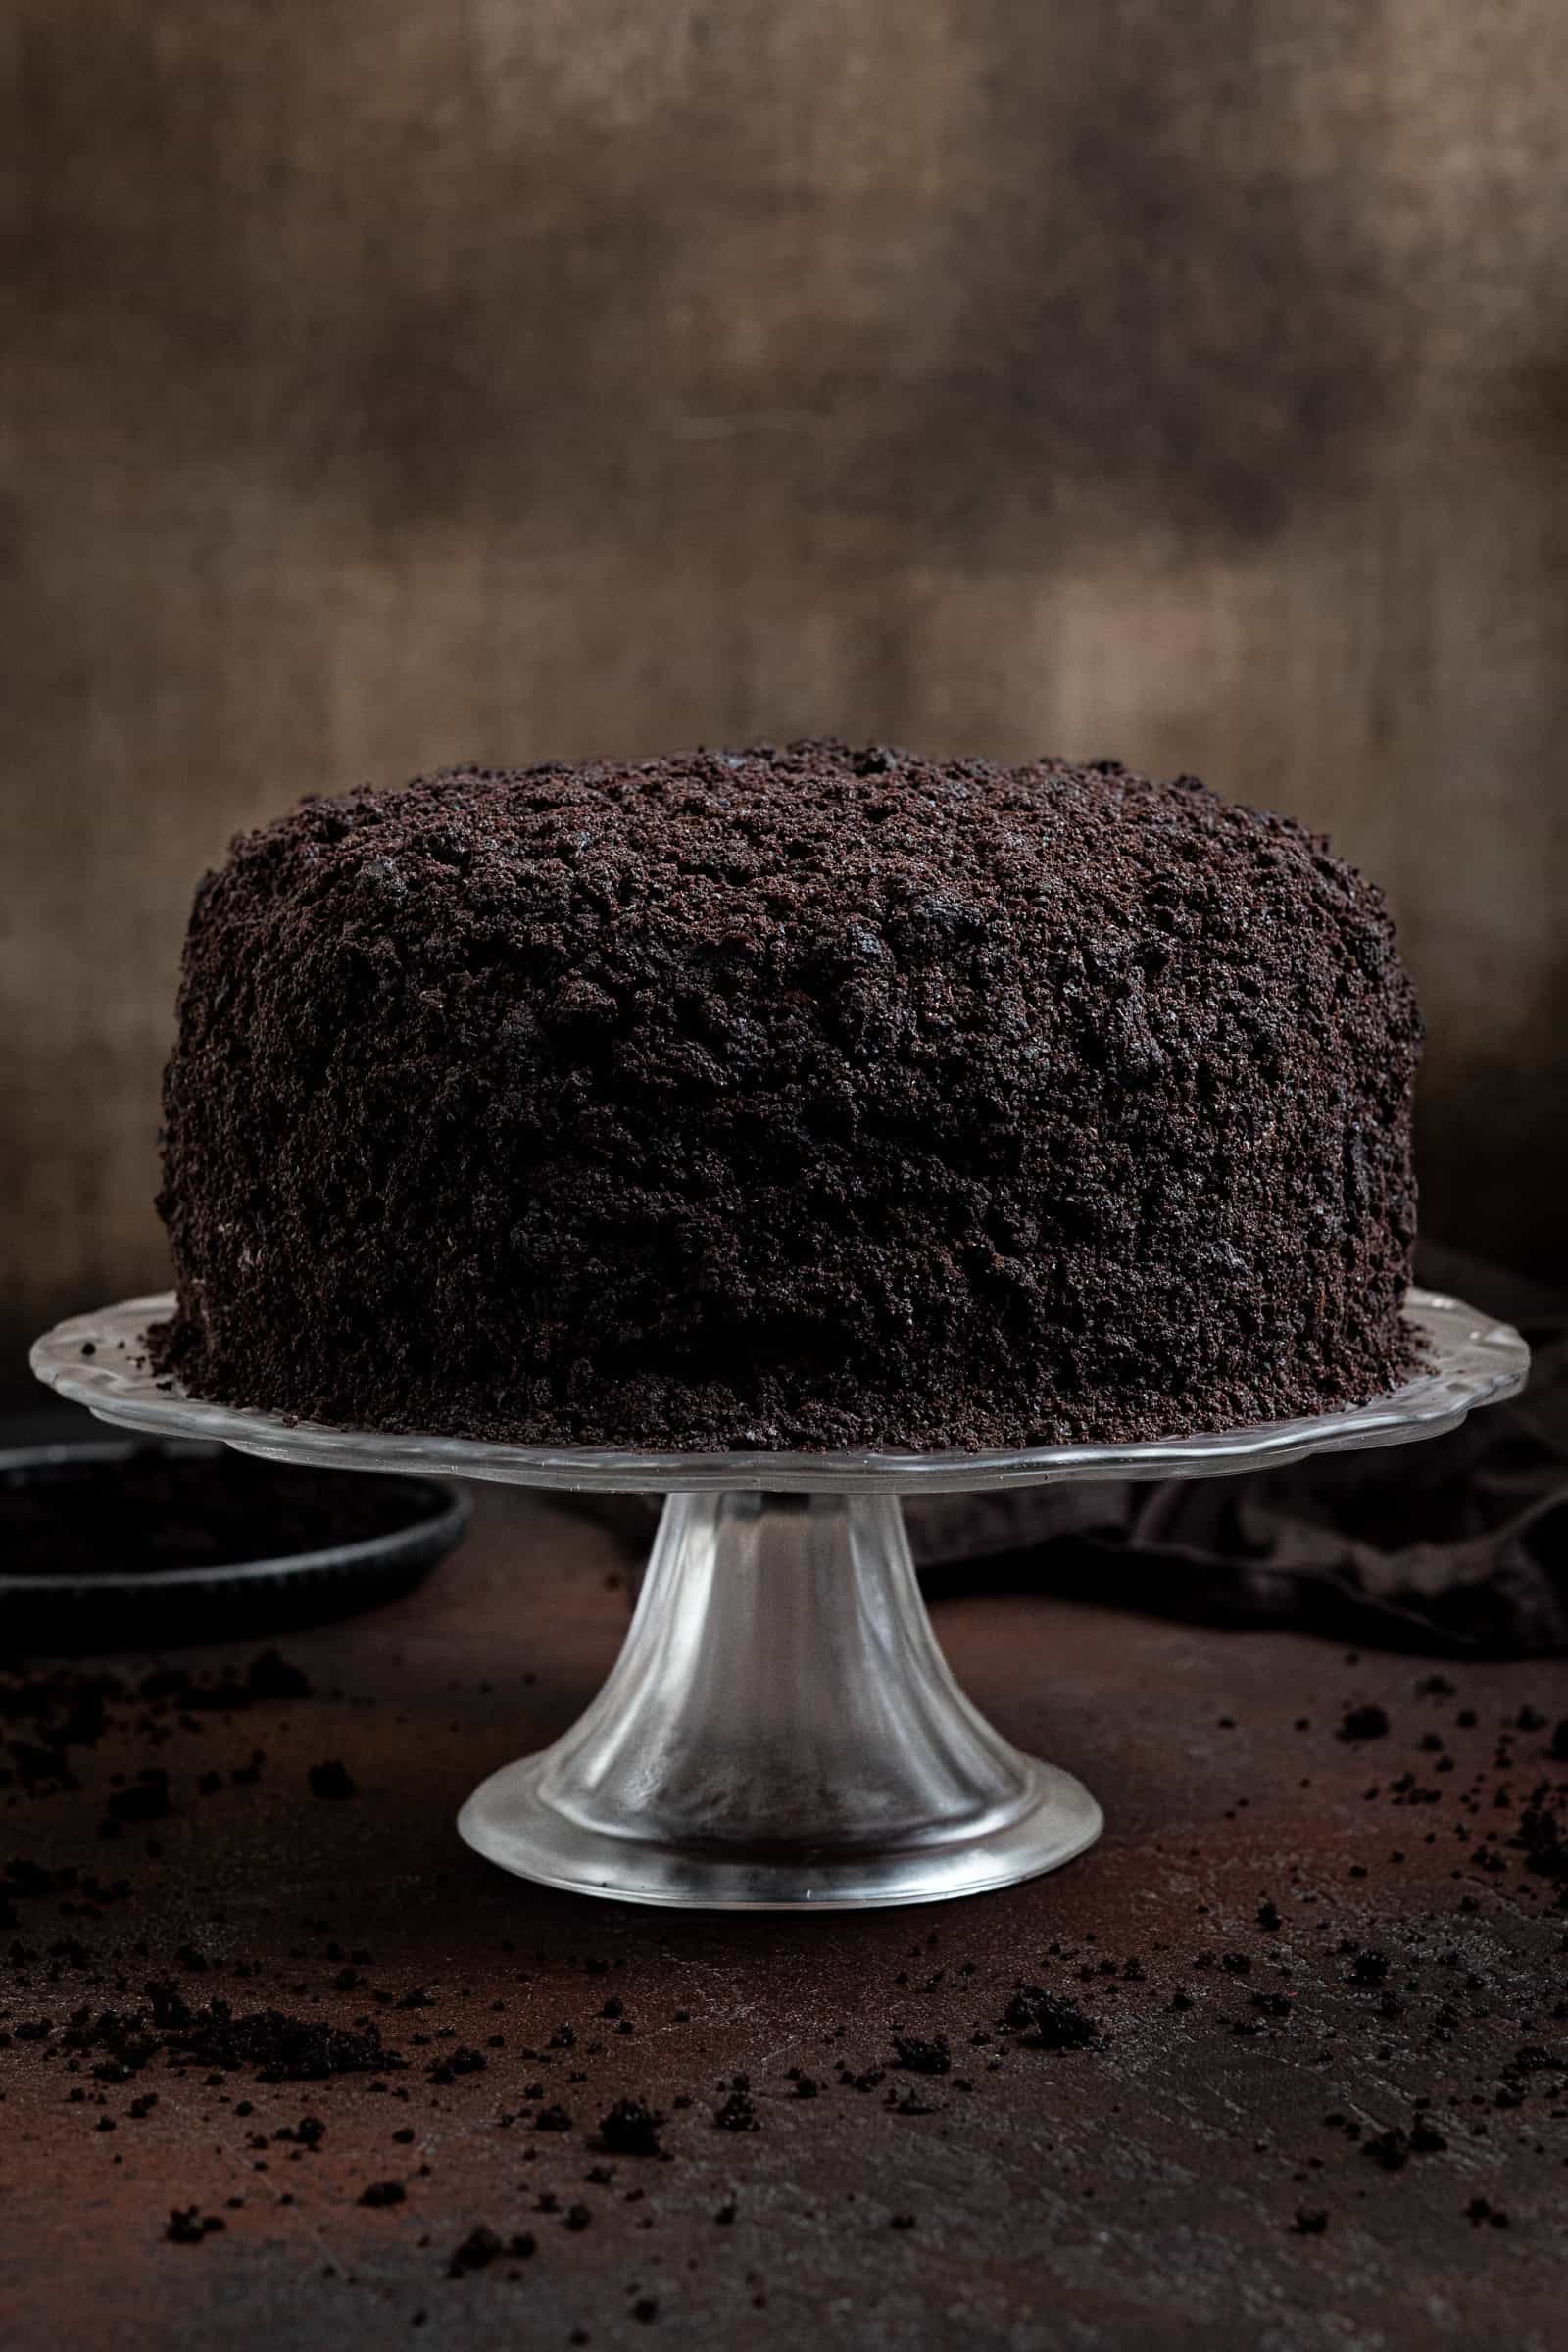
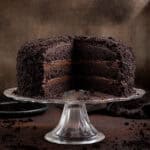
This vegan Brooklyn blackout cake is the ultimate rich, fudgy, indulgent chocolate cake. Three layers of moist, ultra-chocolatey cake are filled and covered in thick, smooth chocolate custard then finished with a coating of cake crumbs.
What Is Brooklyn Blackout Cake?:
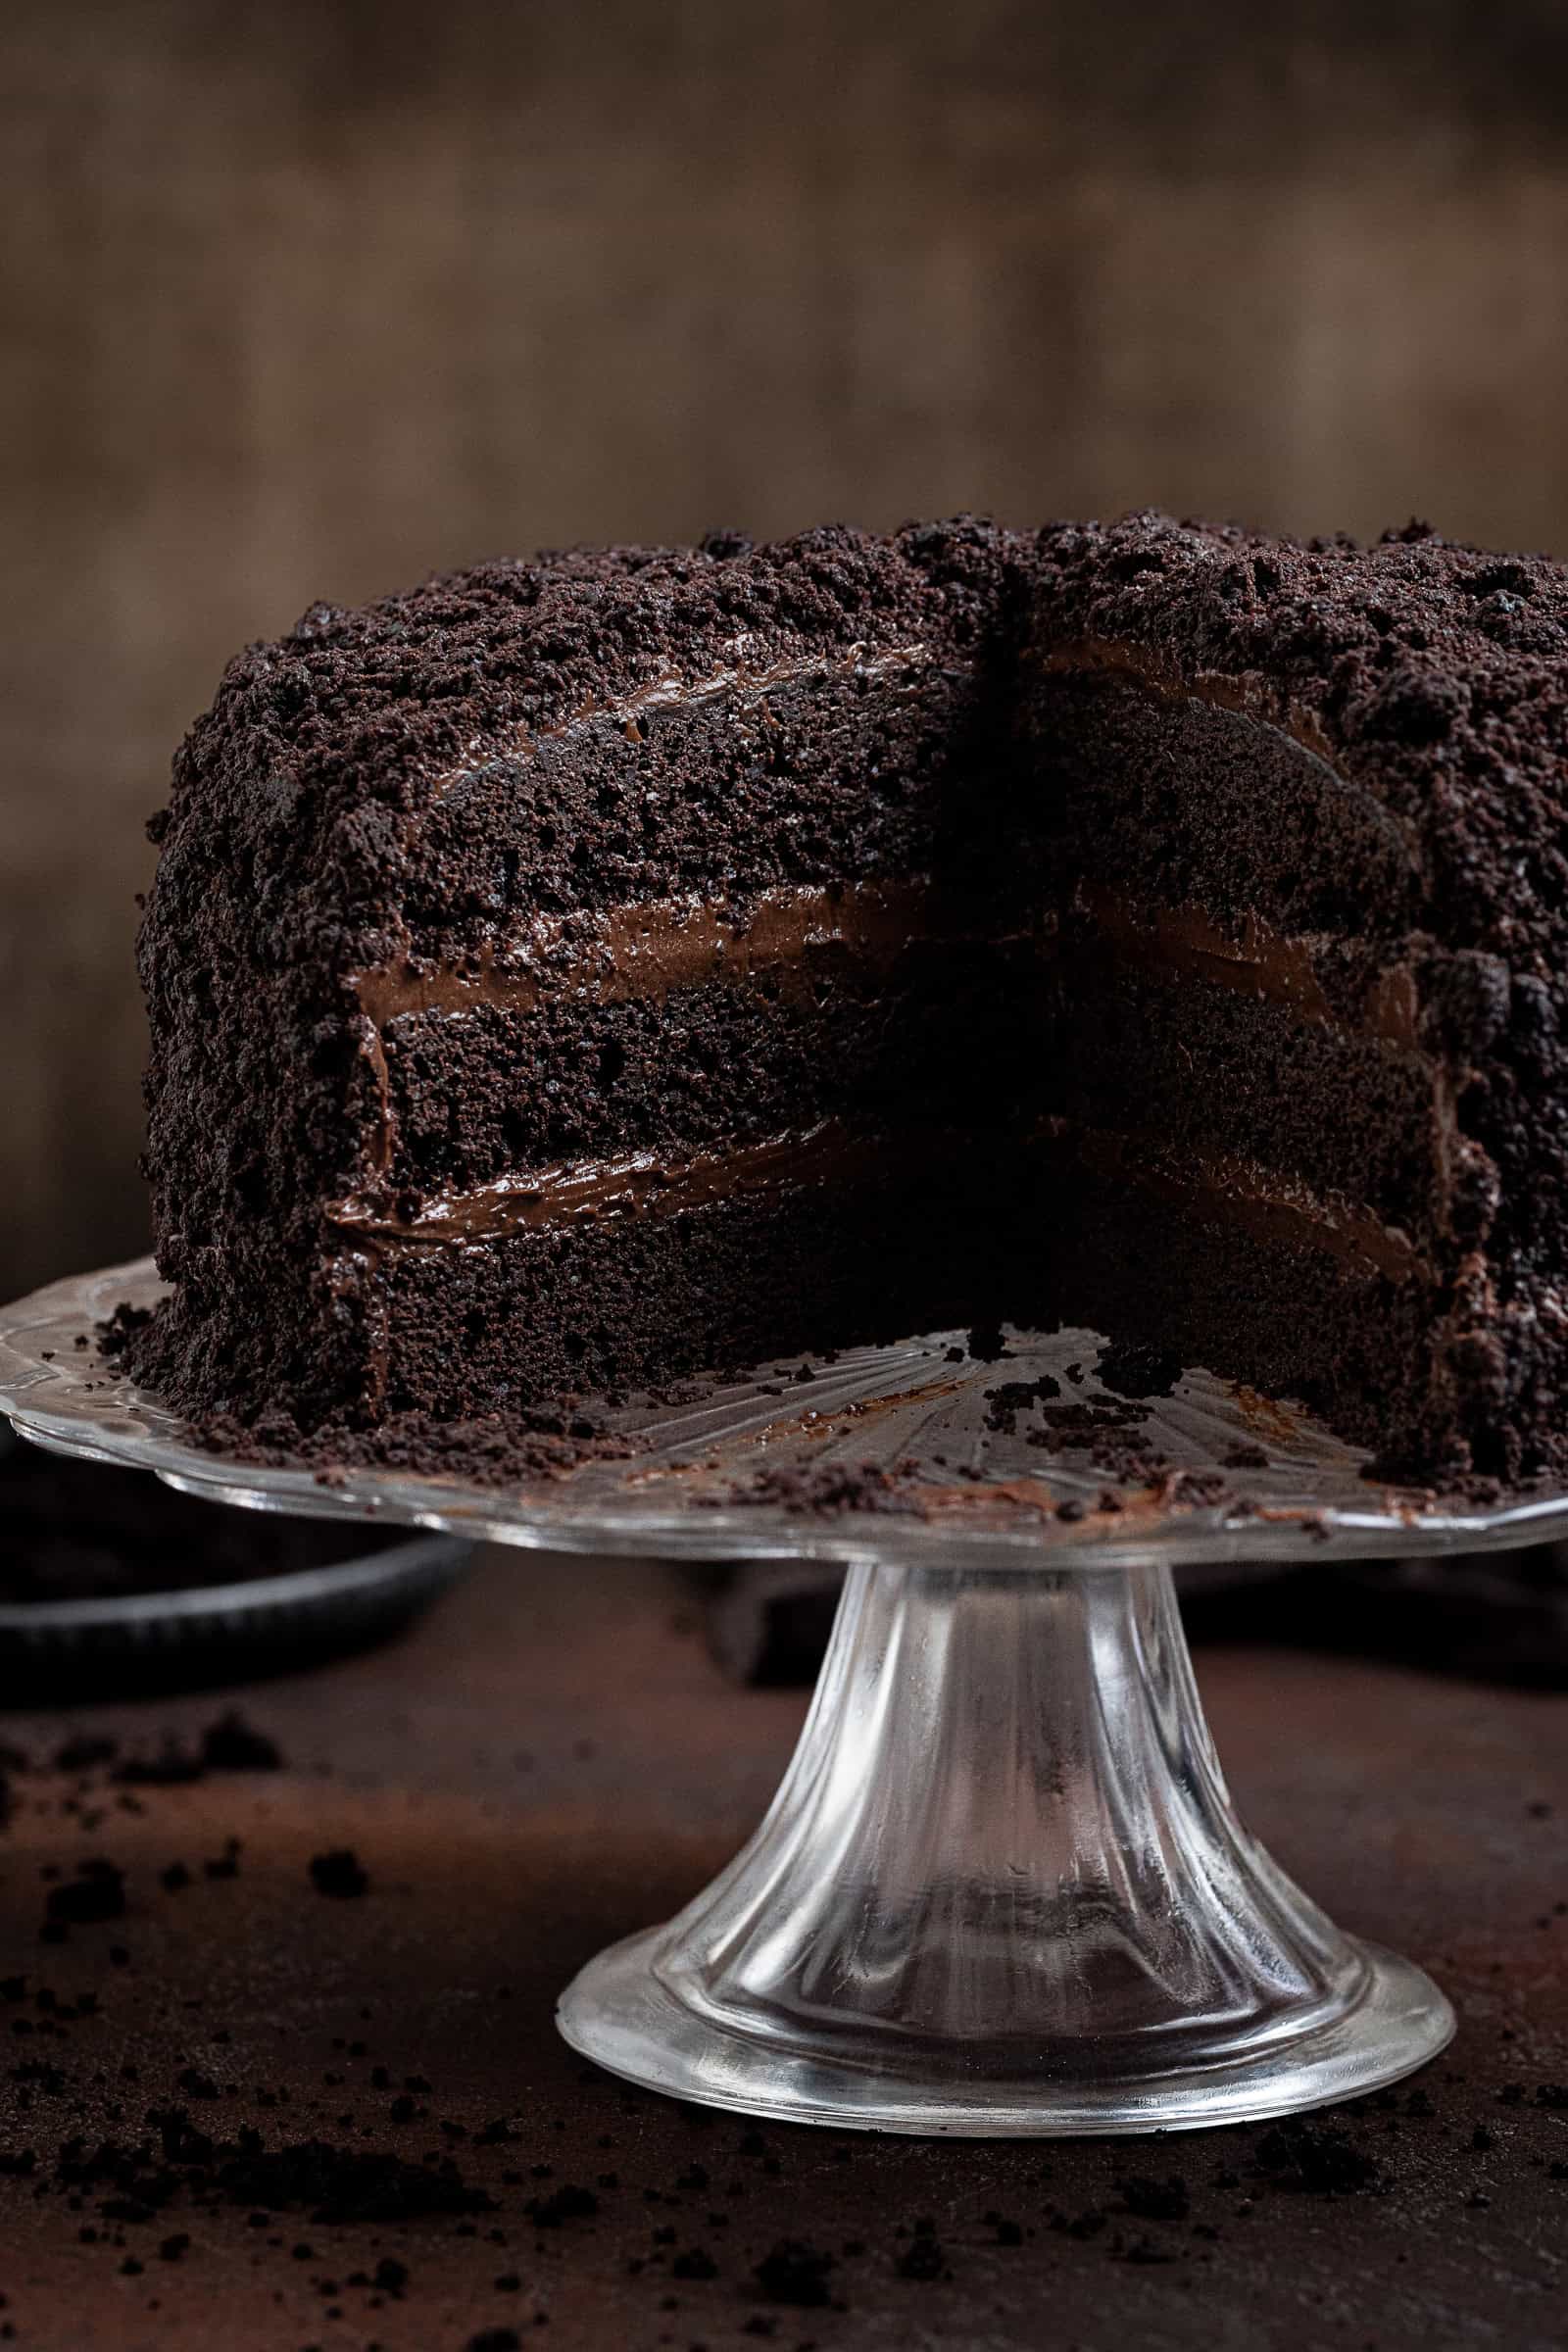
Unlike a traditional chocolate layer cake, a Brooklyn Blackout Cake does not use buttercream or ganache. Instead, it is defined by three specific elements:
- The Cake: Three layers of soft, moist, dark chocolate cake.
- The Pudding: Instead of buttercream, the cake layers are filled and covered on the outside with a thick, cooked, custard-like chocolate pudding.
- The Crumb Coating: To finish it off, one of the cake layers is crumbled up and pressed into the entire pudding-coated exterior.
Because of the pudding, it has to be kept refrigerated, giving it a uniquely dense and fudgy texture.
The cake was invented in the early 1900s by Ebinger’s Bakery of Brooklyn, New York; a bakery chain set up by German immigrants which was at one time the largest bakery chain on the East Coast of America.
During World War II, the city was regularly under blackout orders so that enemy aircraft and submarines couldn't use the city's glow to spot targets at the nearby Brooklyn Navy Yard. Ebinger’s re-named their chocolate fudge cake "Blackout Cake" in honour of these civilian defence drills.
Ebinger’s Bakery filed for bankruptcy and closed its doors forever in 1972, taking the original, heavily guarded recipe with it. The cake has remained popular however, with bakeries across the US attempting to recreate the original.
This vegan version is rich, fudgy, moist and incredibly chocolatey. The cake layers are made with both cocoa powder and melted dark chocolate which gives them a deeper chocolate flavour than cocoa alone.
The pudding is a simple cooked custard, thickened with cornstarch, with added dark chocolate for a thick, silky texture and a rich chocolate flavour.
Ingredient Details:
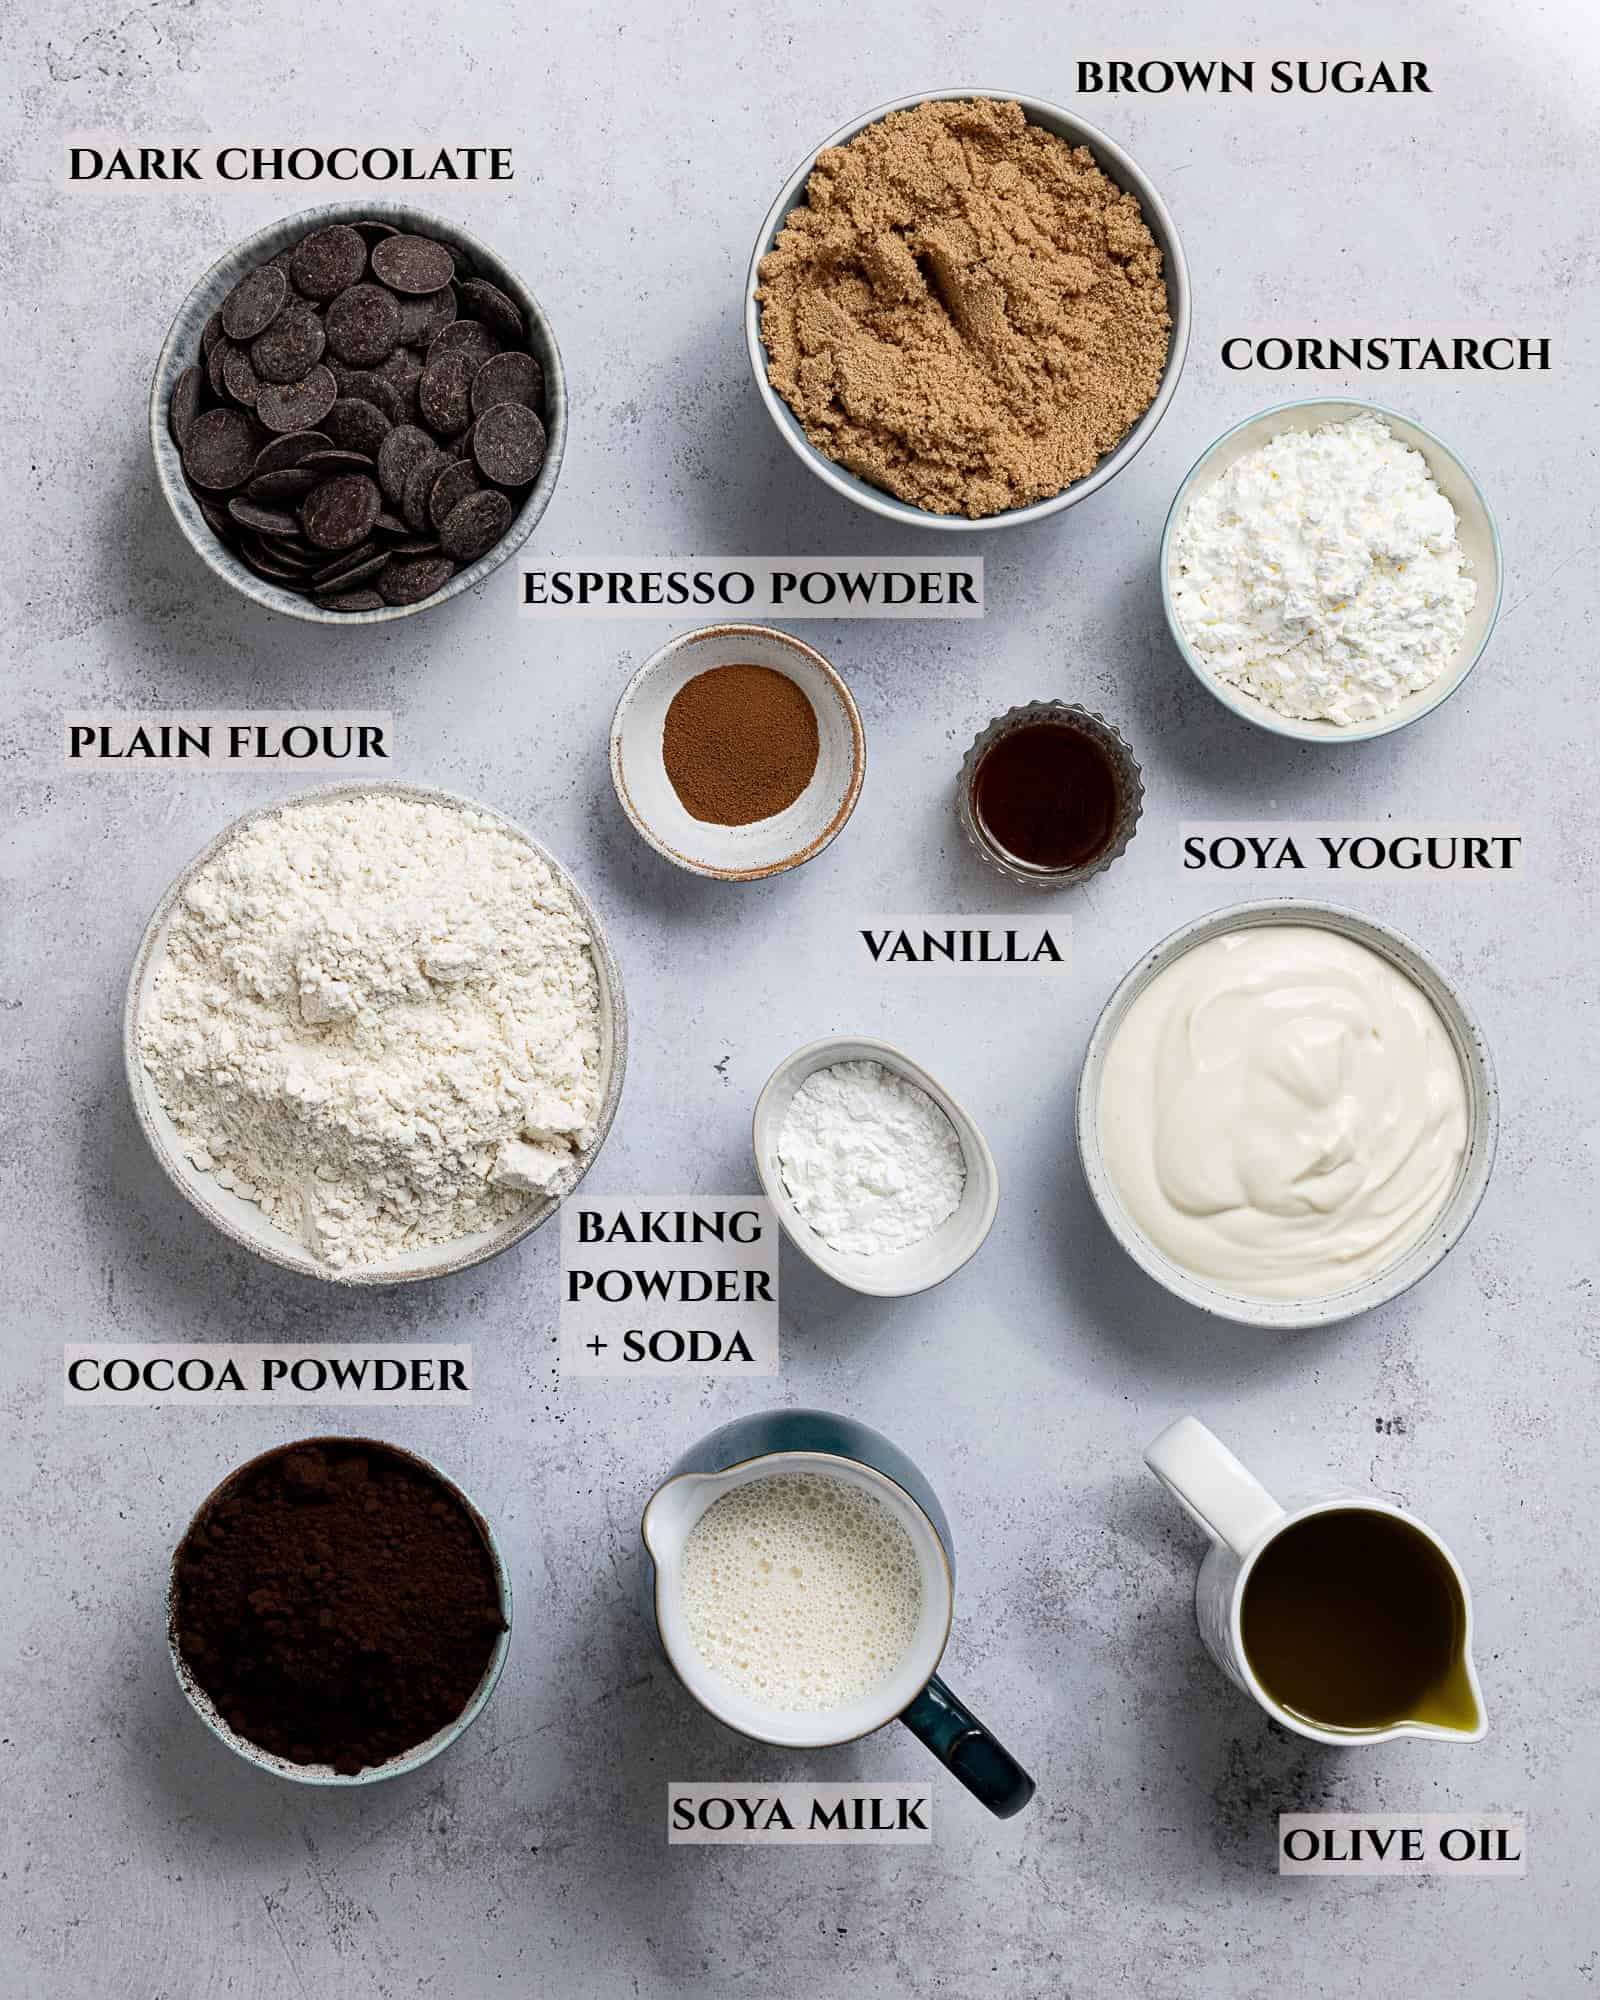
Plain flour: Just regular plain (all-purpose) flour. I don't recommend swapping it for wholemeal, it will make the cake too dense.
Cocoa powder: Use Dutch processed, not natural. For those of you in the UK, that is just regular cocoa powder. I used black cocoa powder for the cake and regular Dutch processed for the frosting.
Oil: Any neutral flavoured oil that is liquid at room temperature will work, I use olive. Do not use coconut oil as it will make the refrigerated cake unpleasantly dense.
Baking powder and soda: Make sure that you use both, they are not interchangeable.
Cornflour (cornstarch): This is used to thicken the frosting, I don't recommend swapping it for another kind of starch as that may affect the texture.
Dark chocolate: Use 60-75% dark chocolate. Don't use anything with a higher cocoa percentage than that or it can make the frosting more likely to split.
Yogurt: I use Greek style soya yogurt, though a regular plain vegan yogurt is also fine.
Milk: Use a creamier type of milk such as soya or oat milk.
Sugar: I like to use light brown soft sugar for both the cake and the pudding, dark brown or caster/granulated will also work. Do not use sweeteners or liquid sugars instead.
Espresso powder: A touch of instant espresso powder helps to deepen the chocolate flavour; you can use instant coffee granules instead, or use hot brewed coffee instead of the water.
How To Make Vegan Brooklyn Blackout Cake:
(Full measurements and instructions can be found in the recipe card at the bottom of the page)
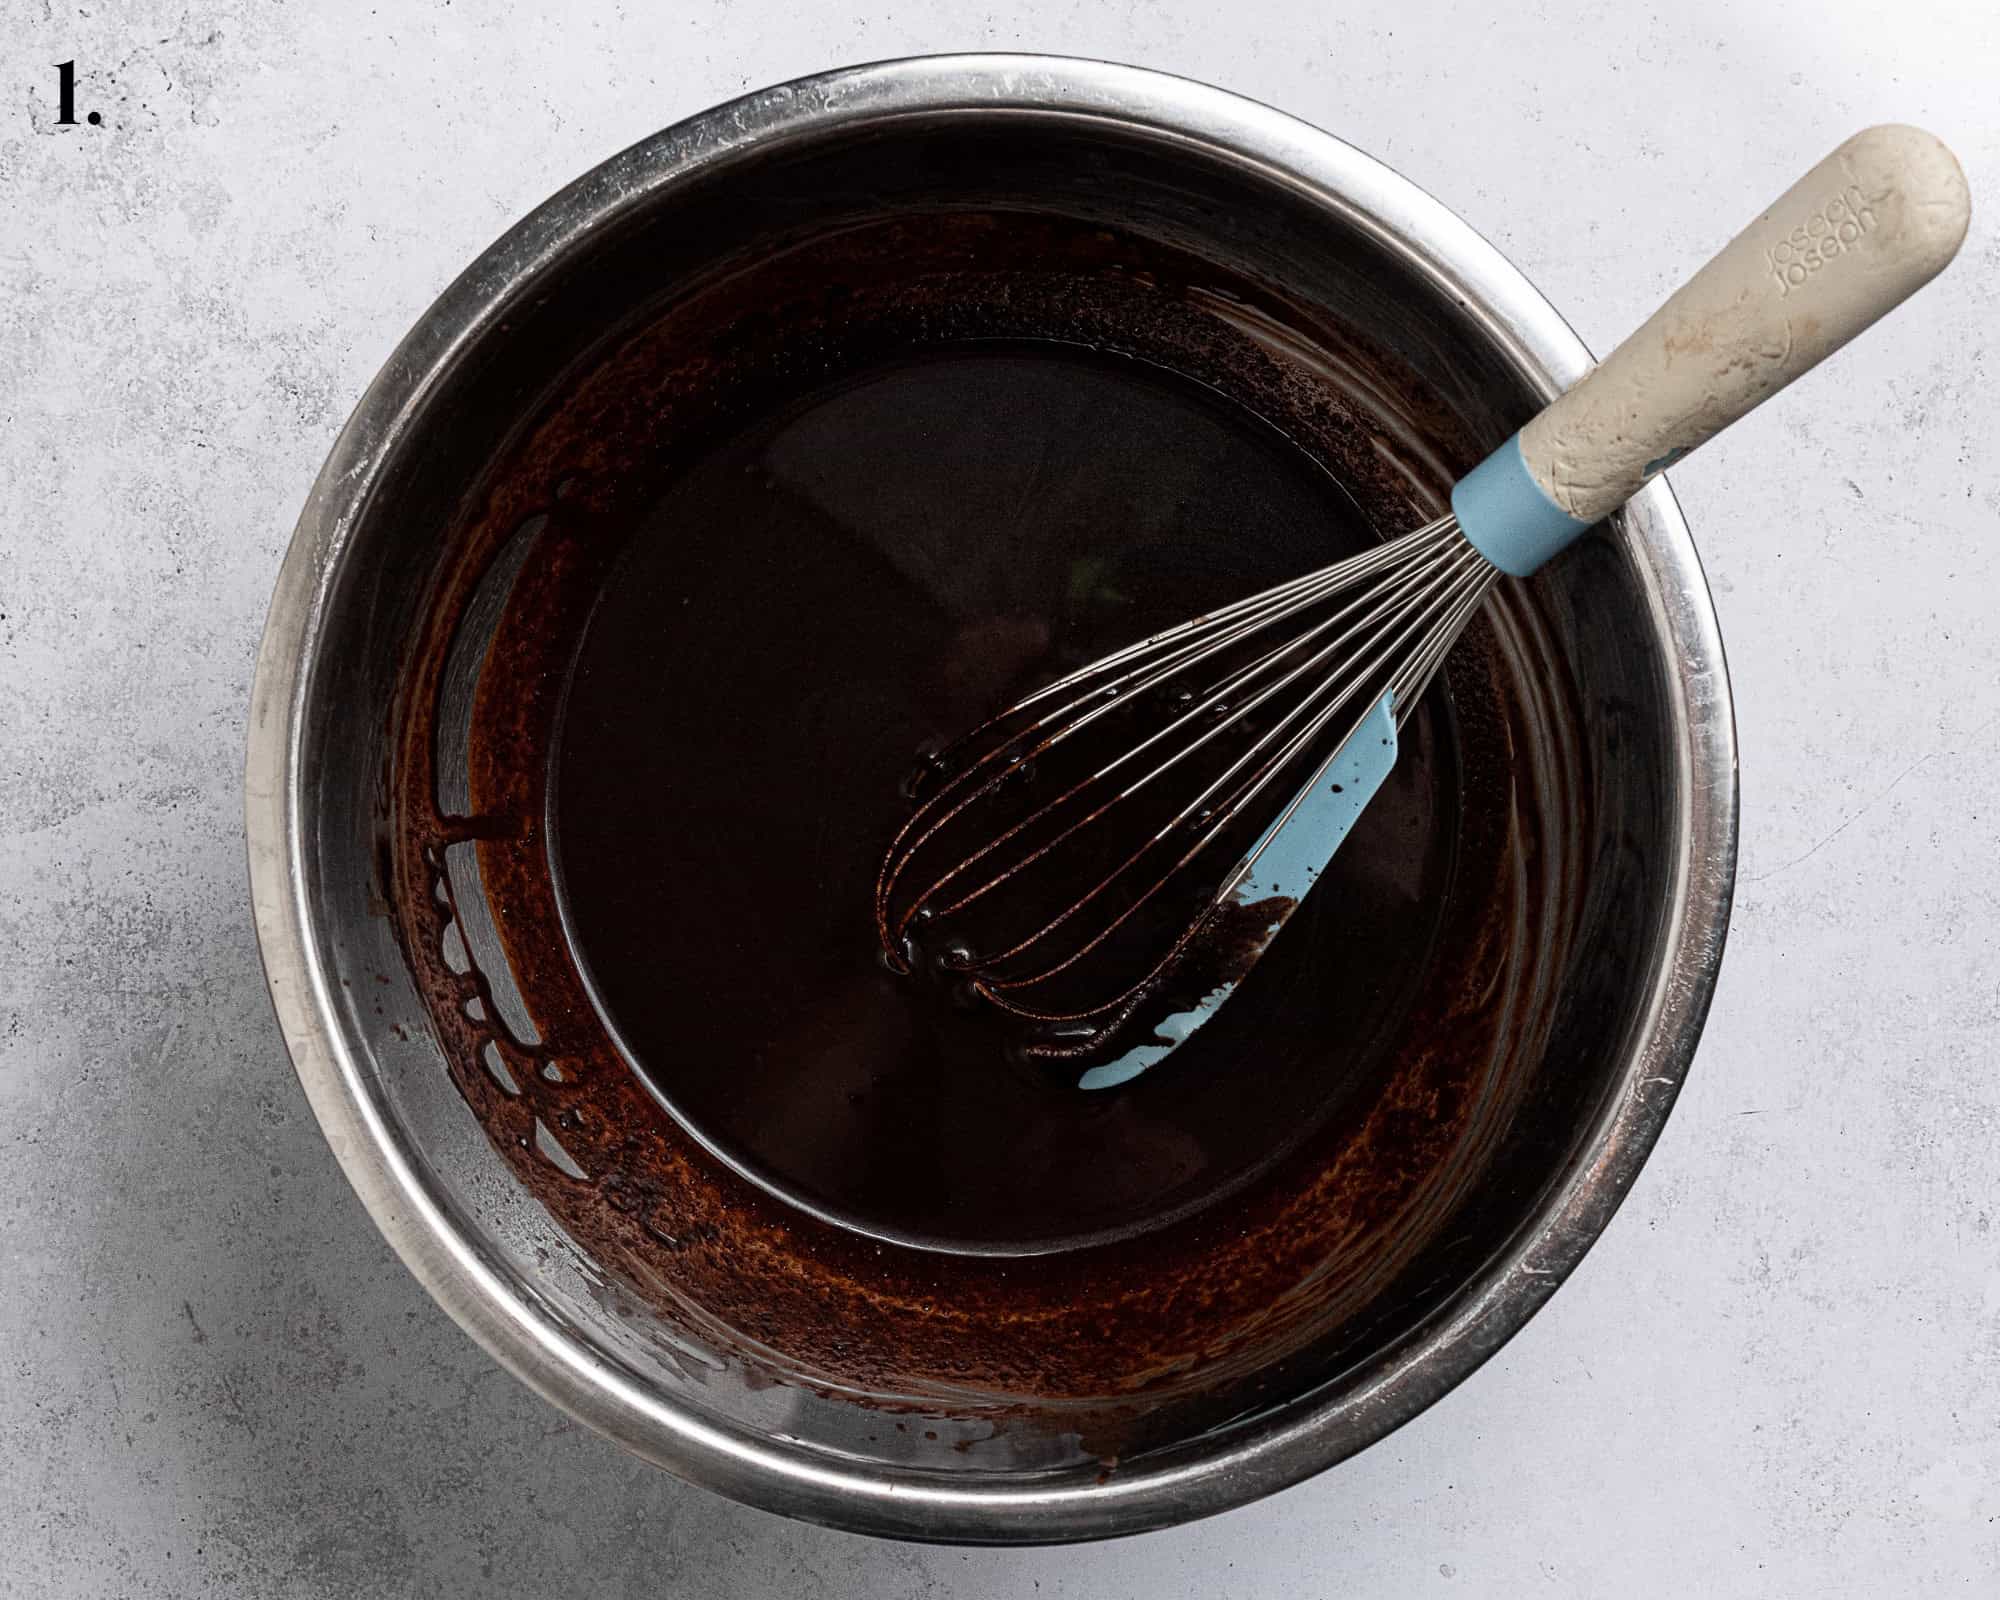
- Step 1: To make the cakes, whisk the boiling water into the cocoa powder then add the chopped chocolate and espresso powder and whisk until melted and smooth.
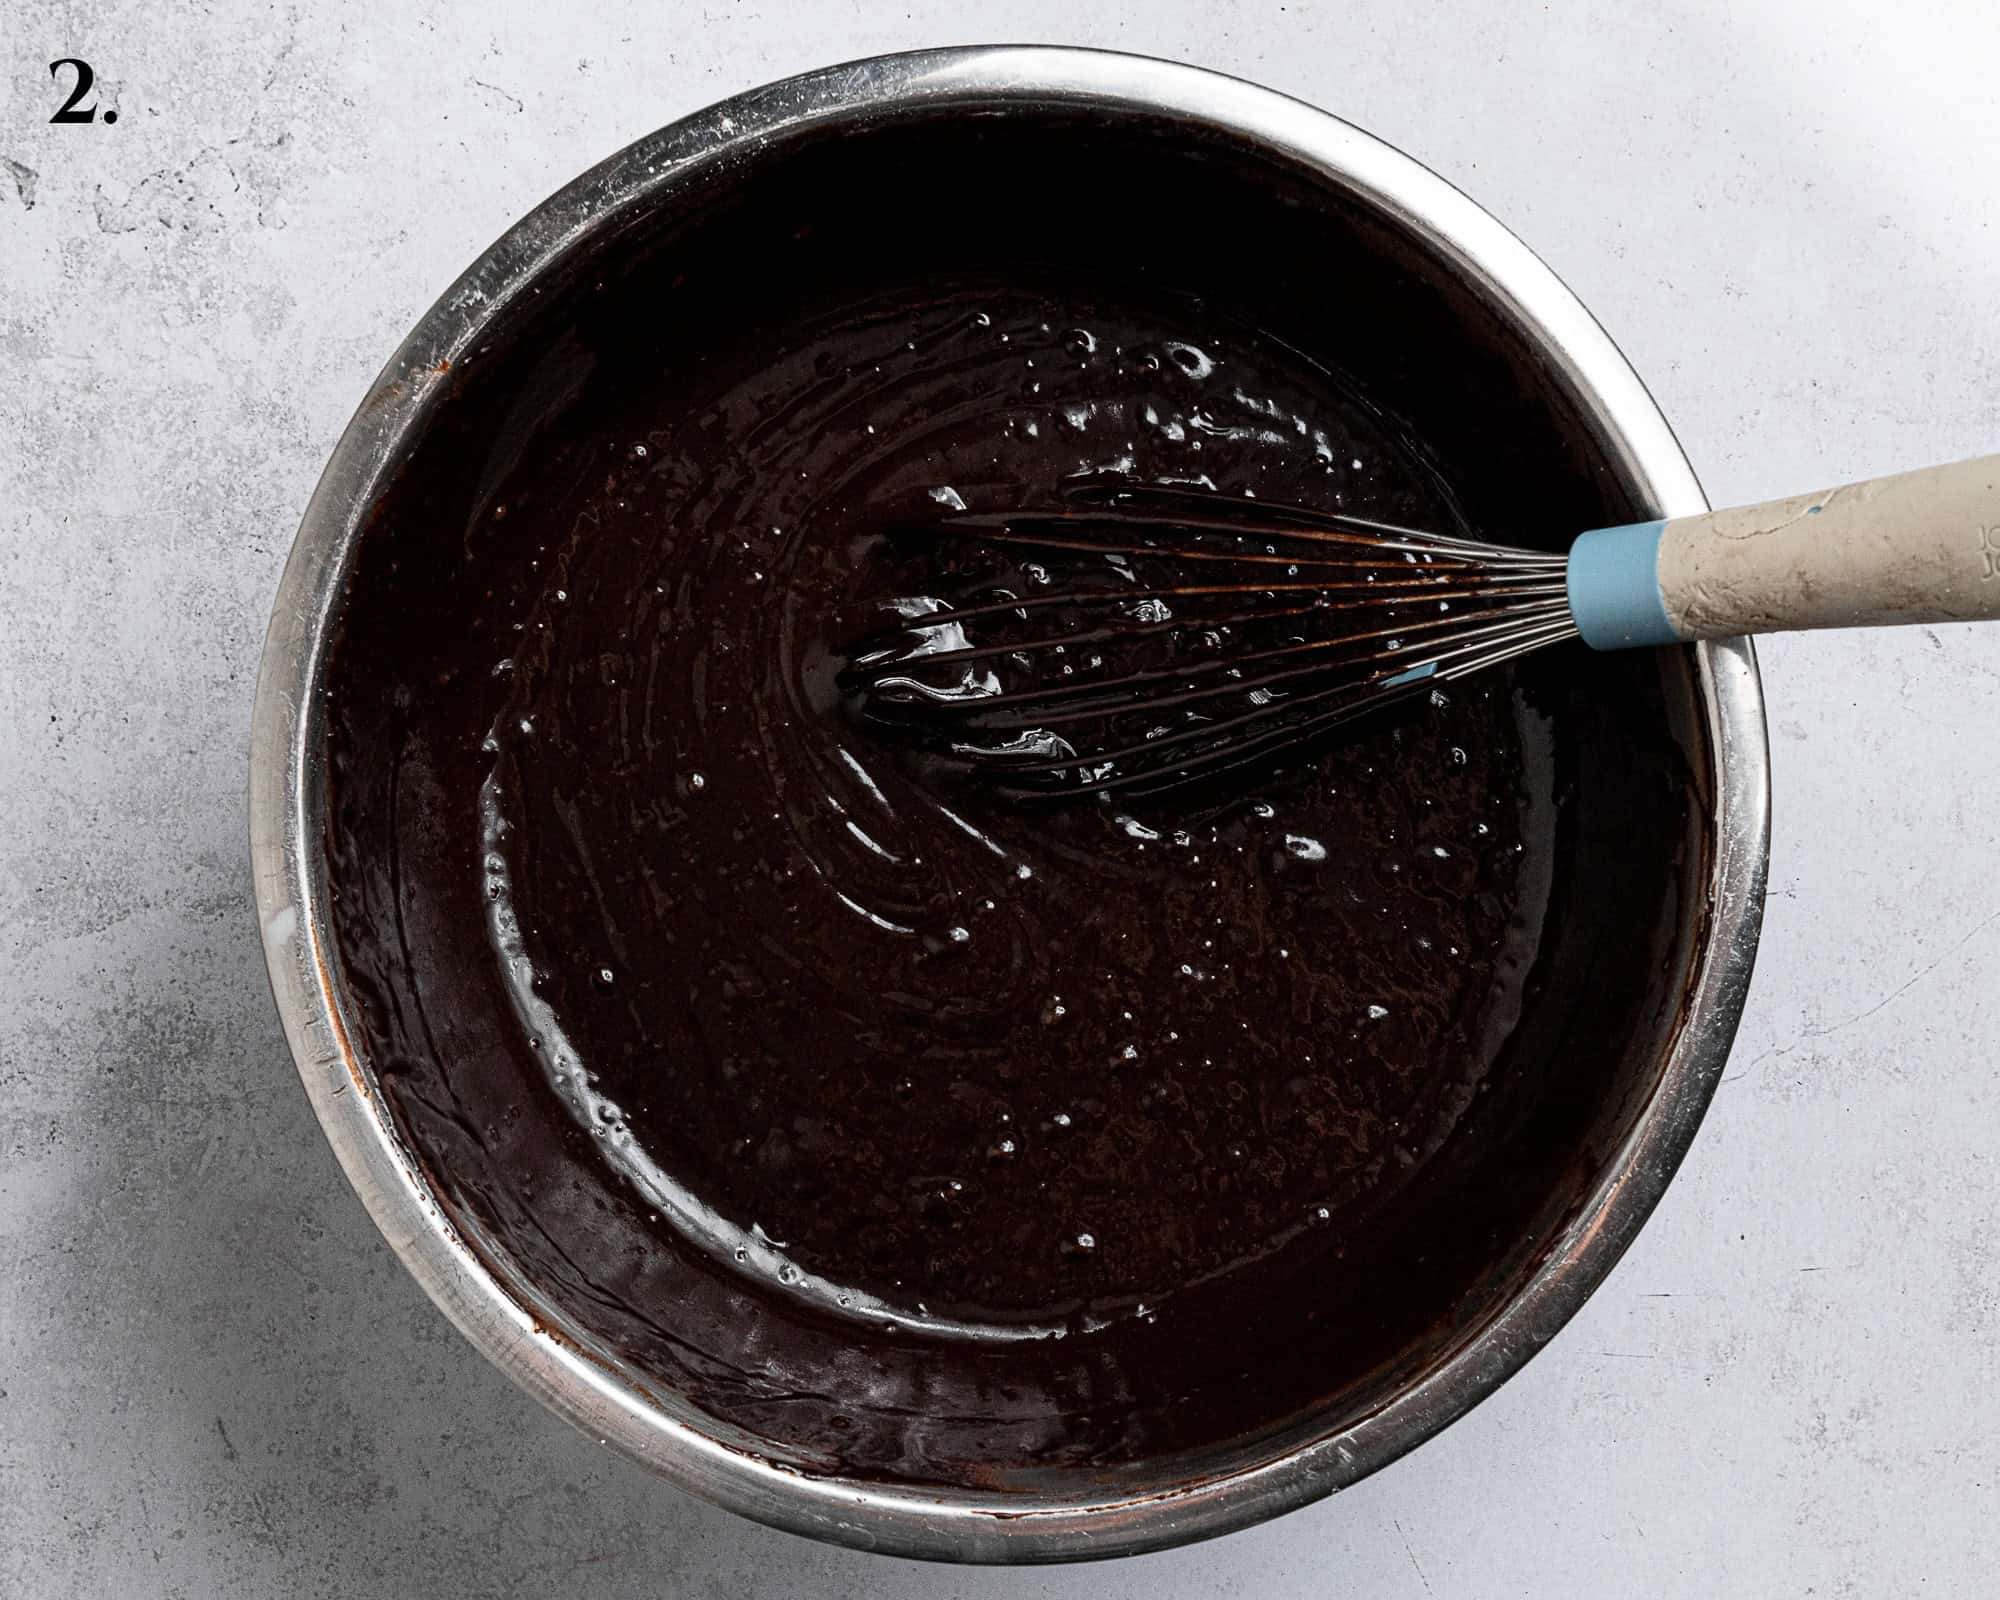
- Step 2: Whisk in the oil, sugar, yogurt and vanilla extract, followed by the baking powder and soda, salt and flour.
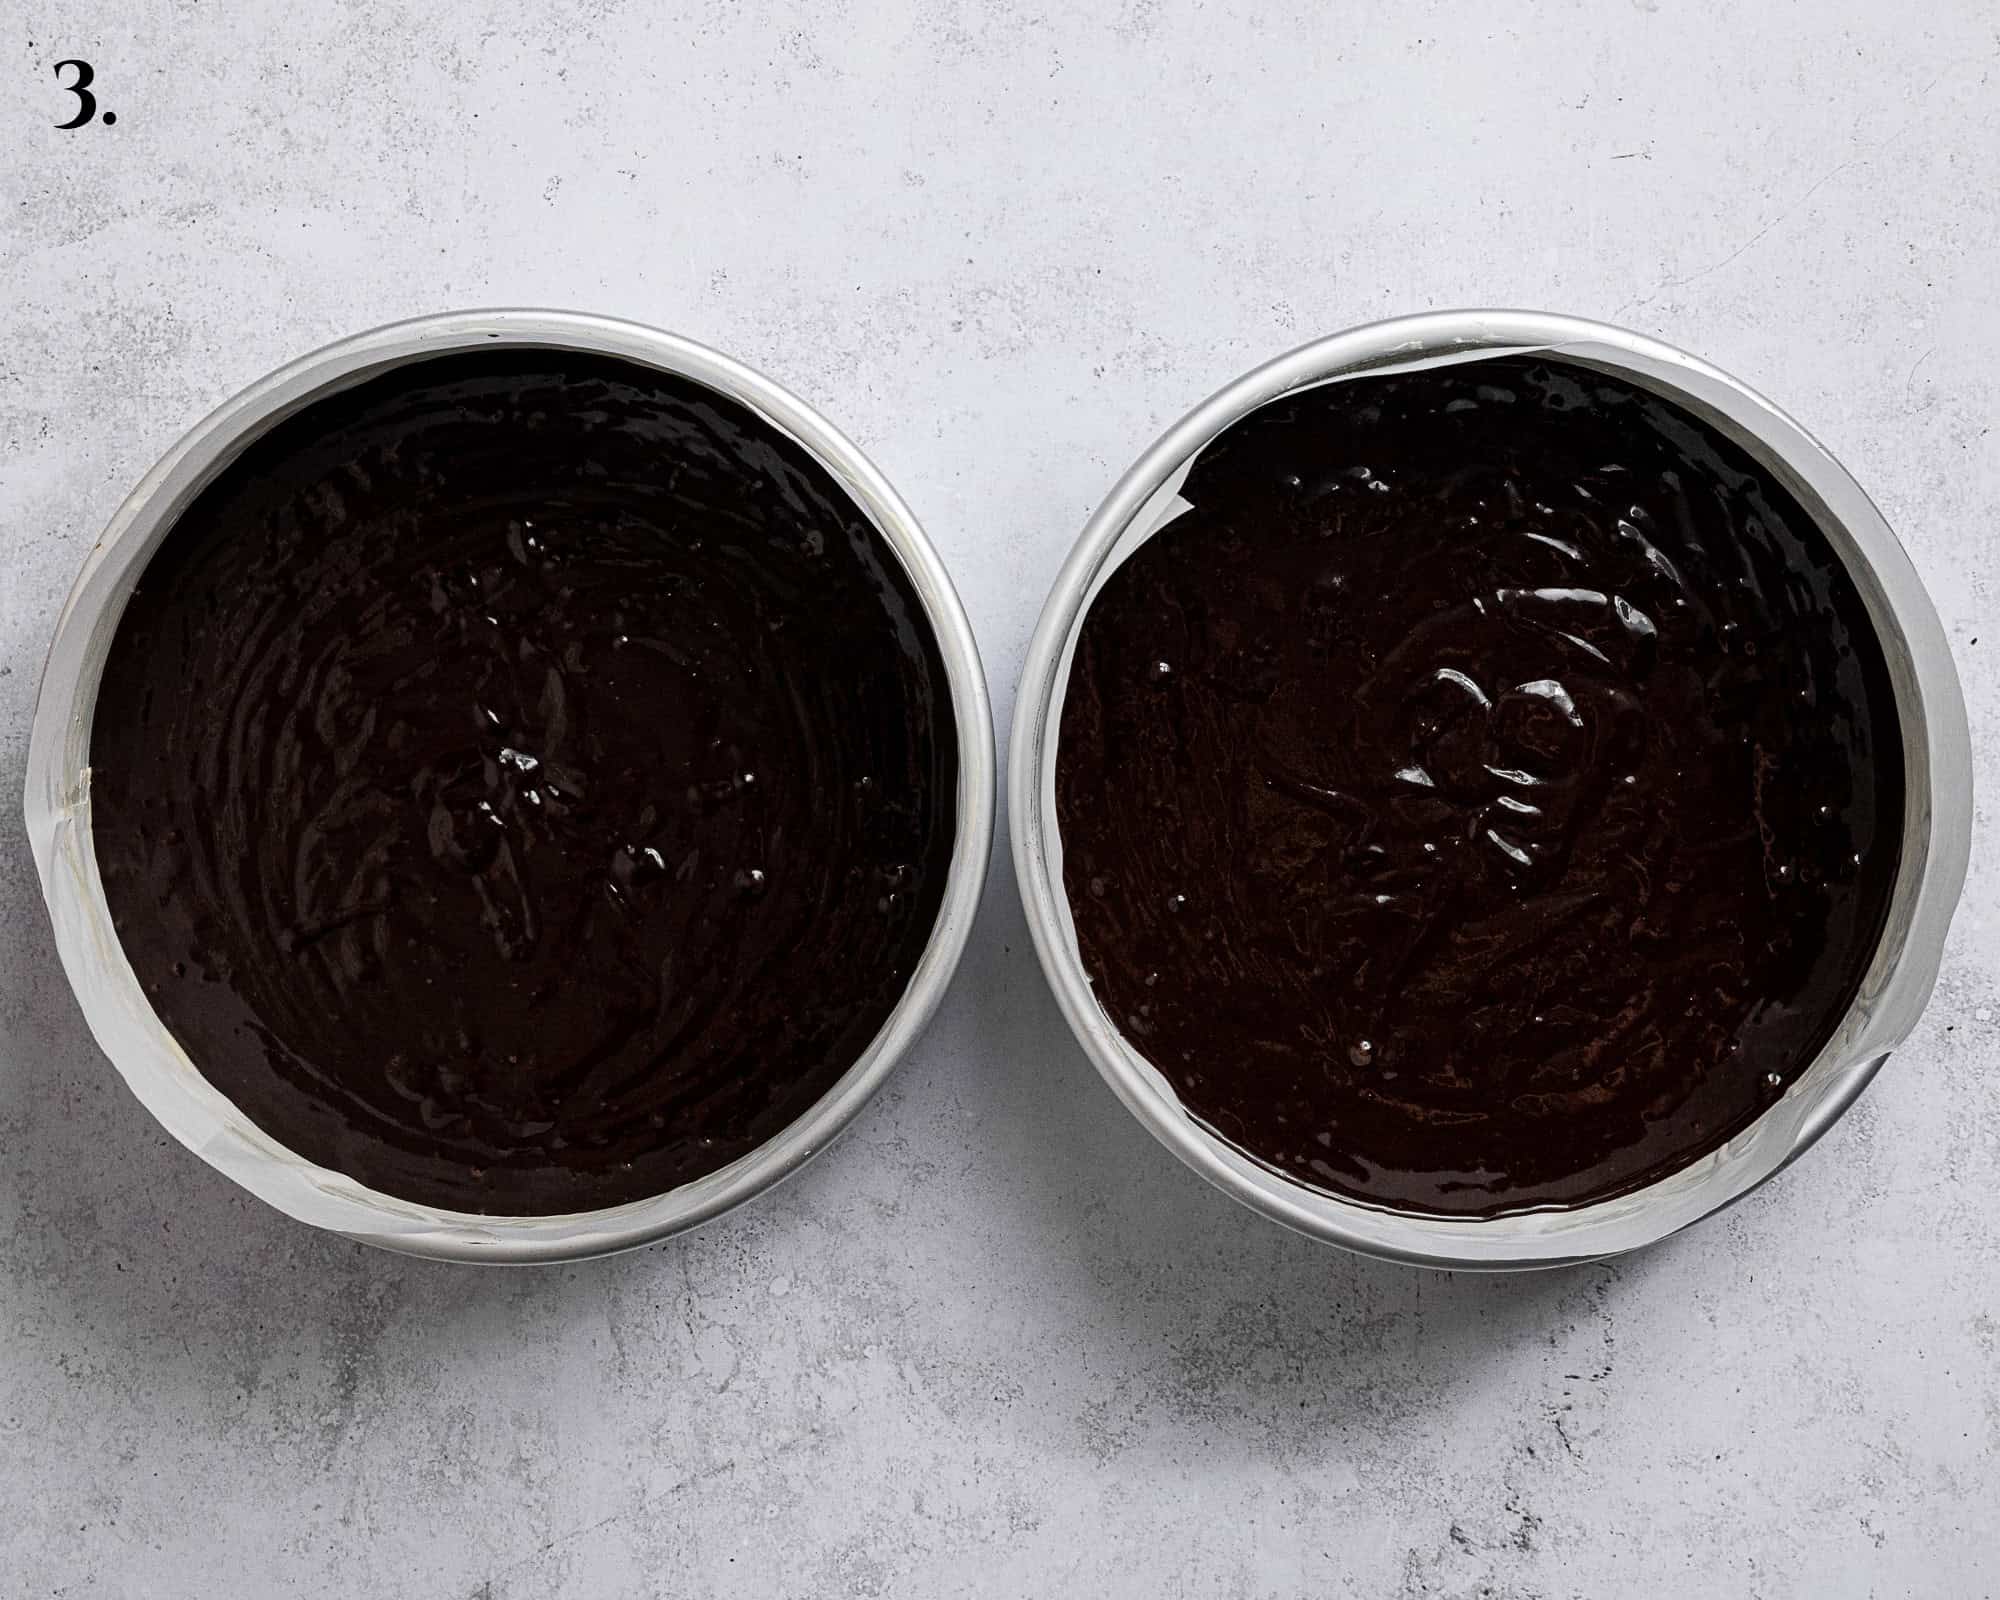
- Step 3: Divide the batter evenly between two 20 cm/8 in round cake tins.
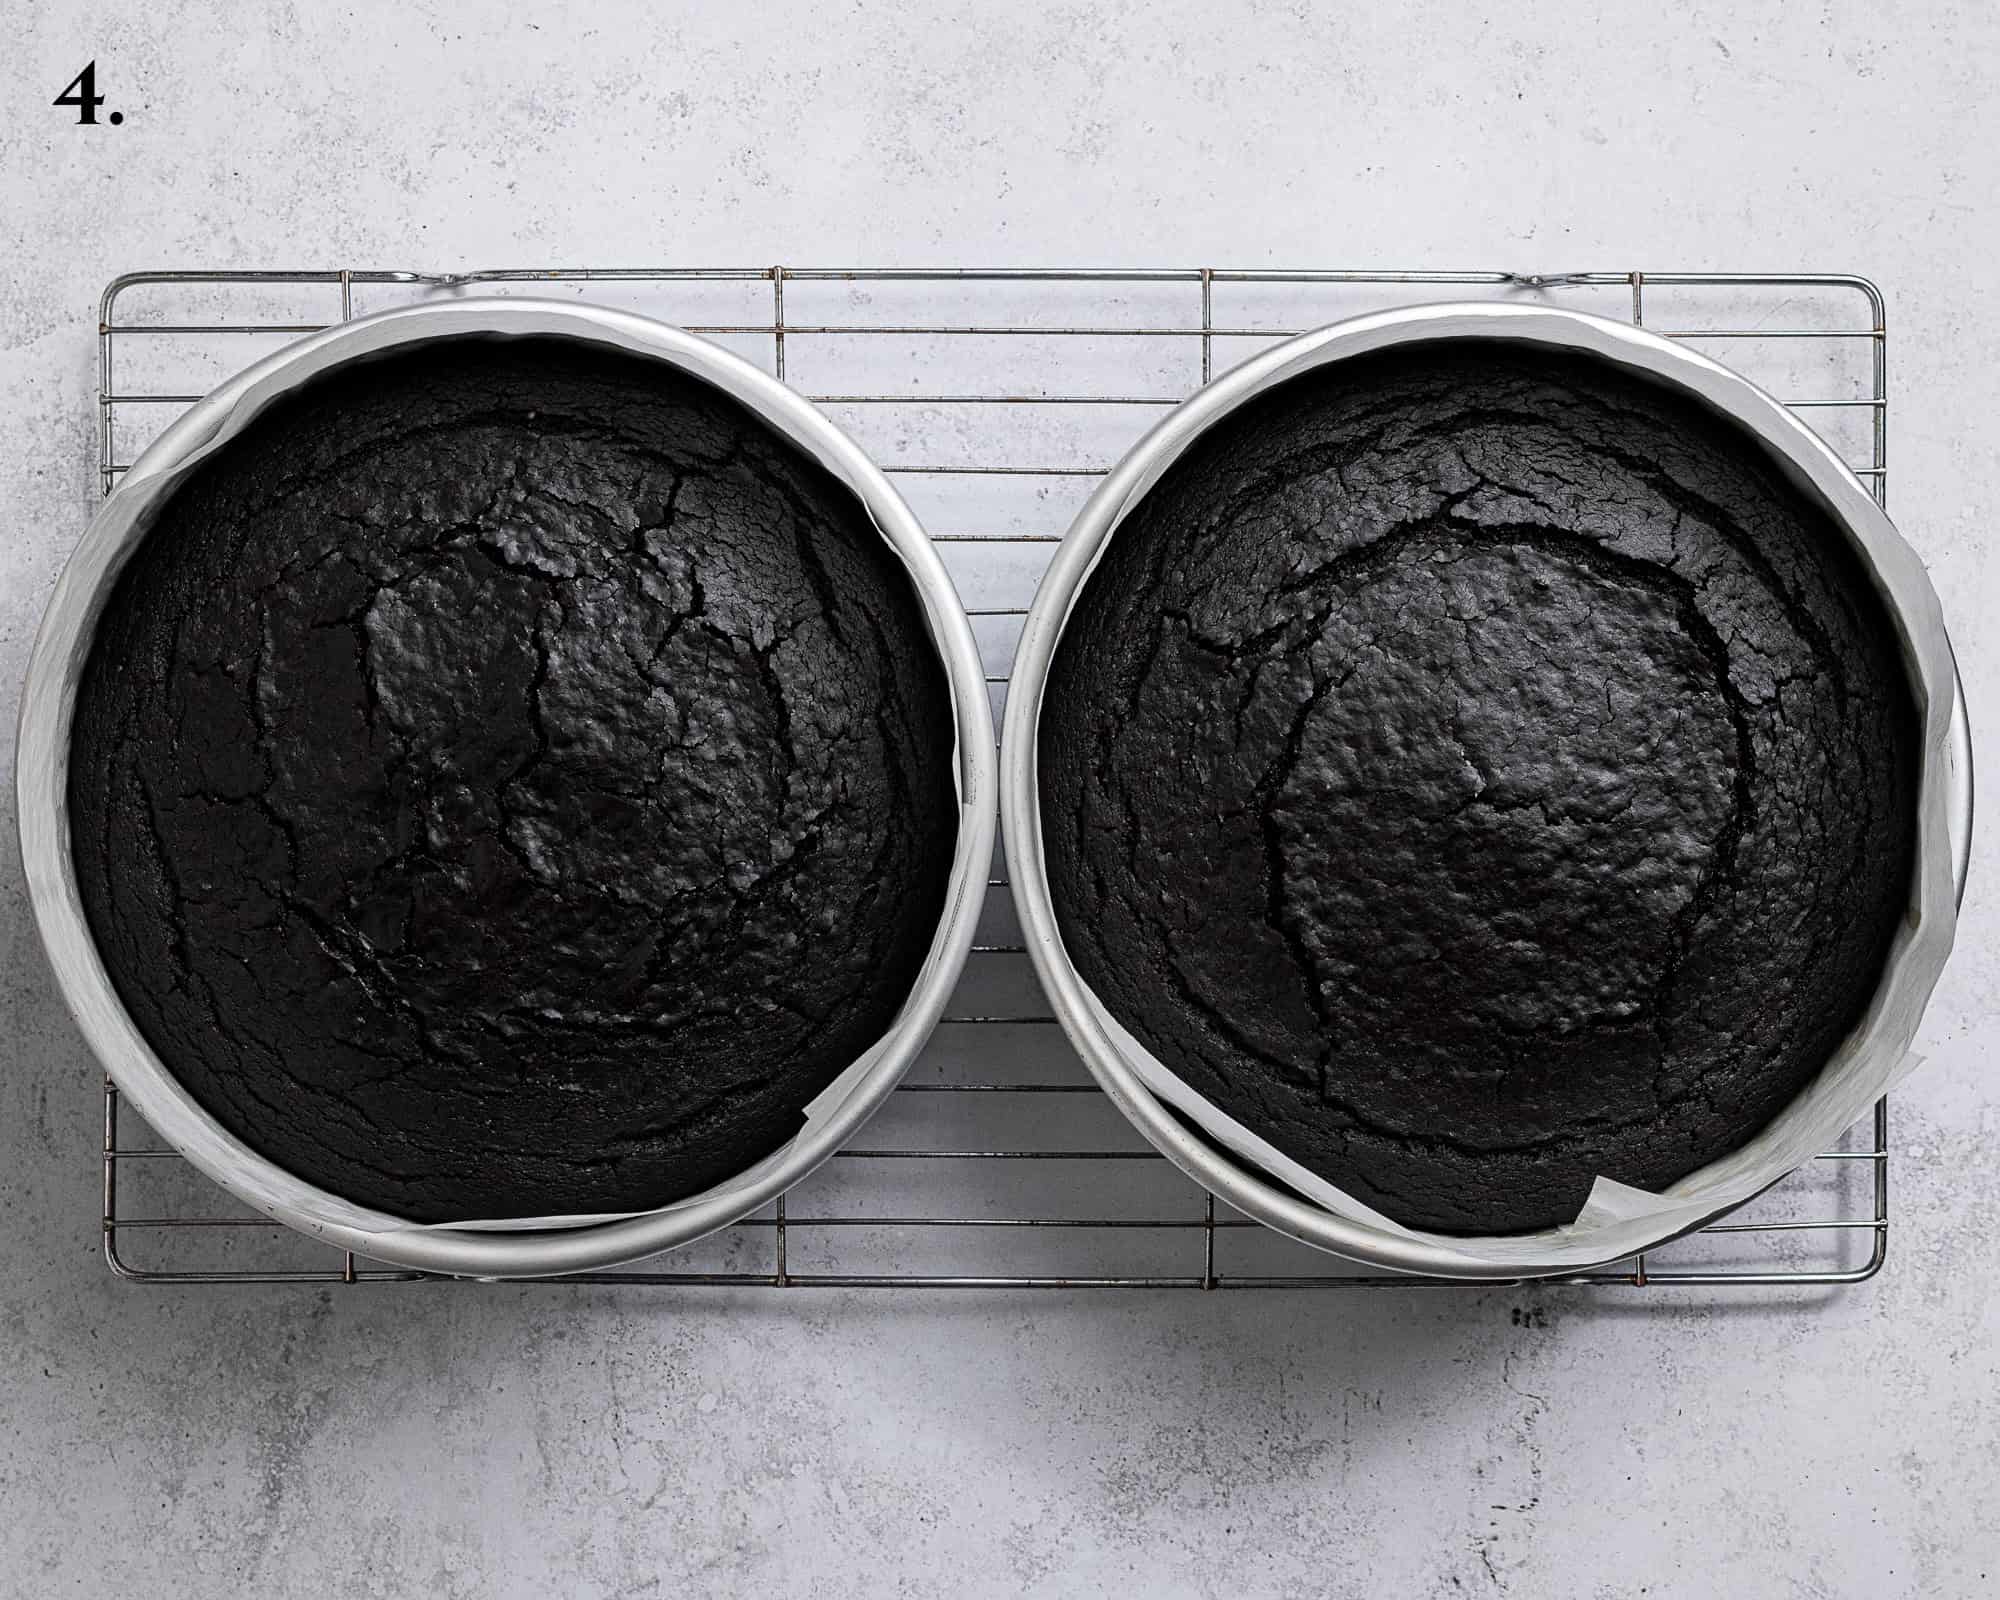
- Step 4: Bake for 45-50 minutes.
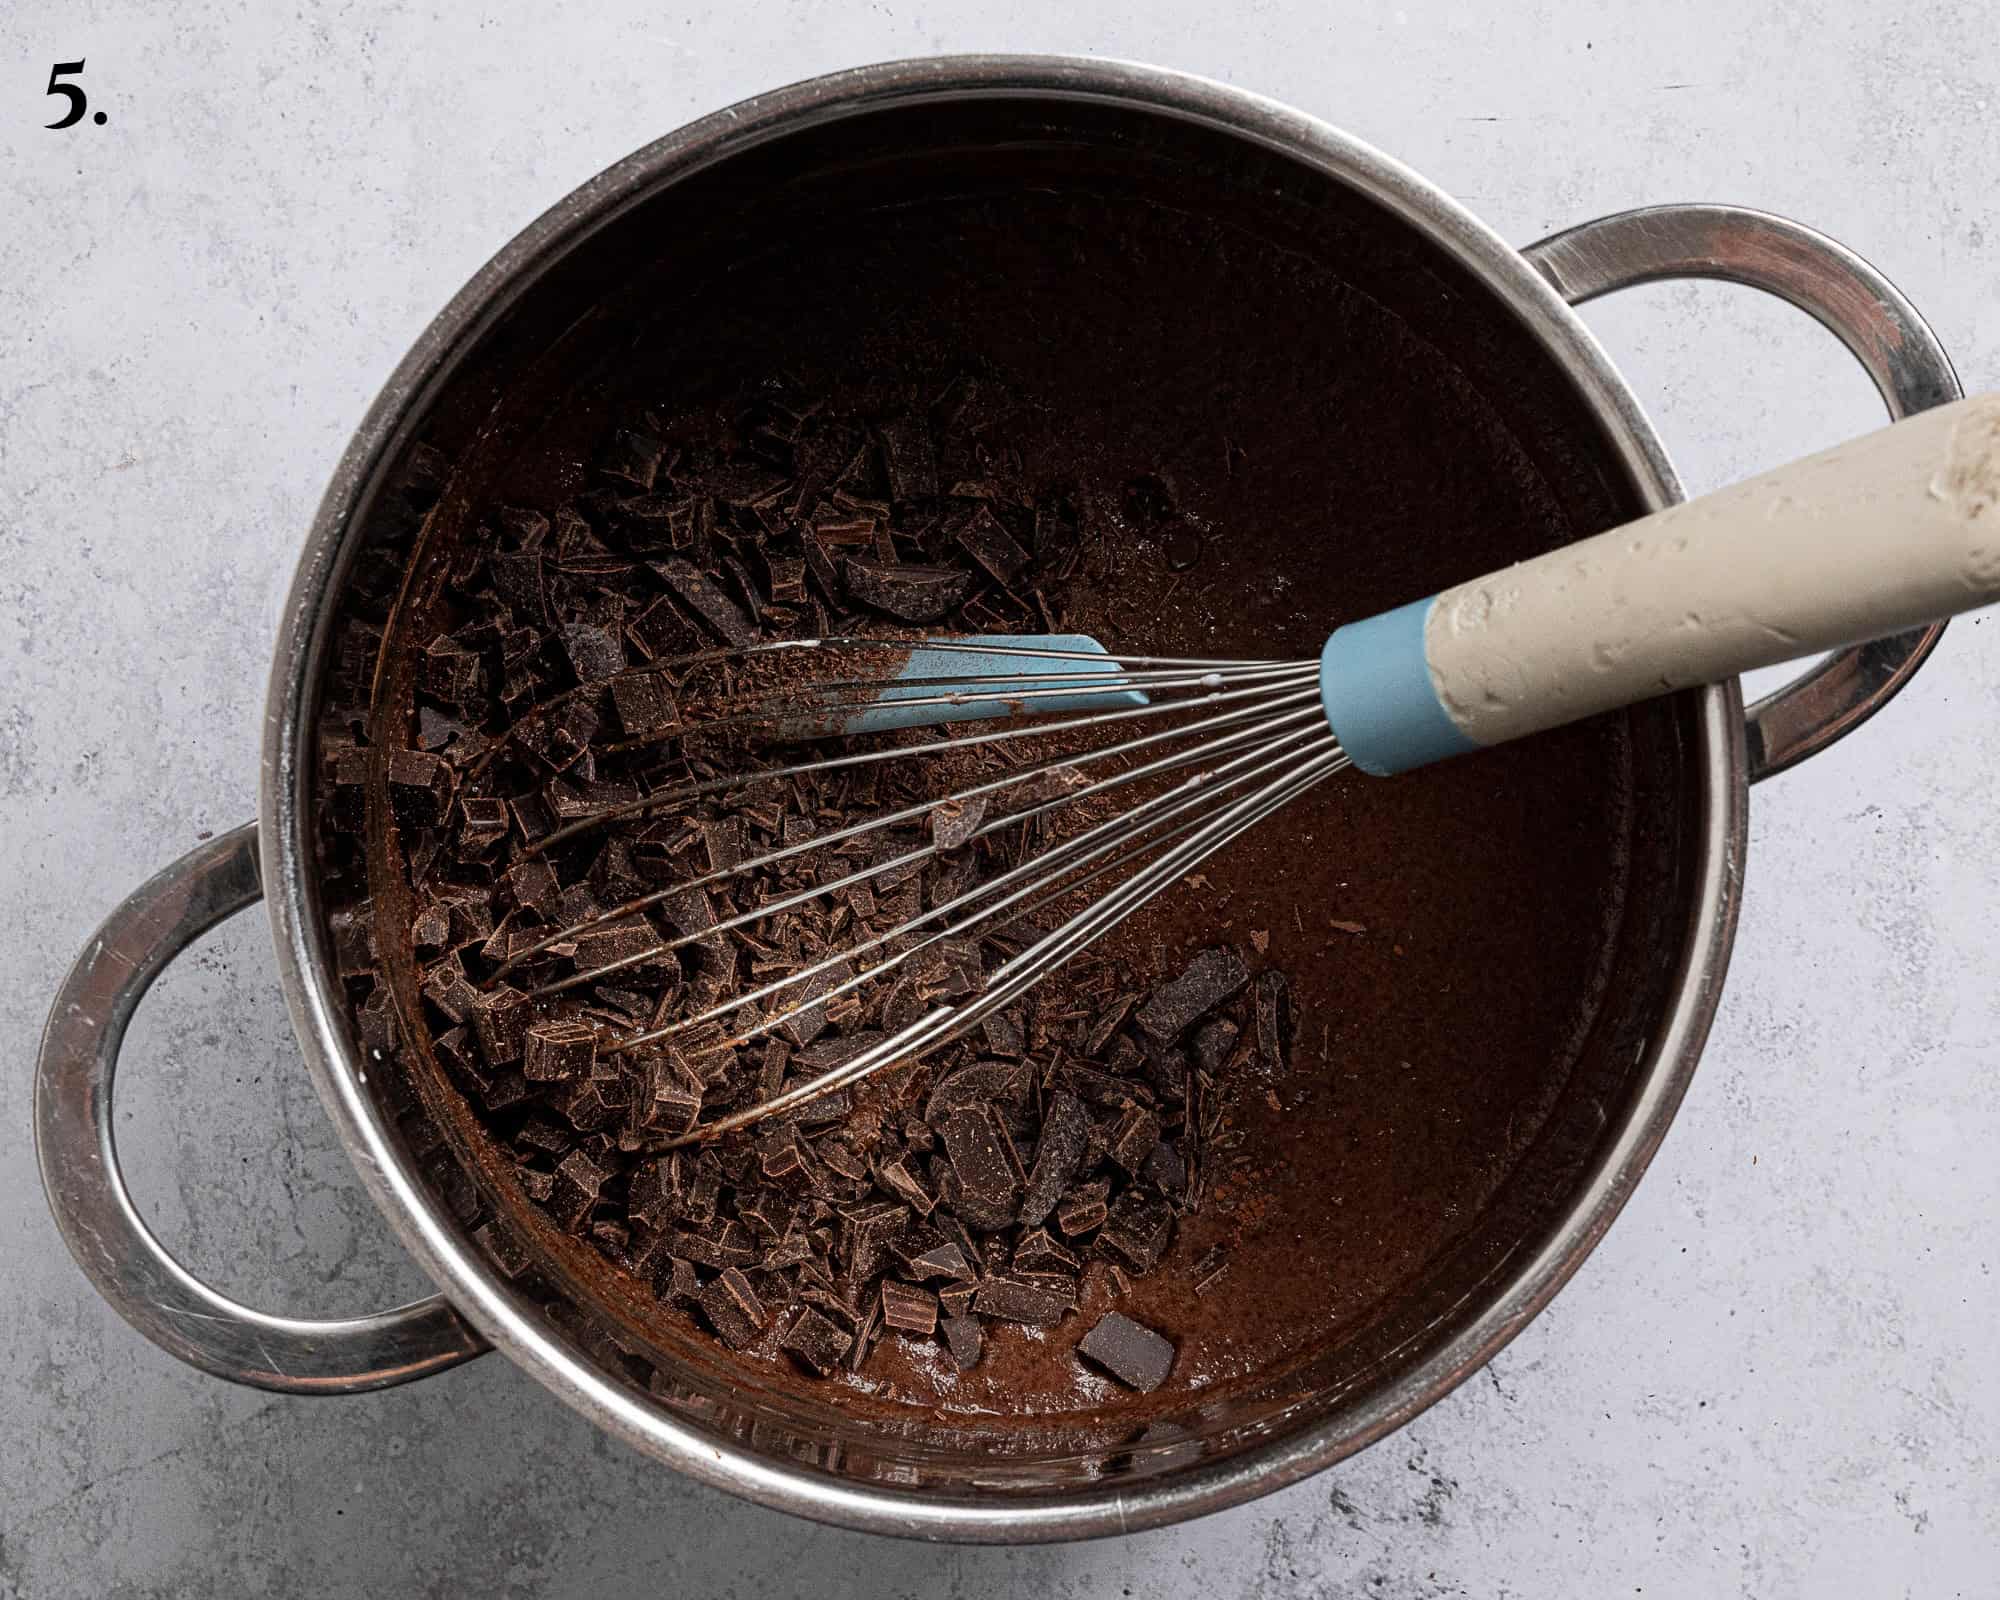
- Step 5: To make the pudding, place the cornflour in a pan and whisk in a splash of the milk. Mix in the rest of the milk, the sugar, cocoa powder, espresso powder, vanilla and chopped chocolate.
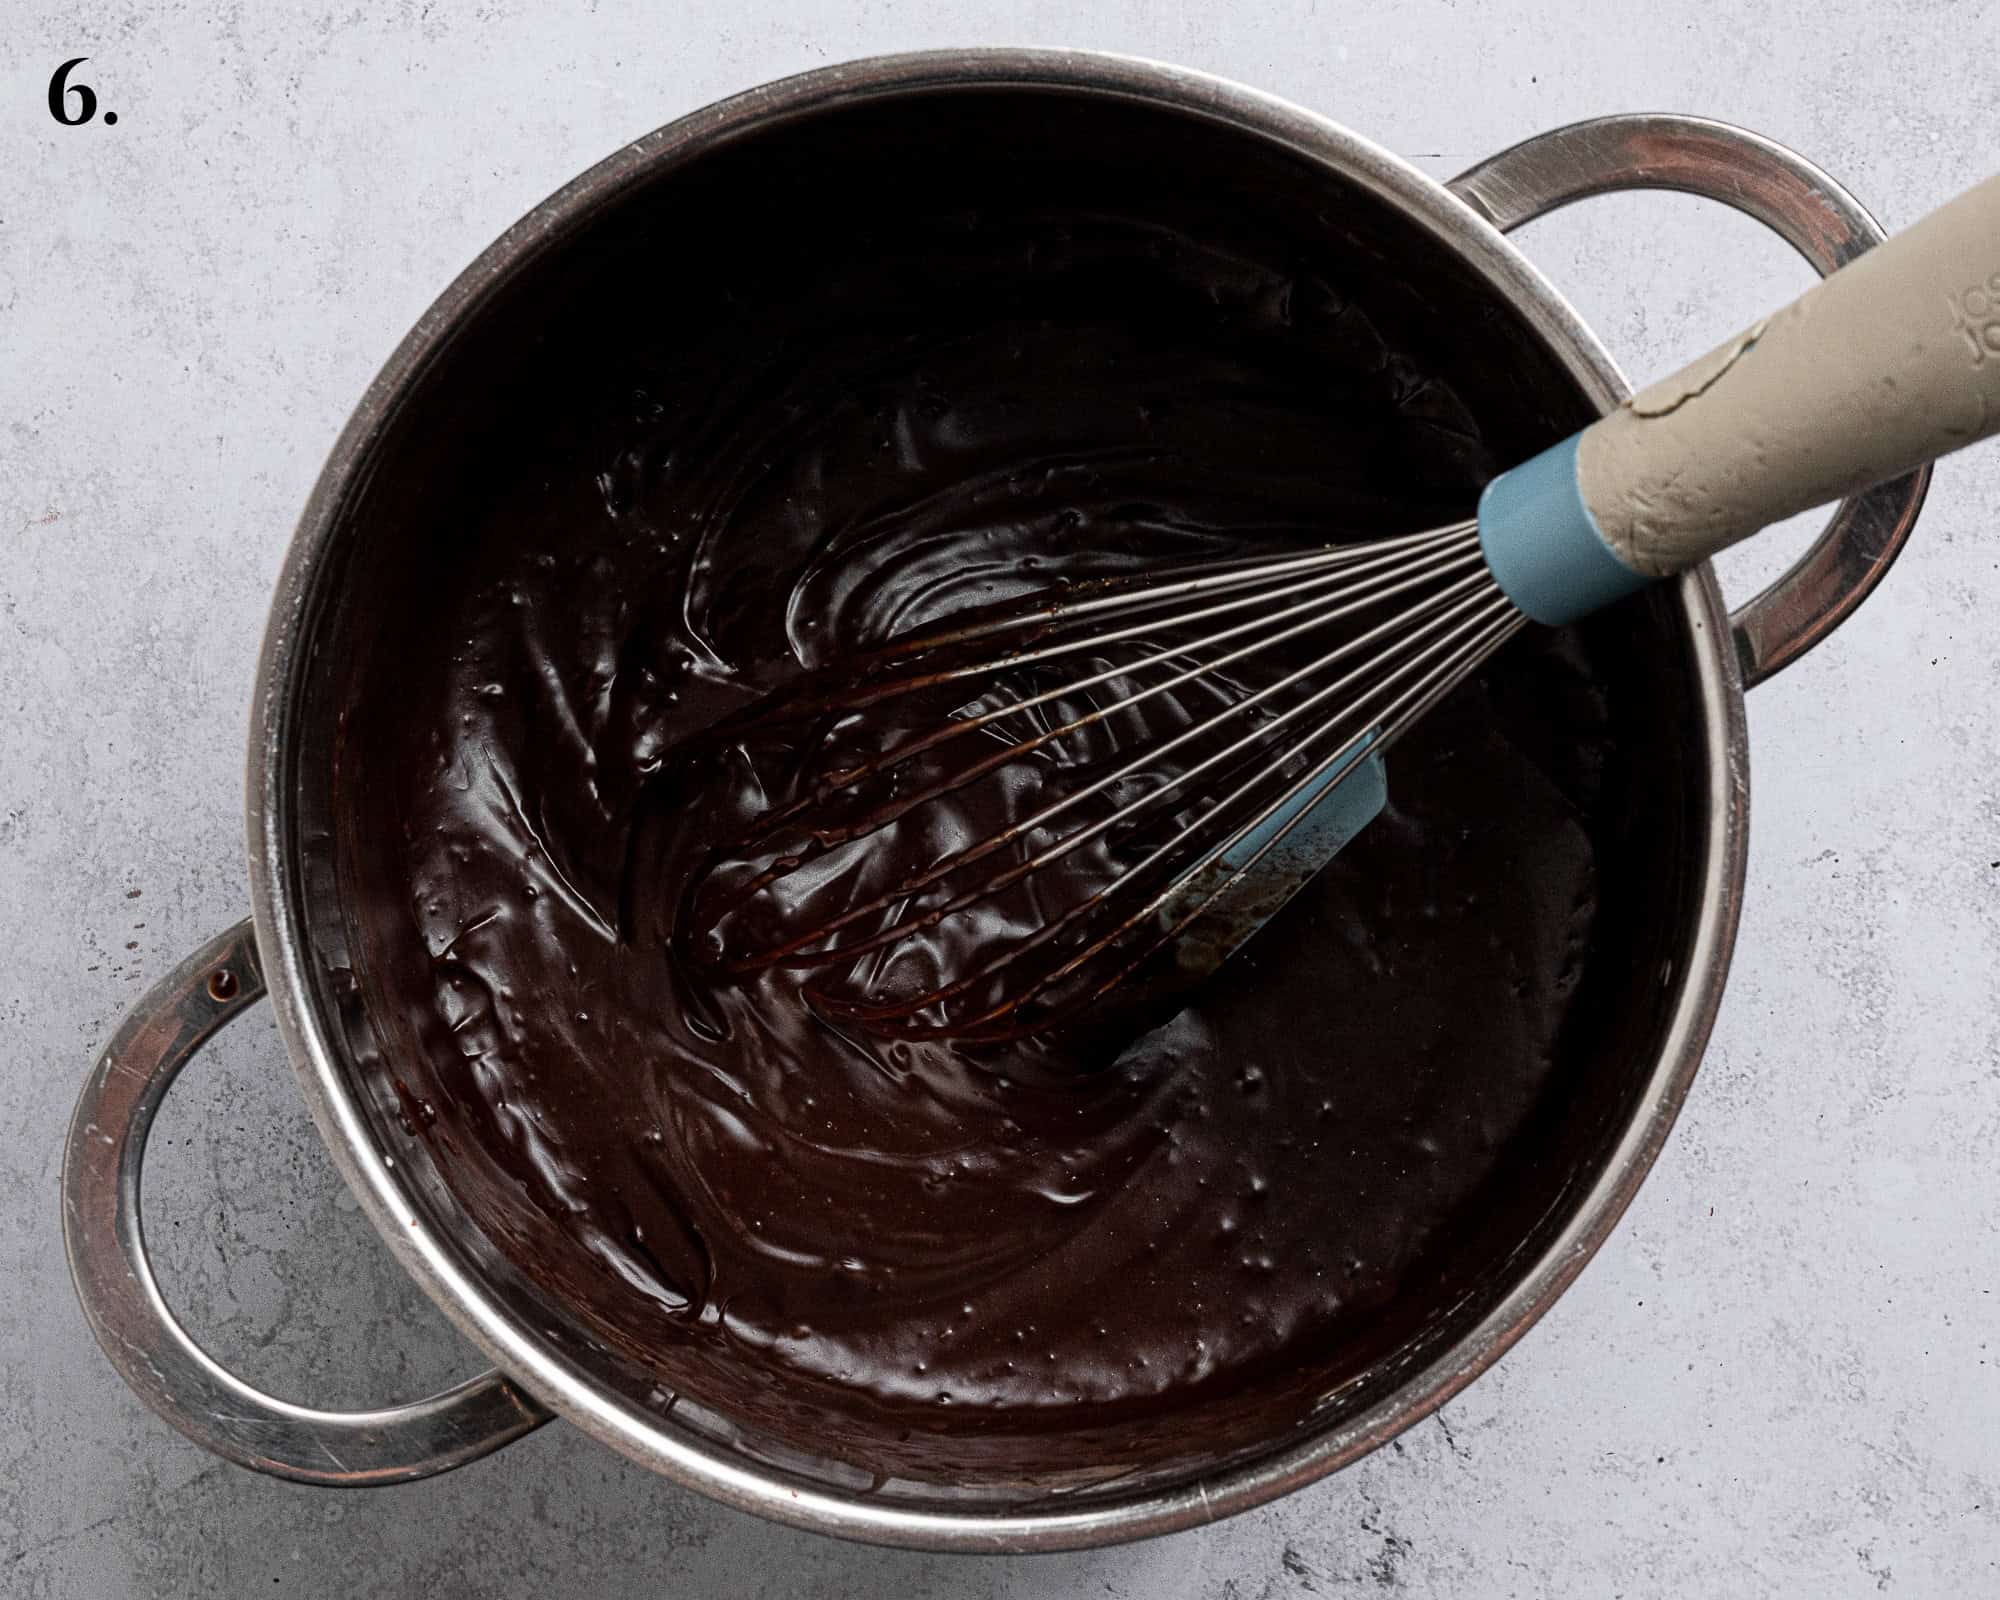
- Step 6: Heat gently, whisking constantly, until the chocolate has melted, then bring up to the boil and cook until thickened.
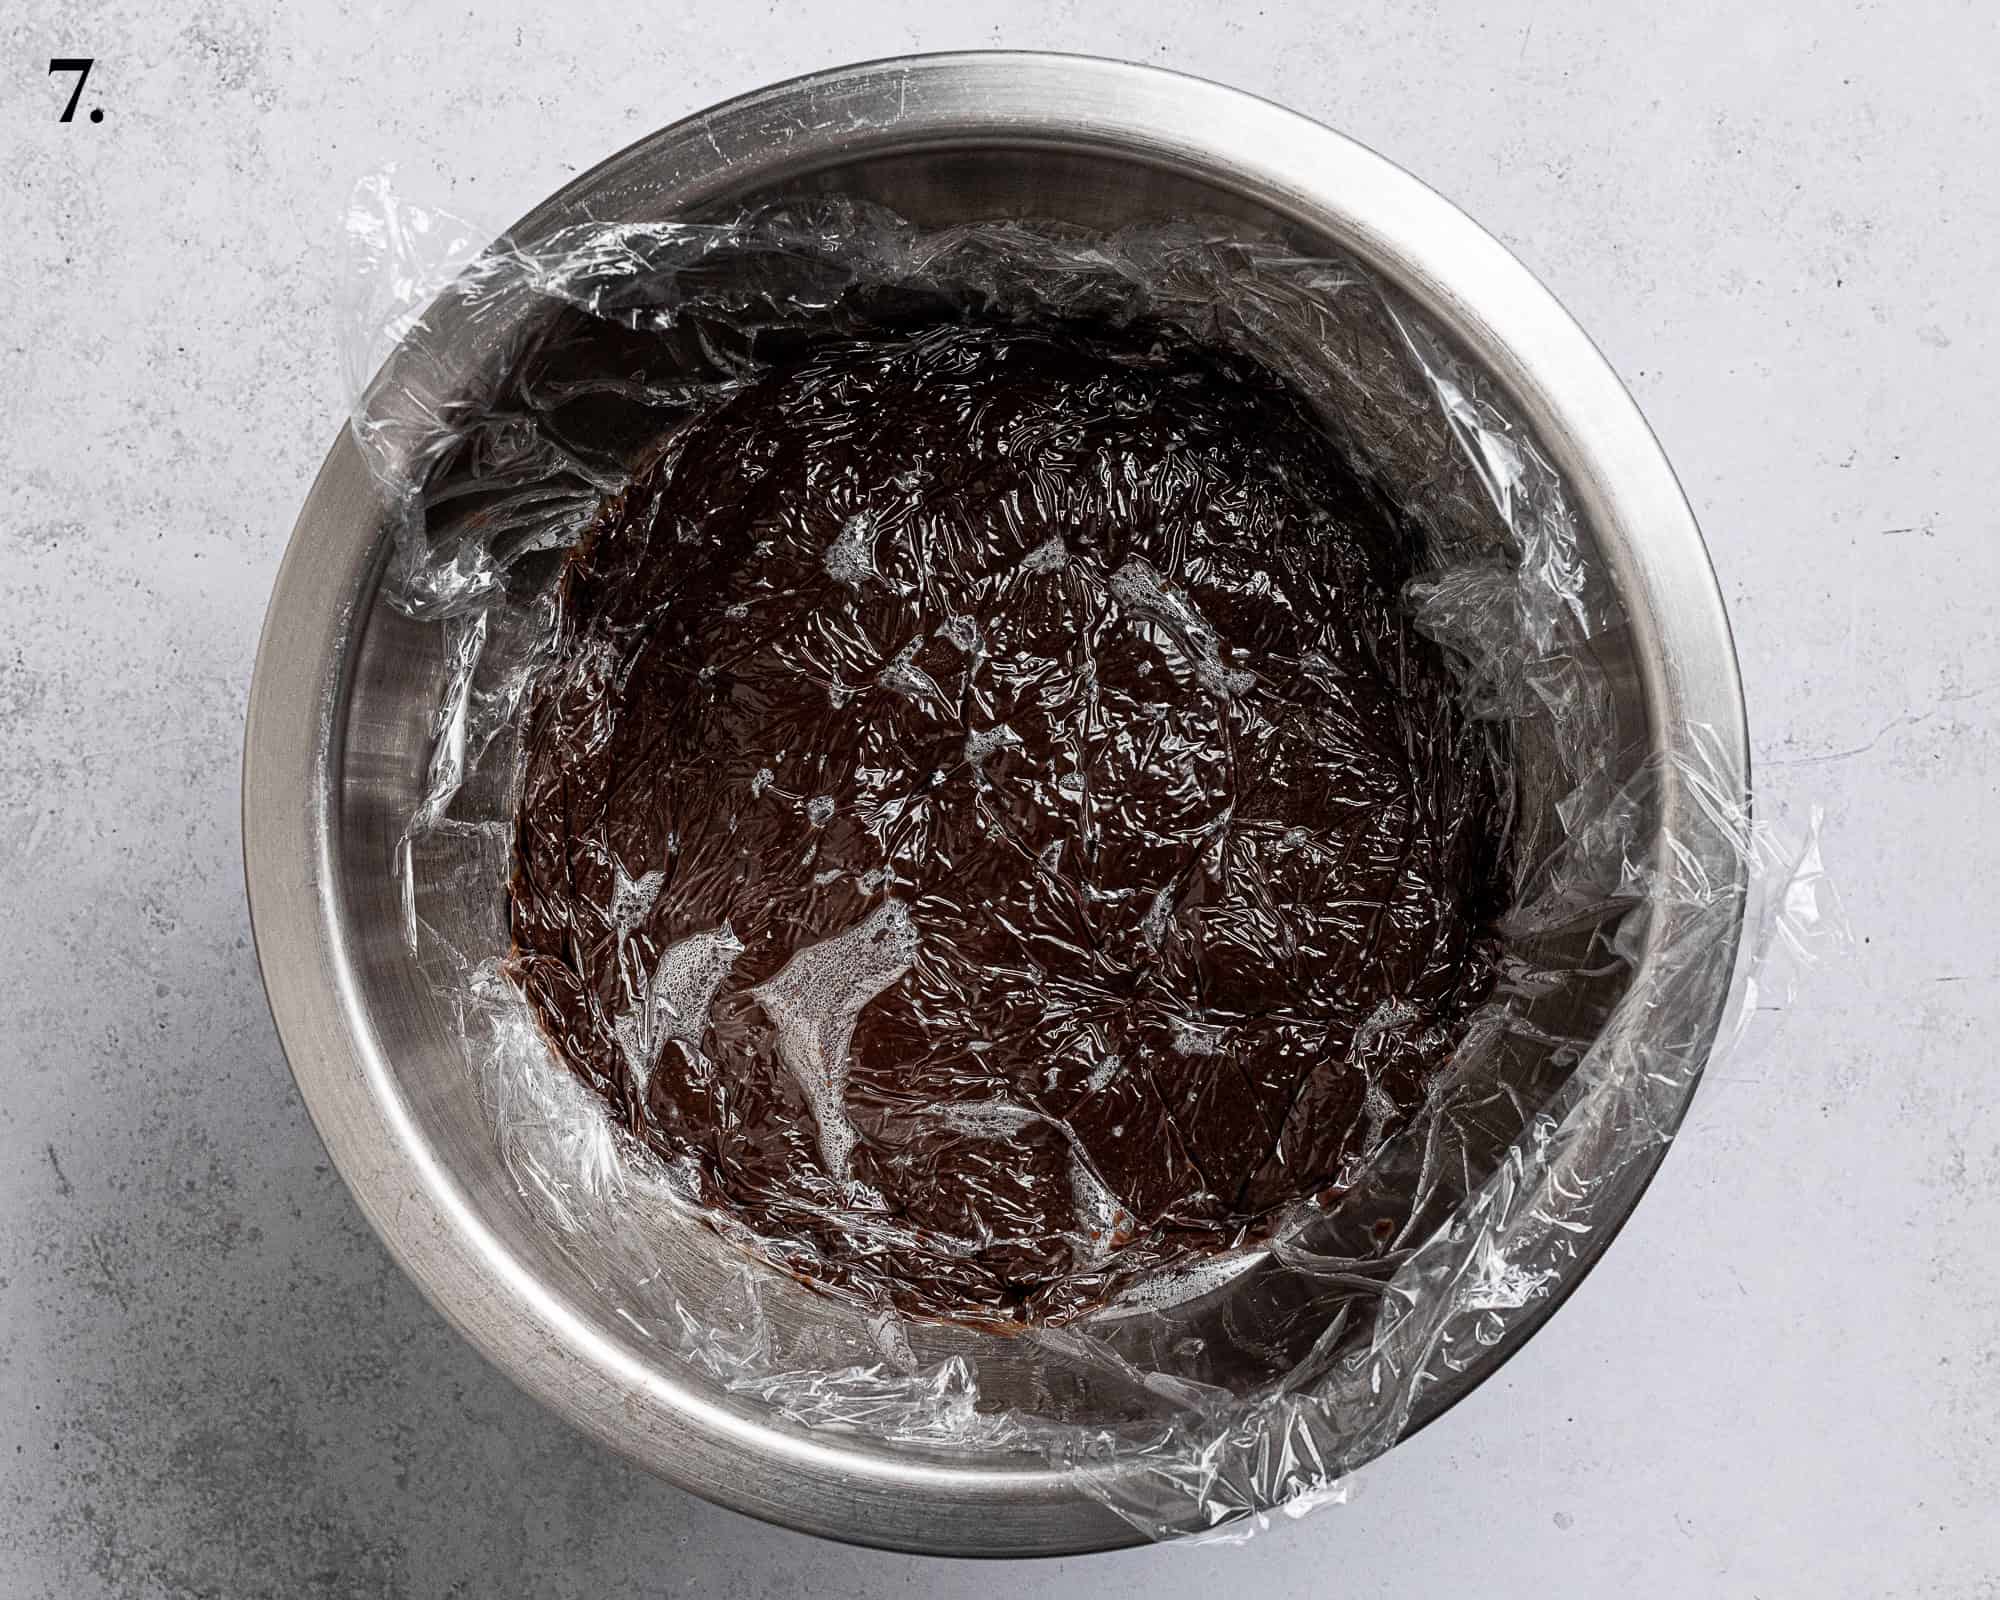
- Step 7: Scrape the pudding through a fine mesh sieve into a bowl. Cover with clingfilm directly on the surface and refrigerate overnight.
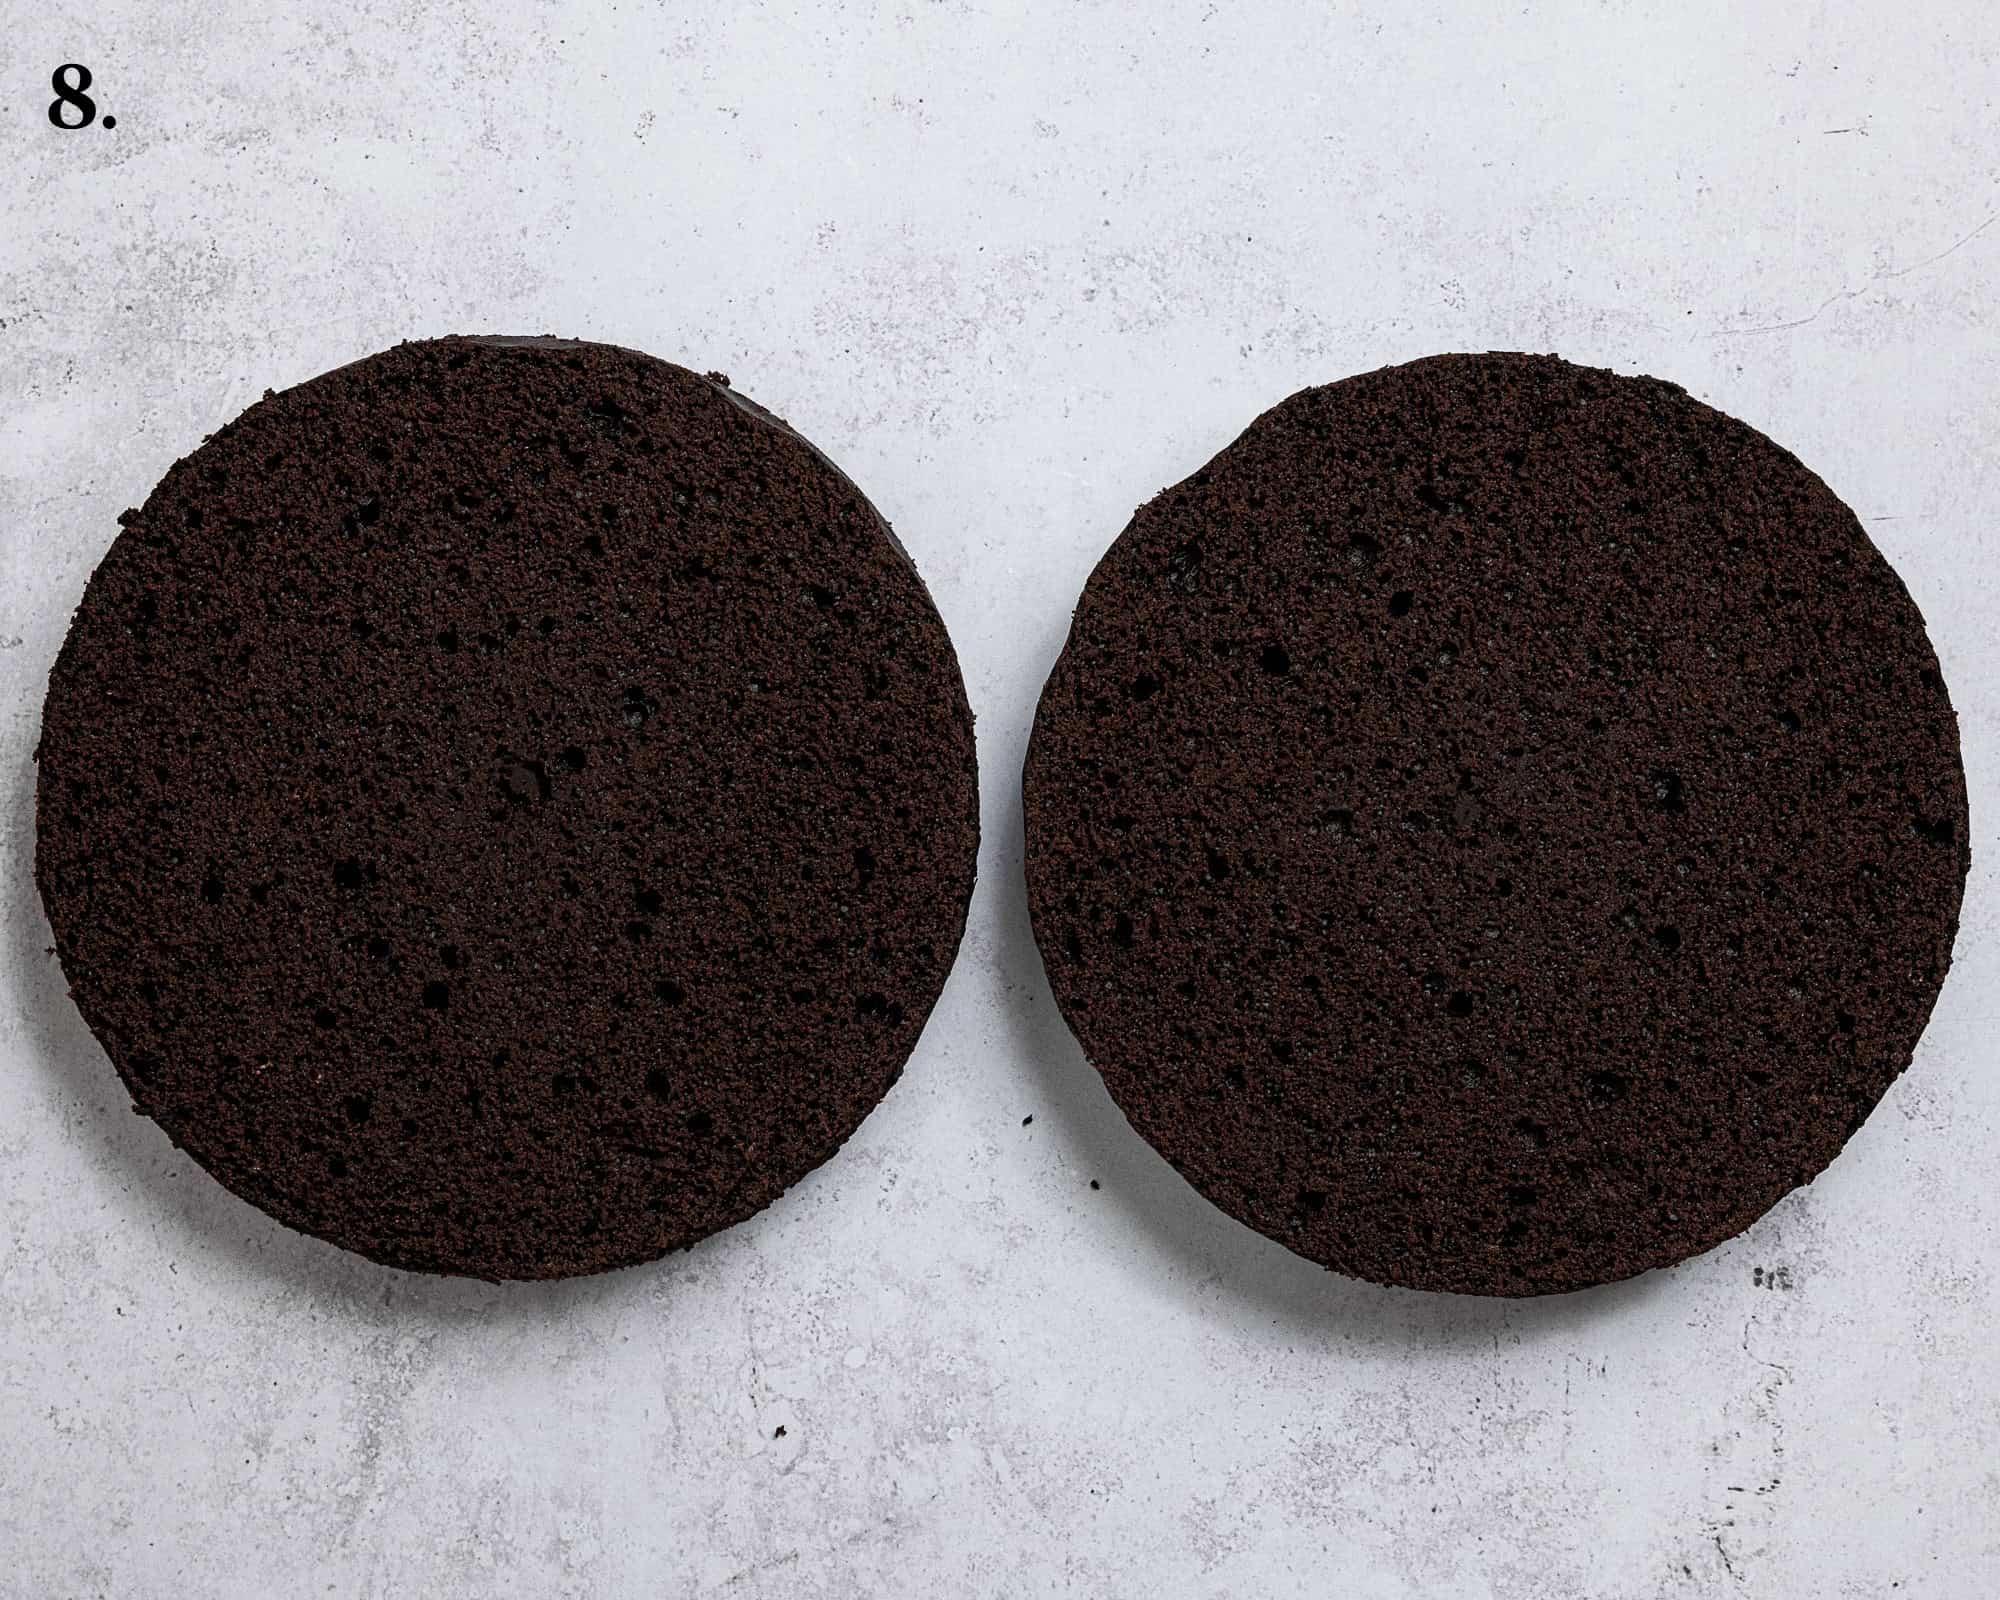
- Step 8: Slice each of the cooled cakes in half so that you have four cake layers. Set aside the worst looking layer.
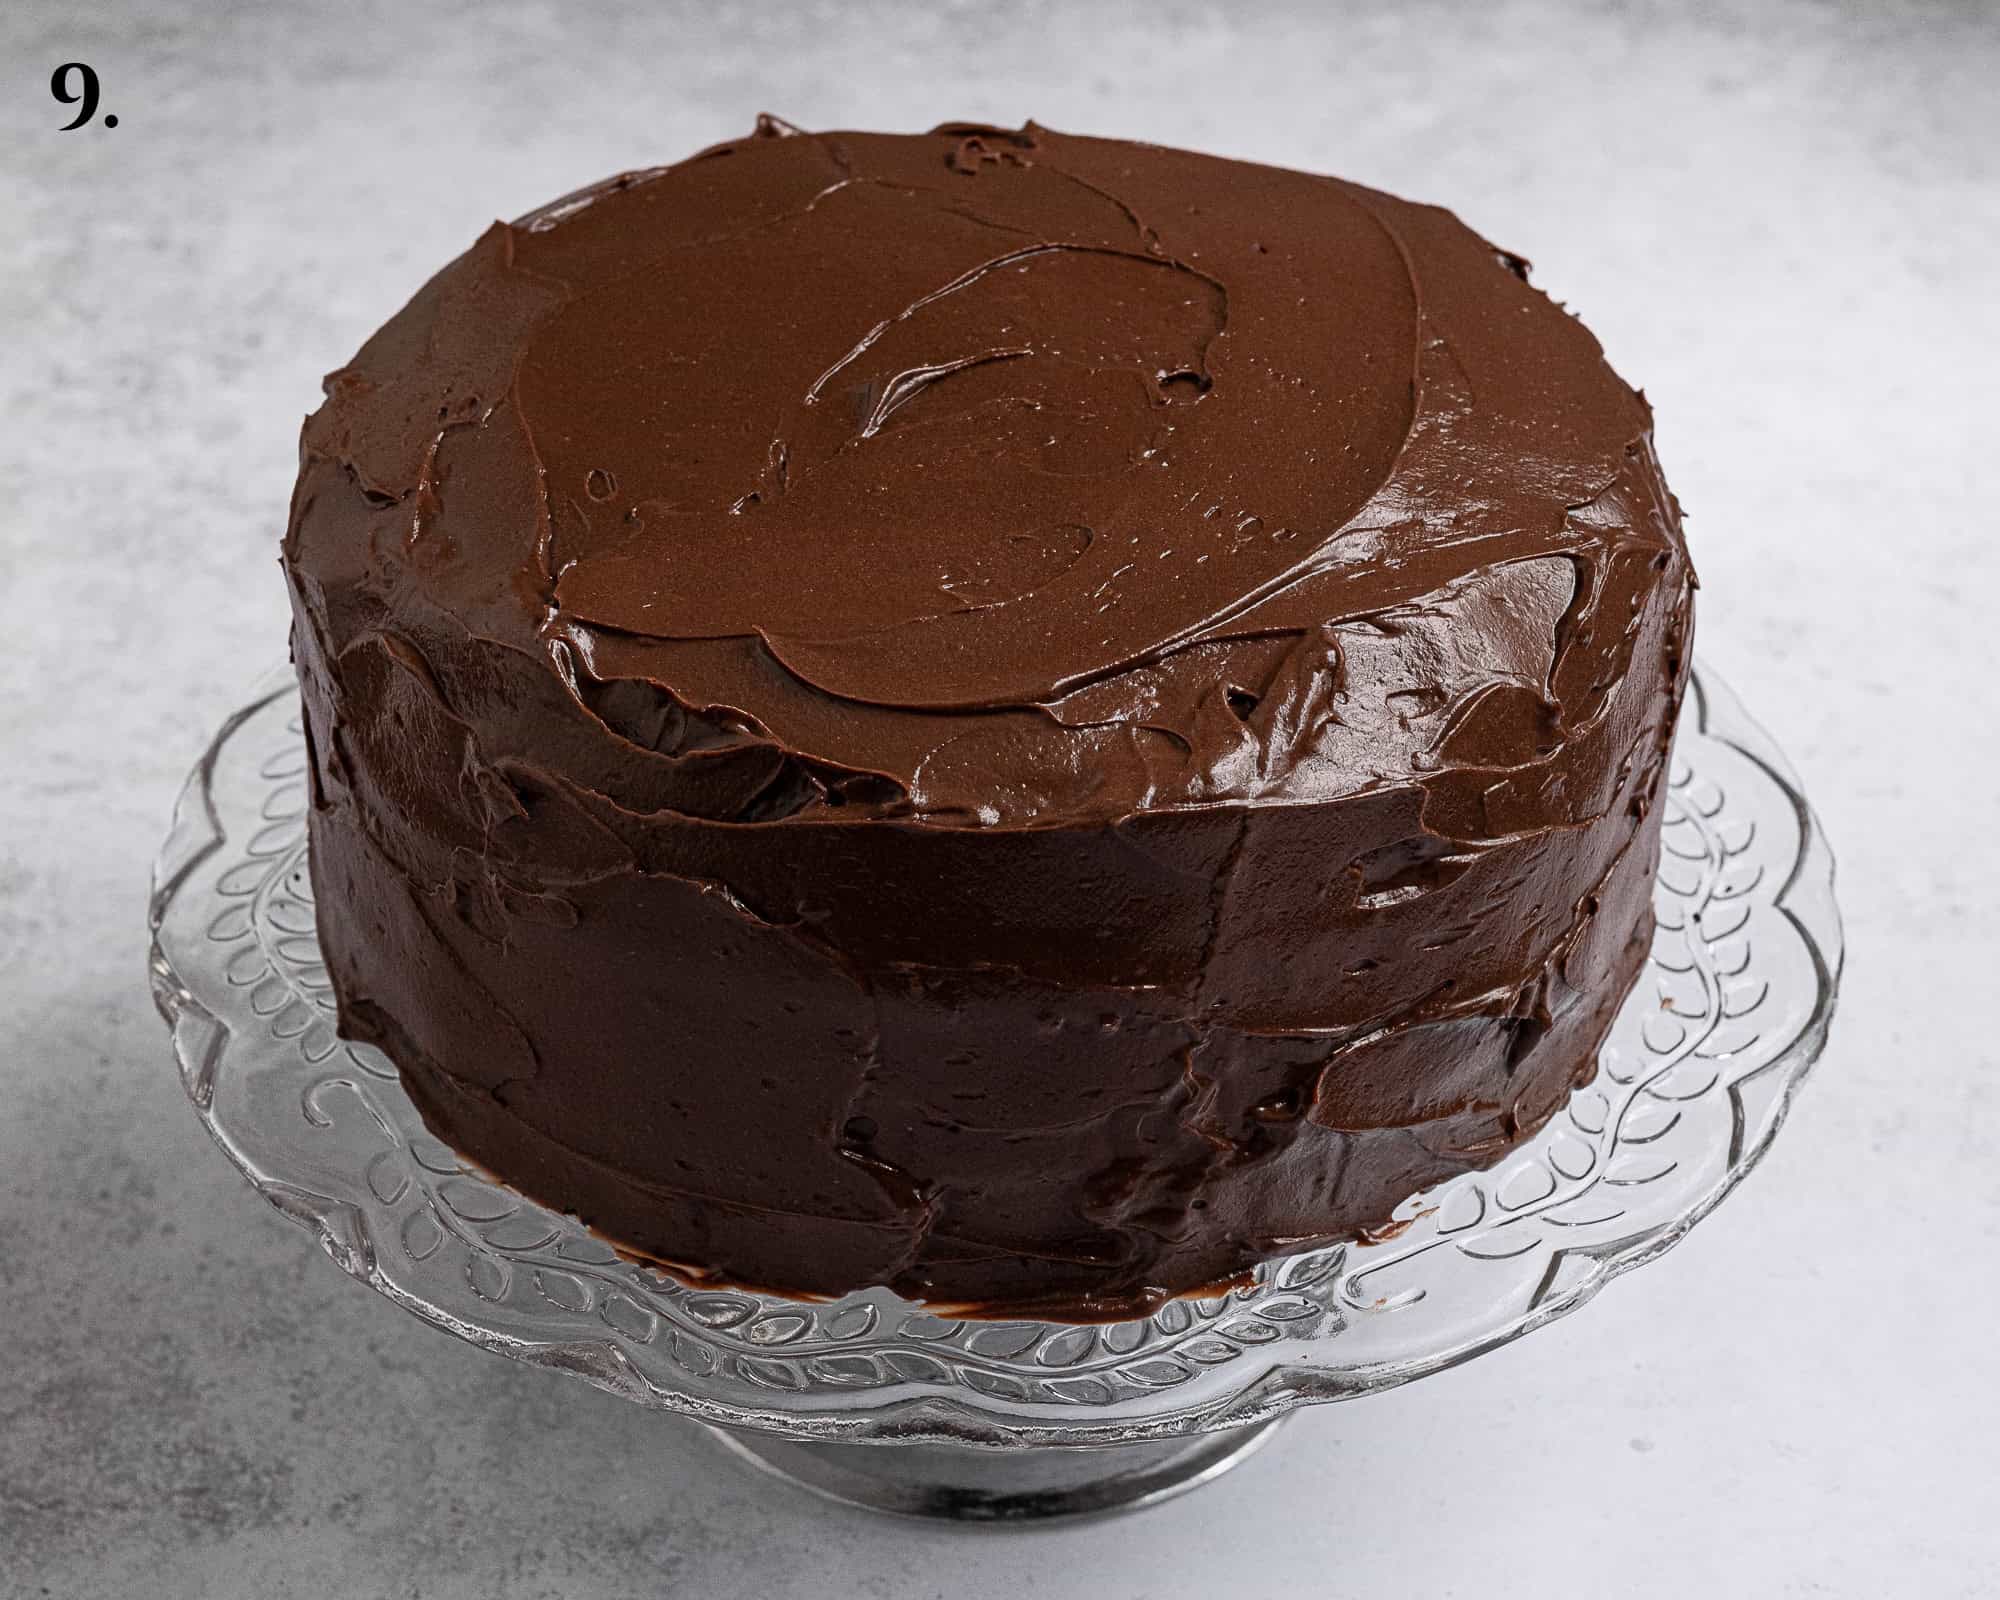
- Step 9: Place one of the cake layers on a serving plate and spread over around ¼ of the pudding, place another cake layer on top and repeat so that you have three layers of cake. Spread the rest of the pudding over the top and sides of the cake.
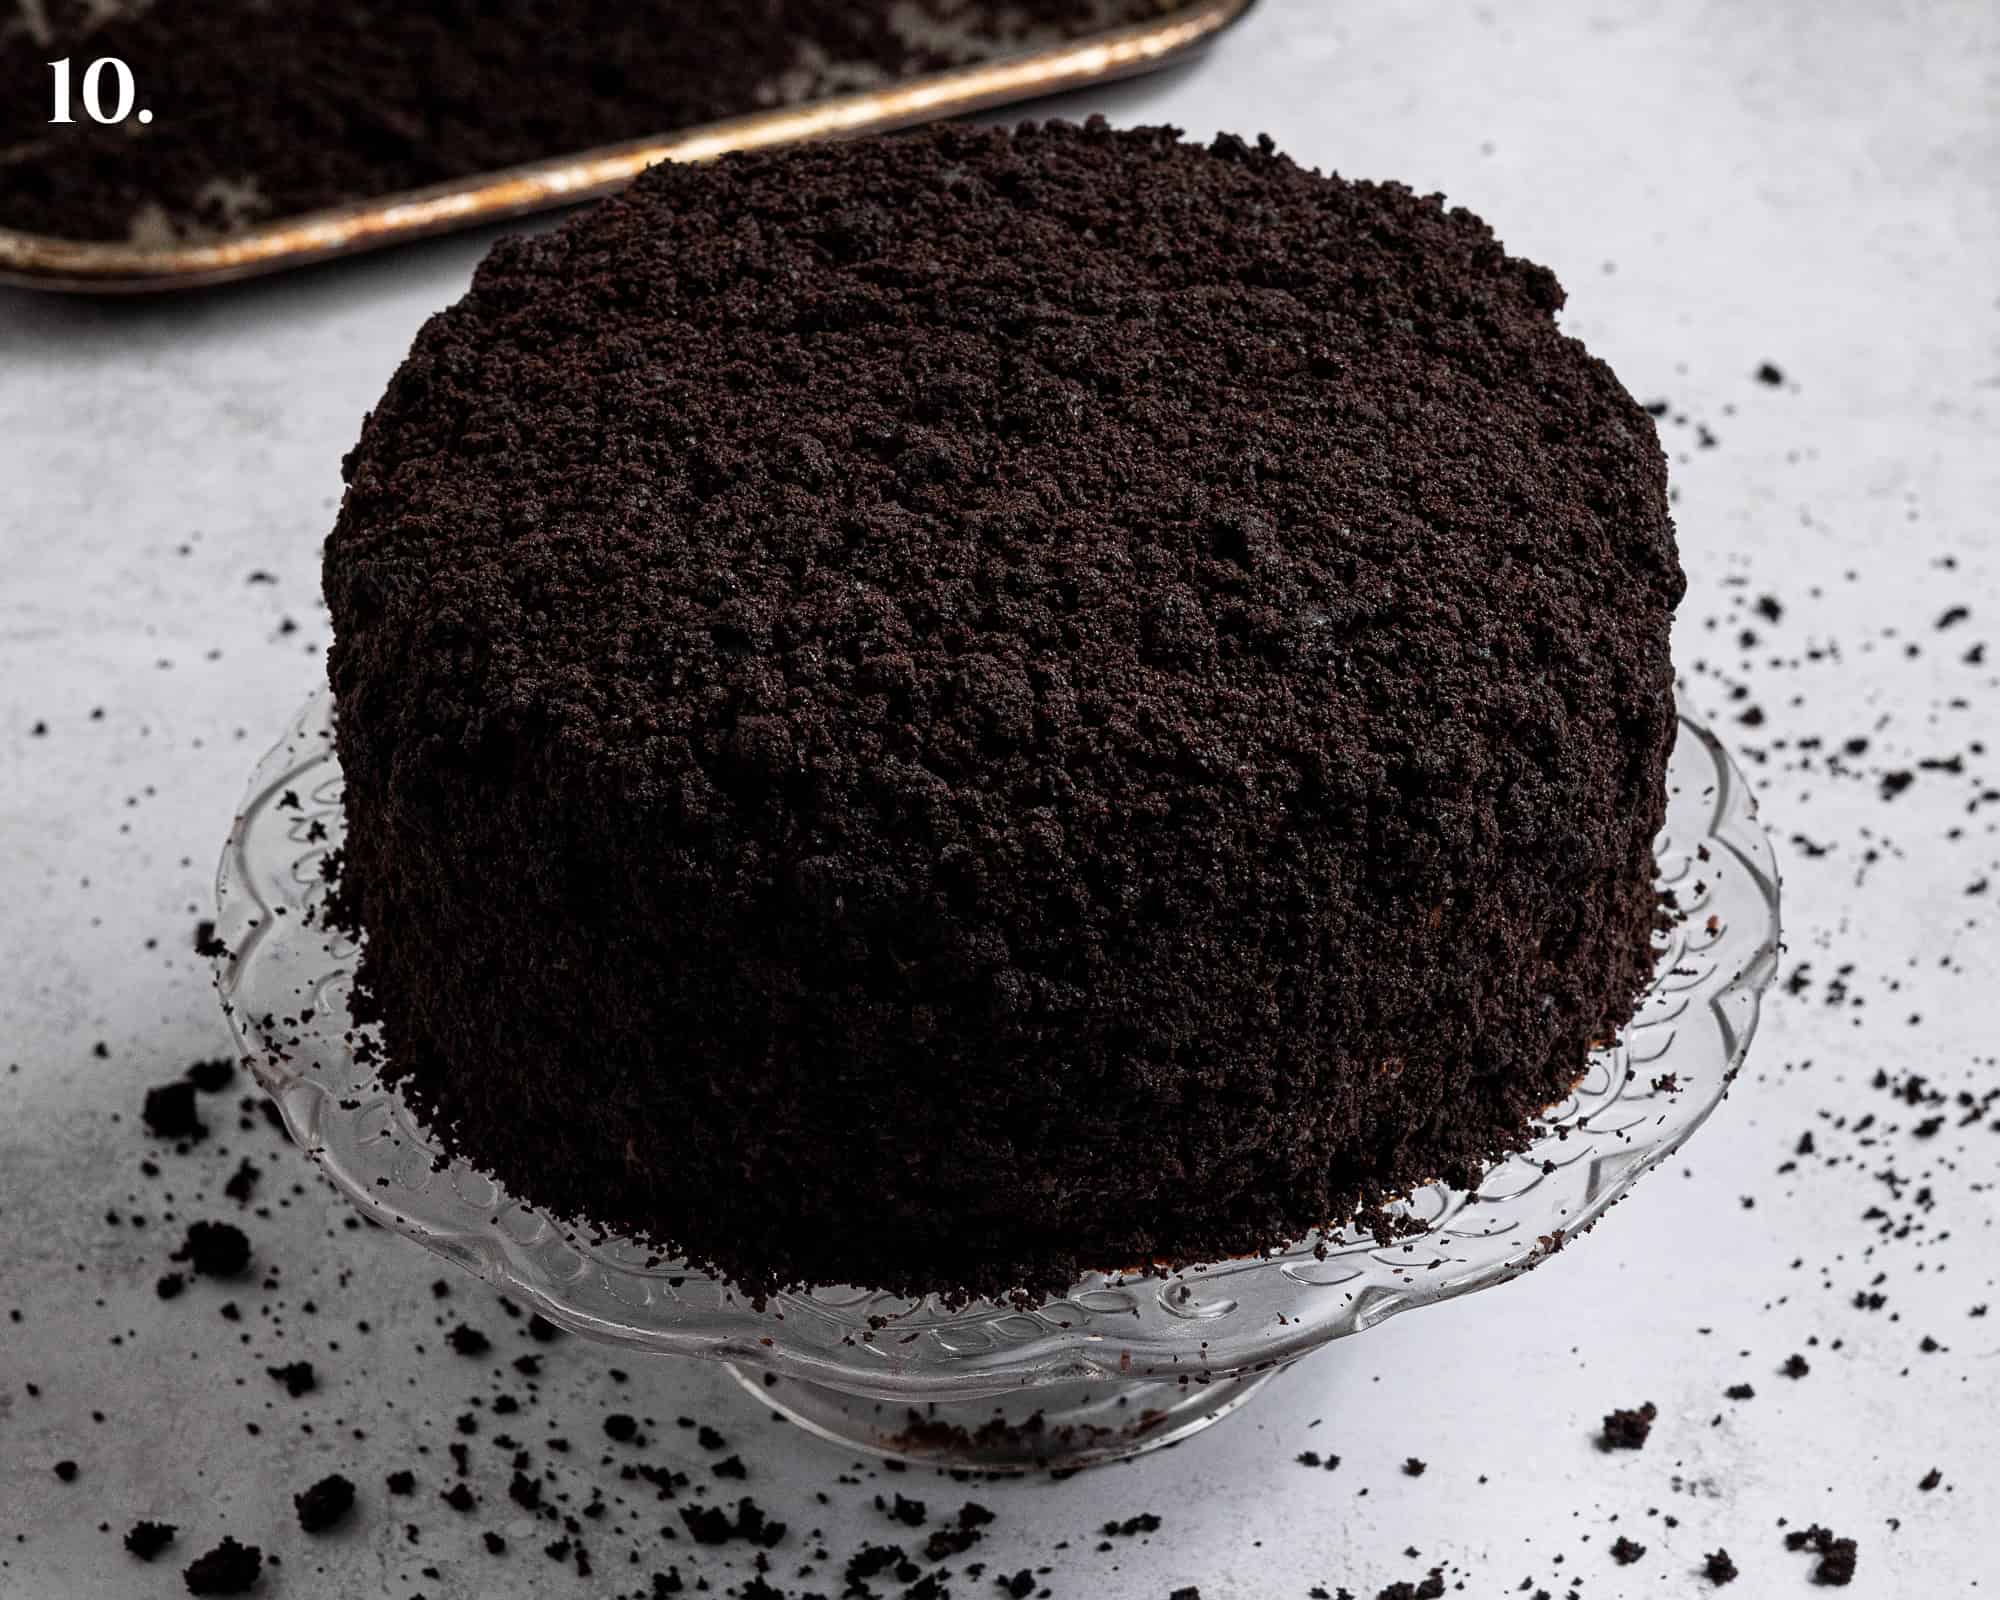
- Step 10: Crumble up the remaining cake layer and press the crumbs gently into the pudding all over the surface of the cake.
Top Tips:
USE SCALES. As with all of my baking recipes I really do recommend using the metric measurements with a digital scales rather than the cup conversions. Cups are a wildly inaccurate measuring system and you will get far better, more consistent results using a scale, not to mention that it is also easier and less messy than cups!
For the teaspoon and Tablespoon measurements, please use proper measuring spoons, not just regular spoons. A teaspoon is 5ml and a Tablespoon is 15ml.
The cake is ready when it is firm to the touch and a skewer inserted into the centre comes out clean or with a few moist crumbs but no wet batter.
I recommend baking the cakes and making the pudding the day before you want to serve the cake as they both need to be completely cold before assembling the cake.
Chilling the cake layers in the fridge for an hour or so before cutting them into layers makes the cakes easier to handle and less crumbly to slice.
FAQ's:
This cake needs to be kept refrigerated. Store it in a covered container in the fridge for up to 3 days though it is best eaten on the day it is assembled.
The chocolate pudding can be made up to 2 days in advance. Refrigerate with plastic wrap or baking paper pressed directly onto the surface to prevent a skin from forming.
The cake layers can be individually wrapped tightly in plastic wrap and stored at room temperature or in the fridge for up to 2 days.
I do not recommend freezing the decorated cake as the pudding may become watery on defrosting, but the plain cake layers can be frozen. Make sure that they have cooled completely then wrap them well to avoid freezer burn and freeze for up to 3 months. Allow to defrost at room temperature.
Do not freeze the pudding.


All images and content on Domestic Gothess are copyright protected. If you want to share this recipe then please do so by using the share buttons provided. Do not screenshot or post the recipe or content in full, instead include a link to this post for the recipe.
If you love this recipe, please leave a 5-star ★★★★★ rating at the bottom of the page! This provides helpful feedback to both me and other readers.
Also be sure to add us as a trusted site on Google so that our recipes show up more in your searches!
To keep up to date with all my latest recipes you can subscribe to my newsletter and follow along on social media!
Vegan Brooklyn Blackout Cake
Equipment
- two 20 cm/8 in round, 5 cm/2 in deep cake tins
Ingredients
Cakes:
- 60 g (¾ cup) Dutch processed or black cocoa powder
- 380 g (1 ½ cups + 4 teaspoons) boiling water
- 150 g 60-75% dark chocolate finely chopped
- 2 teaspoons instant espresso powder or 1 Tablespoon instant coffee granules
- 147 g (⅔ cup) oil (olive, sunflower, vegetable or canola)
- 300 g (1 ½ cups) light brown soft sugar
- 180 g (¾ cup) plain vegan yogurt
- 2 teaspoons vanilla extract
- 2 teaspoons baking powder
- 1 ¼ teaspoons bicarbonate of soda
- ½ teaspoon salt
- 340 g (2 ¾ cups) plain (all-purpose) flour
Chocolate Pudding:
- 60 g (½ cup) cornflour (cornstarch)
- 600 g (2 ½ cups) unsweetened non-dairy milk (I use soy)
- 200 g (1 cup) light brown soft sugar
- 40 g (½ cup) Dutch processed cocoa powder
- 2 ½ teaspoons instant espresso powder or 1 Tablespoon instant coffee granules
- 2 ½ teaspoons vanilla extract
- ¼ teaspoon salt
- 175 g 60-75% dark chocolate finely chopped
Instructions
Cakes:
- Preheat the oven to 160℃/140℃ fan/325℉/gas mark 3. Grease and line two 20 cm/8 in round, 5 cm/2 in deep cake tins.
- Place the cocoa powder in a large bowl and whisk in the boiling water with a balloon whisk. Add the chopped chocolate and espresso powder and whisk until melted and smooth.60 g (¾ cup) Dutch processed or black cocoa powder, 380 g (1 ½ cups + 4 teaspoons) boiling water, 150 g 60-75% dark chocolate, 2 teaspoons instant espresso powder or 1 Tablespoon instant coffee granules
- Whisk in the oil, sugar, yogurt and vanilla extract.147 g (⅔ cup) oil (olive, sunflower, vegetable or canola), 300 g (1 ½ cups) light brown soft sugar, 180 g (¾ cup) plain vegan yogurt, 2 teaspoons vanilla extract
- Whisk in the baking powder, bicarbonate of soda and salt, followed by the plain flour. Mix until no dry lumps remain but be careful not to overbeat the batter.2 teaspoons baking powder, 1 ¼ teaspoons bicarbonate of soda, ½ teaspoon salt, 340 g (2 ¾ cups) plain (all-purpose) flour
- Divide the batter between the prepared tins (use a scale for accuracy) and bake for 45-50 minutes until a skewer inserted into the centre comes out clean.
- Allow the cakes to cool in the tins for 20 minutes then carefully turn them out onto a wire rack and leave to cool completely. Once cool store in an airtight container.
Chocolate Pudding:
- Place the cornflour in a pan and whisk in a splash of the milk to make a smooth paste.60 g (½ cup) cornflour (cornstarch)
- Mix in the rest of the milk, the sugar, cocoa powder, espresso powder, vanilla, salt and chopped chocolate.600 g (2 ½ cups) unsweetened non-dairy milk (I use soy), 200 g (1 cup) light brown soft sugar, 40 g (½ cup) Dutch processed cocoa powder, 2 ½ teaspoons instant espresso powder or 1 Tablespoon instant coffee granules, 2 ½ teaspoons vanilla extract, ¼ teaspoon salt, 175 g 60-75% dark chocolate
- Place the pan over a low heat and stir constantly until the chocolate has melted. Turn the heat up to medium and bring the mixture up to the boil, whisking constantly and making sure to scrape the sides and bottom of the pan. Cook until it has thickened to a thick, glossy pudding.
- Remove the pan from the heat and use a spatula to scrape the pudding through a fine mesh sieve into a bowl. Cover with clingfilm or baking paper directly on the surface to prevent a skin from forming and refrigerate overnight or for at least 6 hours.
Assembly:
- Place the cake layers in the fridge for at least an hour so that they are easier and less crumbly to slice.
- Slice each of the chilled cakes in half so that you have four cake layers - a cake wire is the best tool for this, or you can use a bread knife. Set aside the worst looking layer.
- Give the chilled pudding a stir so that it is smooth. Place one of the cake layers on a serving plate and use an offset spatula to spread over a little over a quarter of the pudding. Place another cake layer on top, then another layer of pudding, then a third cake layer on top.
- Spread the remaining pudding over the top and sides of the cake, it doesn't need to be particularly neat.
- Use your hands to crumble up the remaining cake layer into a bowl then press handfuls of the crumbs all over the cake, you probably won't need them all.
- Store the cake in a covered container in the fridge for up to 3 days, though it is best eaten on the day it is assembled.
Notes
- I recommend baking the cakes and making the pudding the day before you want to serve the cake as they both need to be completely cold before assembling the cake.
- See post above for tips, details and step-by-step photos.
- USE SCALES. As with all of my baking recipes I really do recommend using the metric measurements with a digital scales rather than the cup conversions. Cups are a wildly inaccurate measuring system and you will get far better, more consistent results using a scale, not to mention that it is also easier and less messy than cups!
- For the teaspoon and Tablespoon measurements, please use proper measuring spoons, not just regular spoons. A teaspoon is 5ml and a Tablespoon is 15ml.
If you tried this recipe let me know how it went! Rate it, leave a comment or tag @domestic_gothess on Instagram and hashtag it #domesticgothess
Vusala
OMG, this cake looks insanely delicious! I have to make it, but I have trouble with vegan yogurt. Any working substitutions you could offer to replace it with? Do you think coconut cream will work well? Thank you so much for the recipe anyway!
Hannah
Thank you! Coconut cream is much too fatty as a replacement. I would try soy/oat milk, blended silken tofu or smooth unsweetened applesauce.