

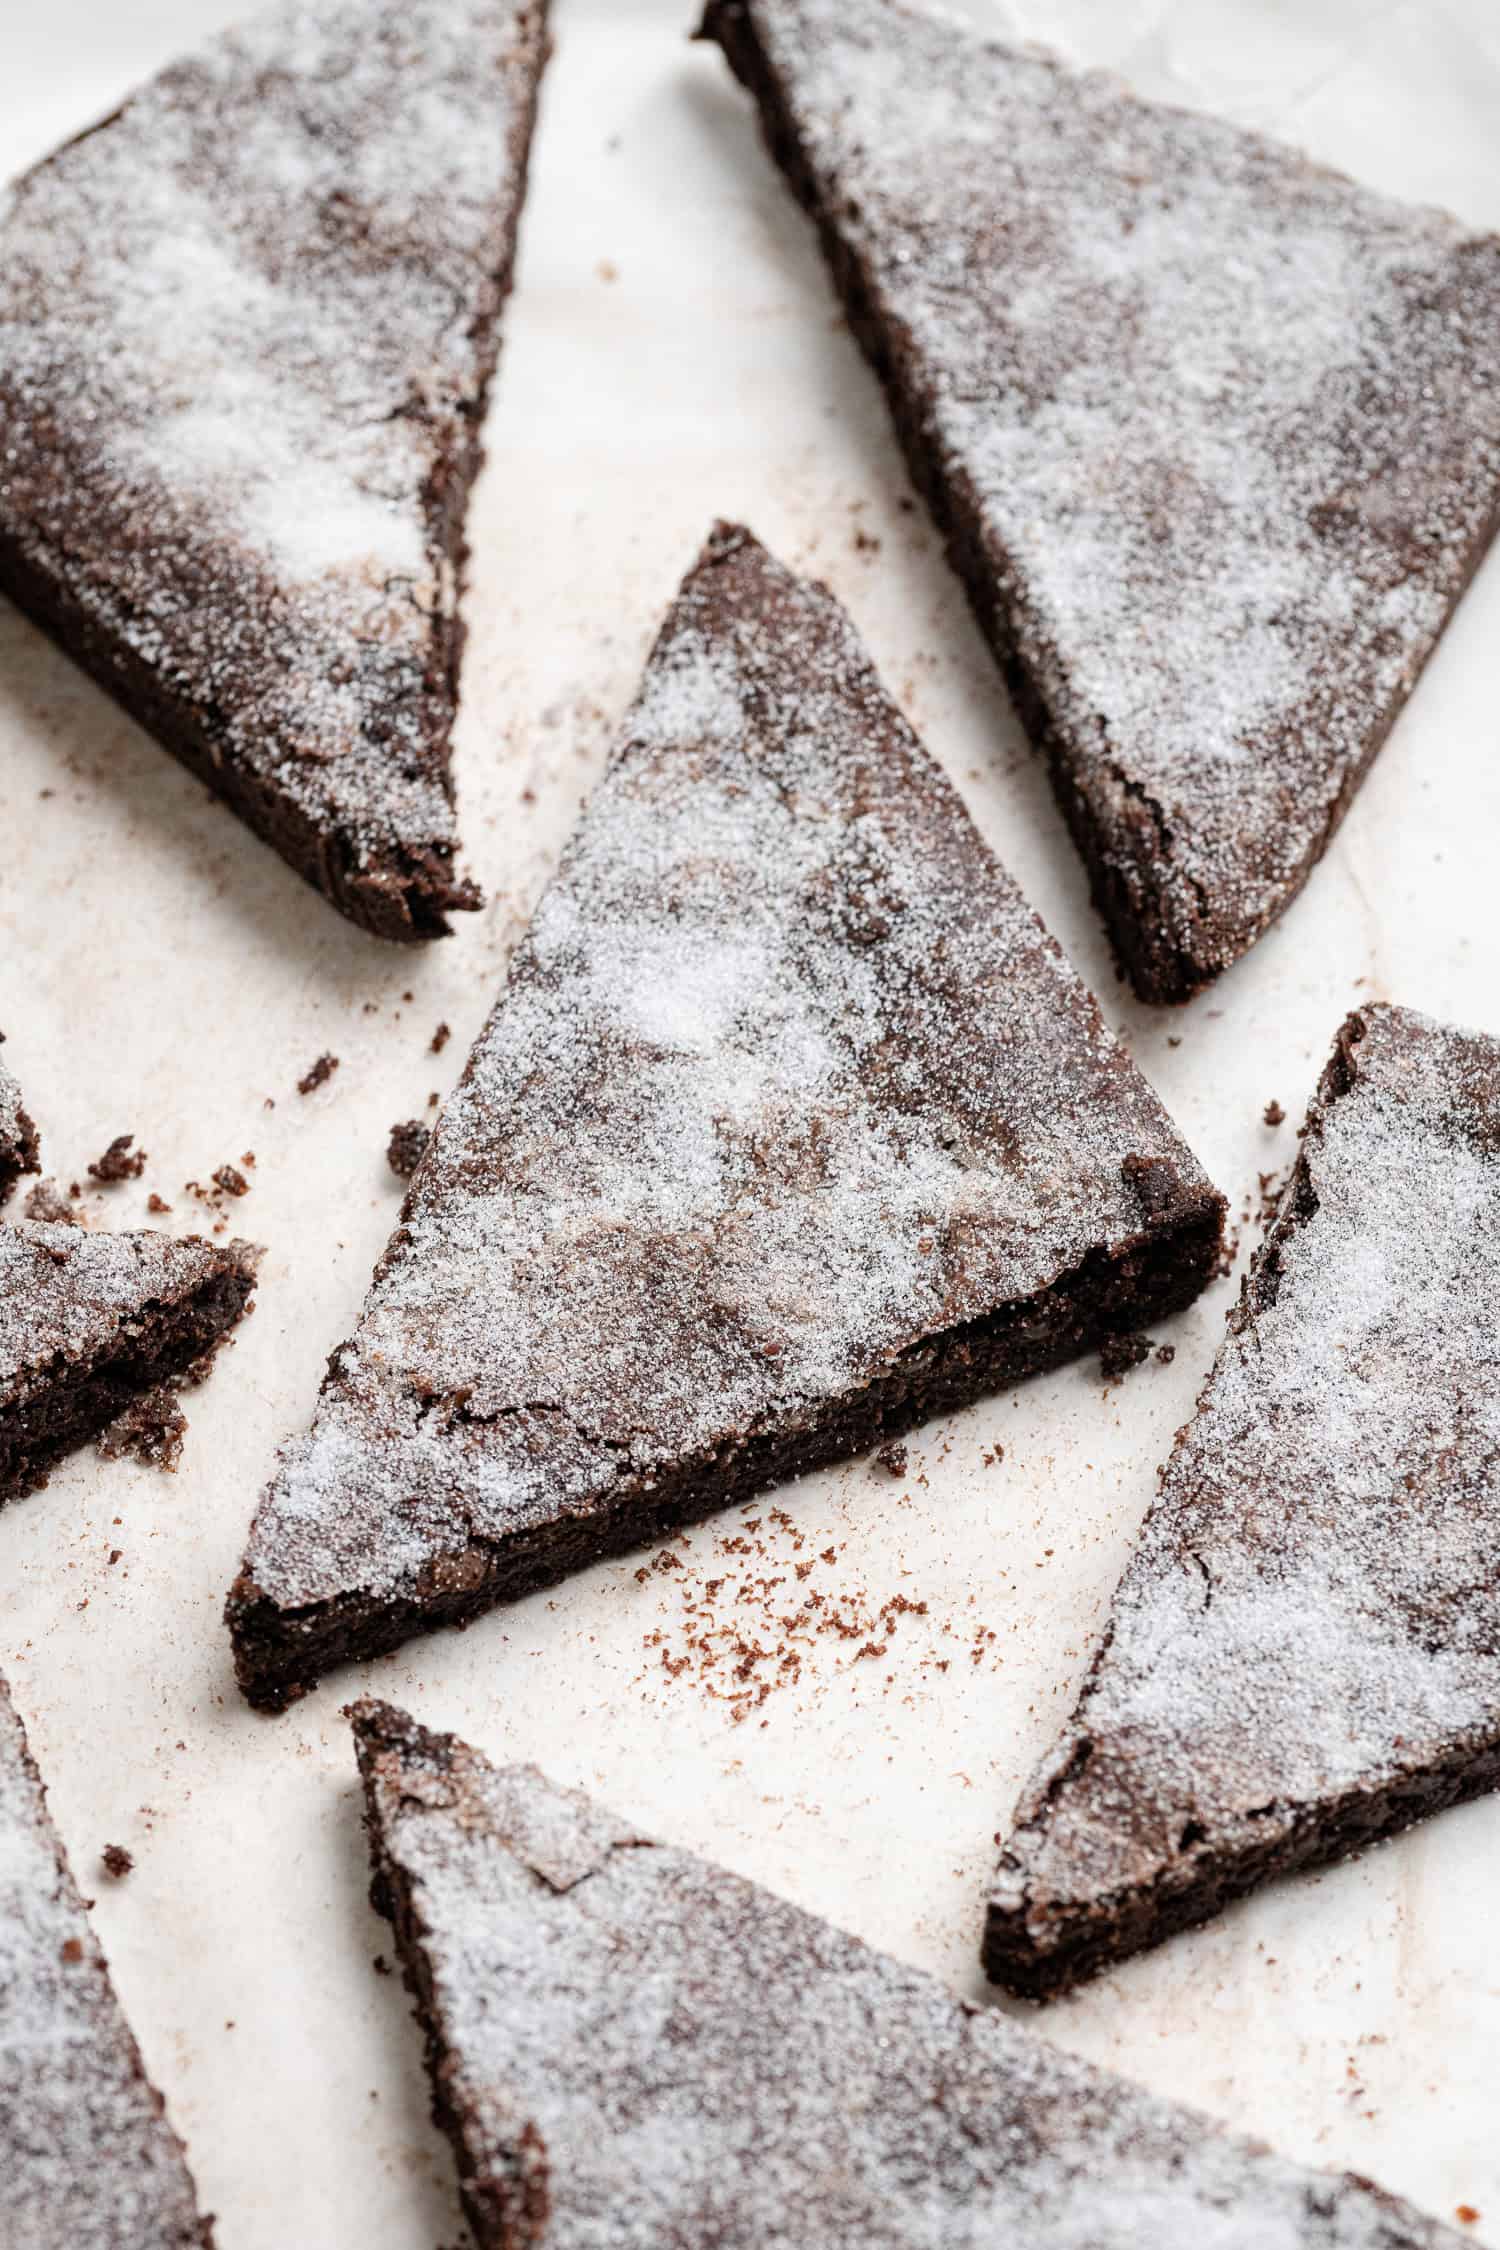
This retro school dinners vegan chocolate concrete cake is so easy to make with just four ingredients!
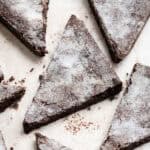
It is an old school days pudding with a delicious chocolate flavour and a texture that is crunchy around the edges and slightly softer in the middle. Serve it with custard or chocolate custard for the ultimate nostalgic treat!

What Is Chocolate Concrete?:
Chocolate concrete, also known as chocolate concrete cake or chocolate crunch, was a popular British school dinners pudding during the 1970's, 80's and 90's.
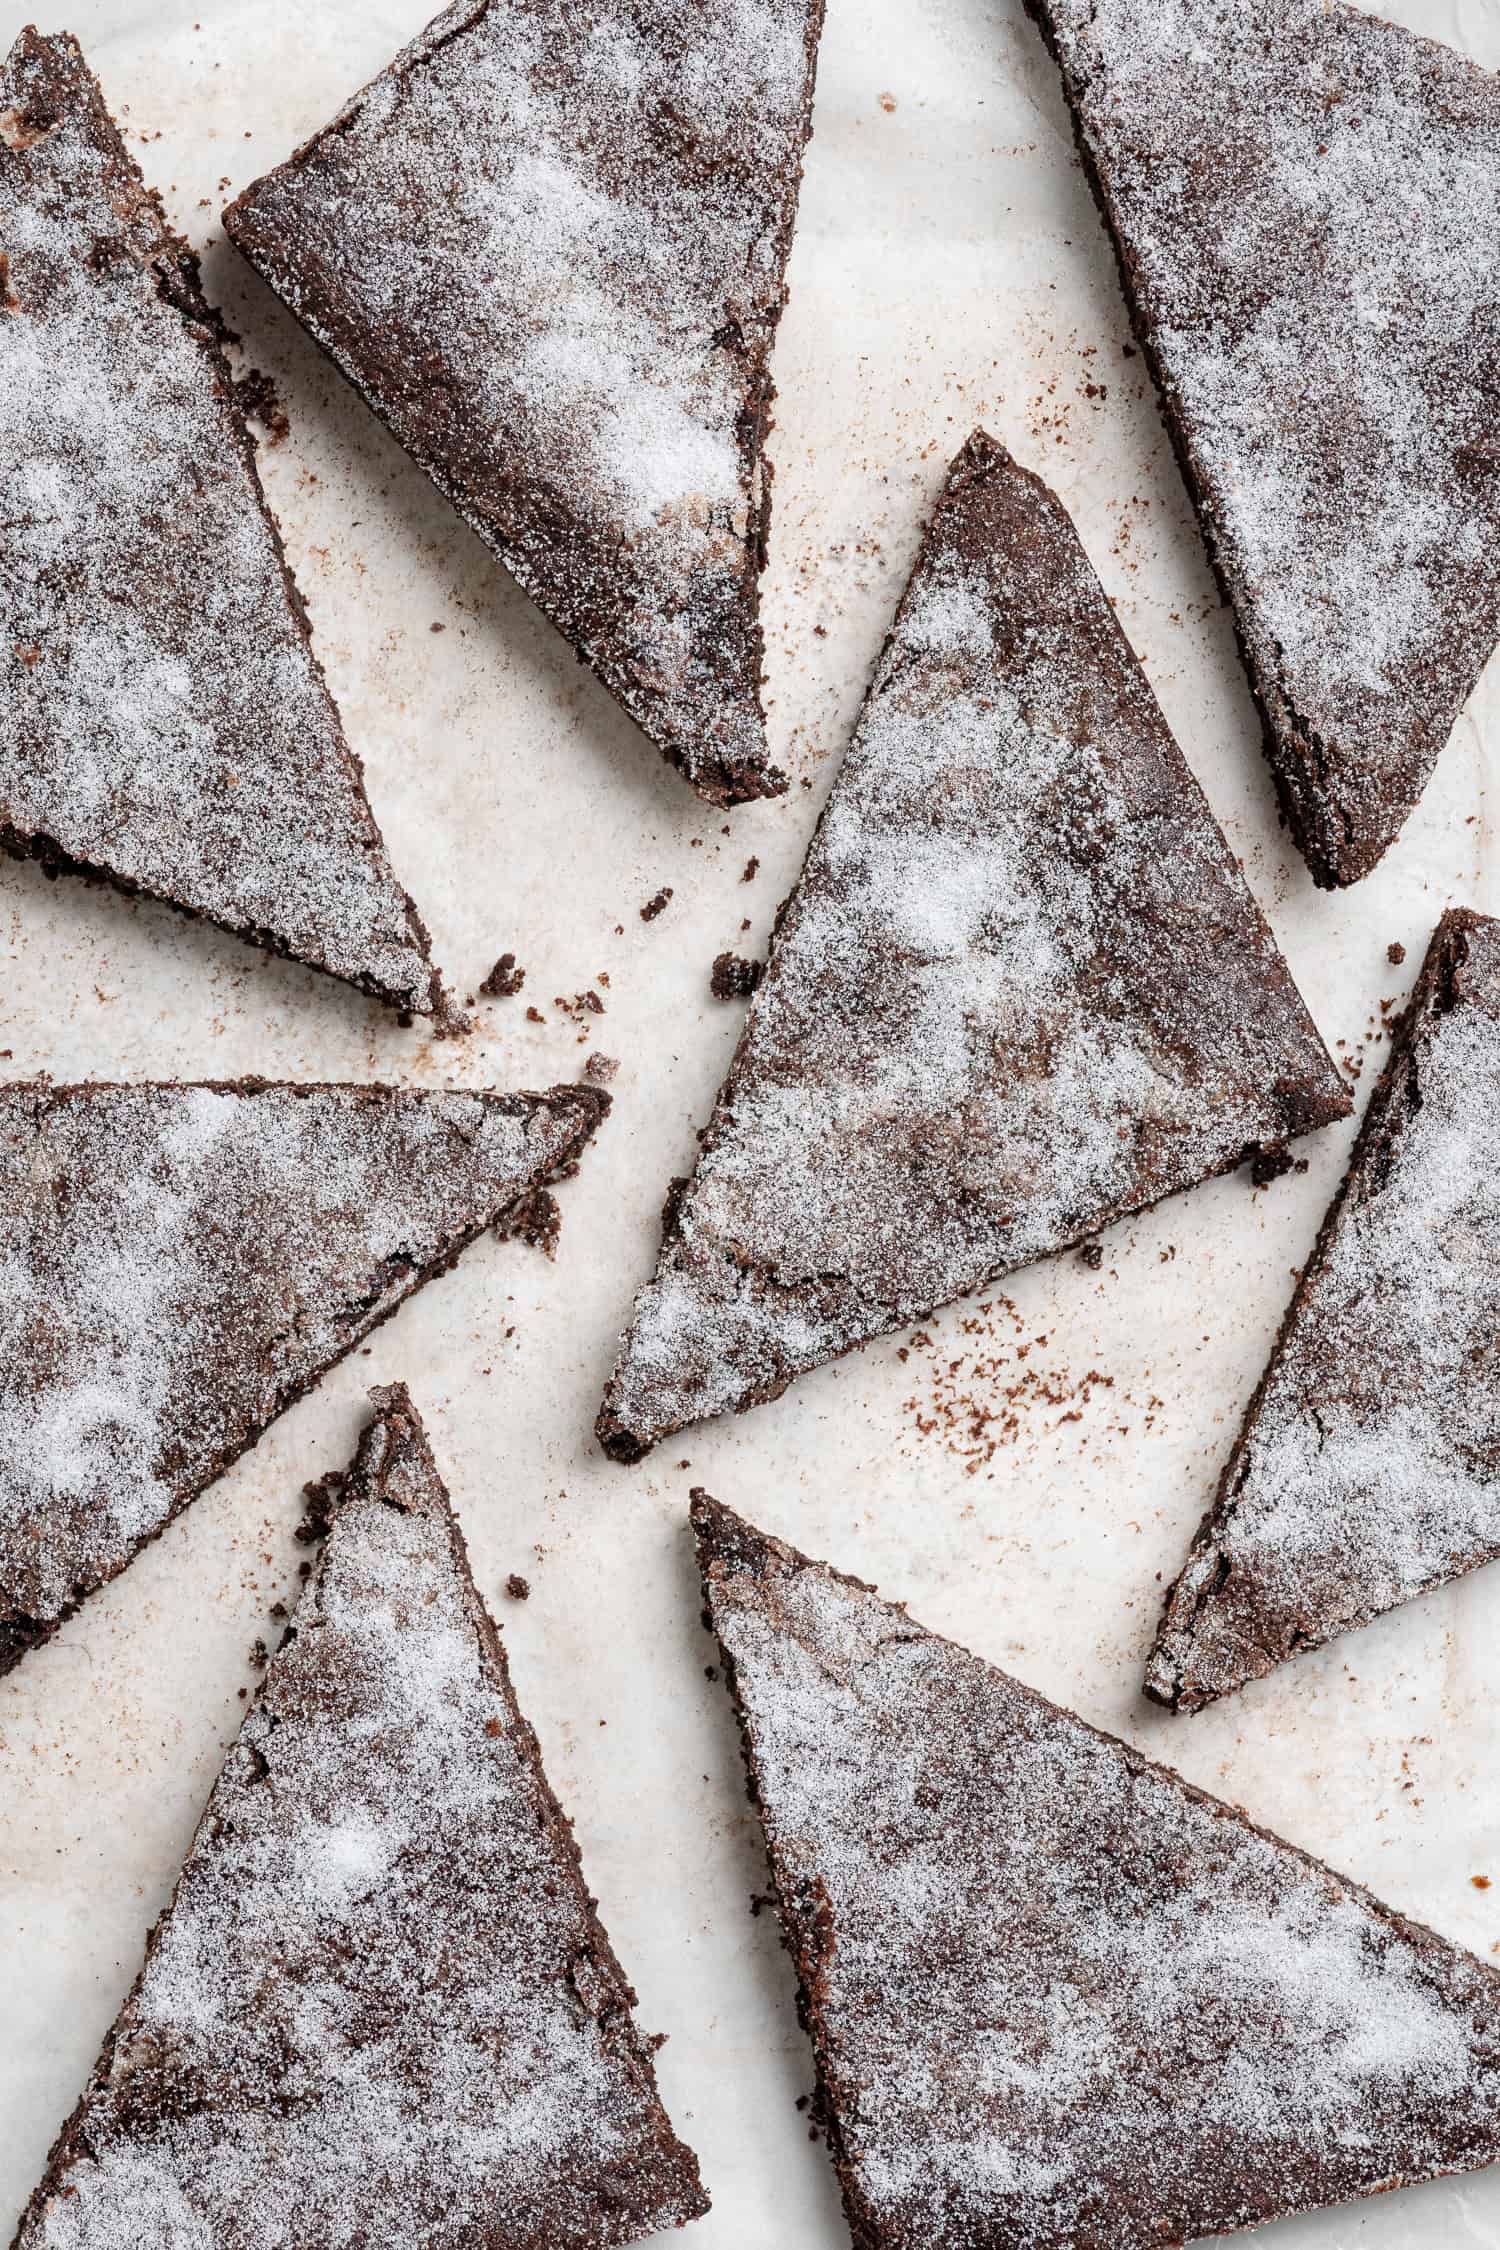
It is really more of a shortbread style biscuit than a cake as it contains no raising agents or eggs, and it is baked as a thin slab before being sliced into triangles or squares. It is slightly soft when warm, but as it cools it firms up to become crisp and crunchy round the edges, with a slightly softer texture in the middle.
There is another version of chocolate concrete that does contain egg and self-raising flour, giving it a cakier texture, but it is the classic, shortbread style that this recipe is for.
Many people have fond memories of chocolate concrete being served with pink custard, or even green (mint) custard! Unfortunately, pink custard is made with strawberry blancmange powder, which is generally not vegan friendly as it contains carmine, which is a colouring made from insects.
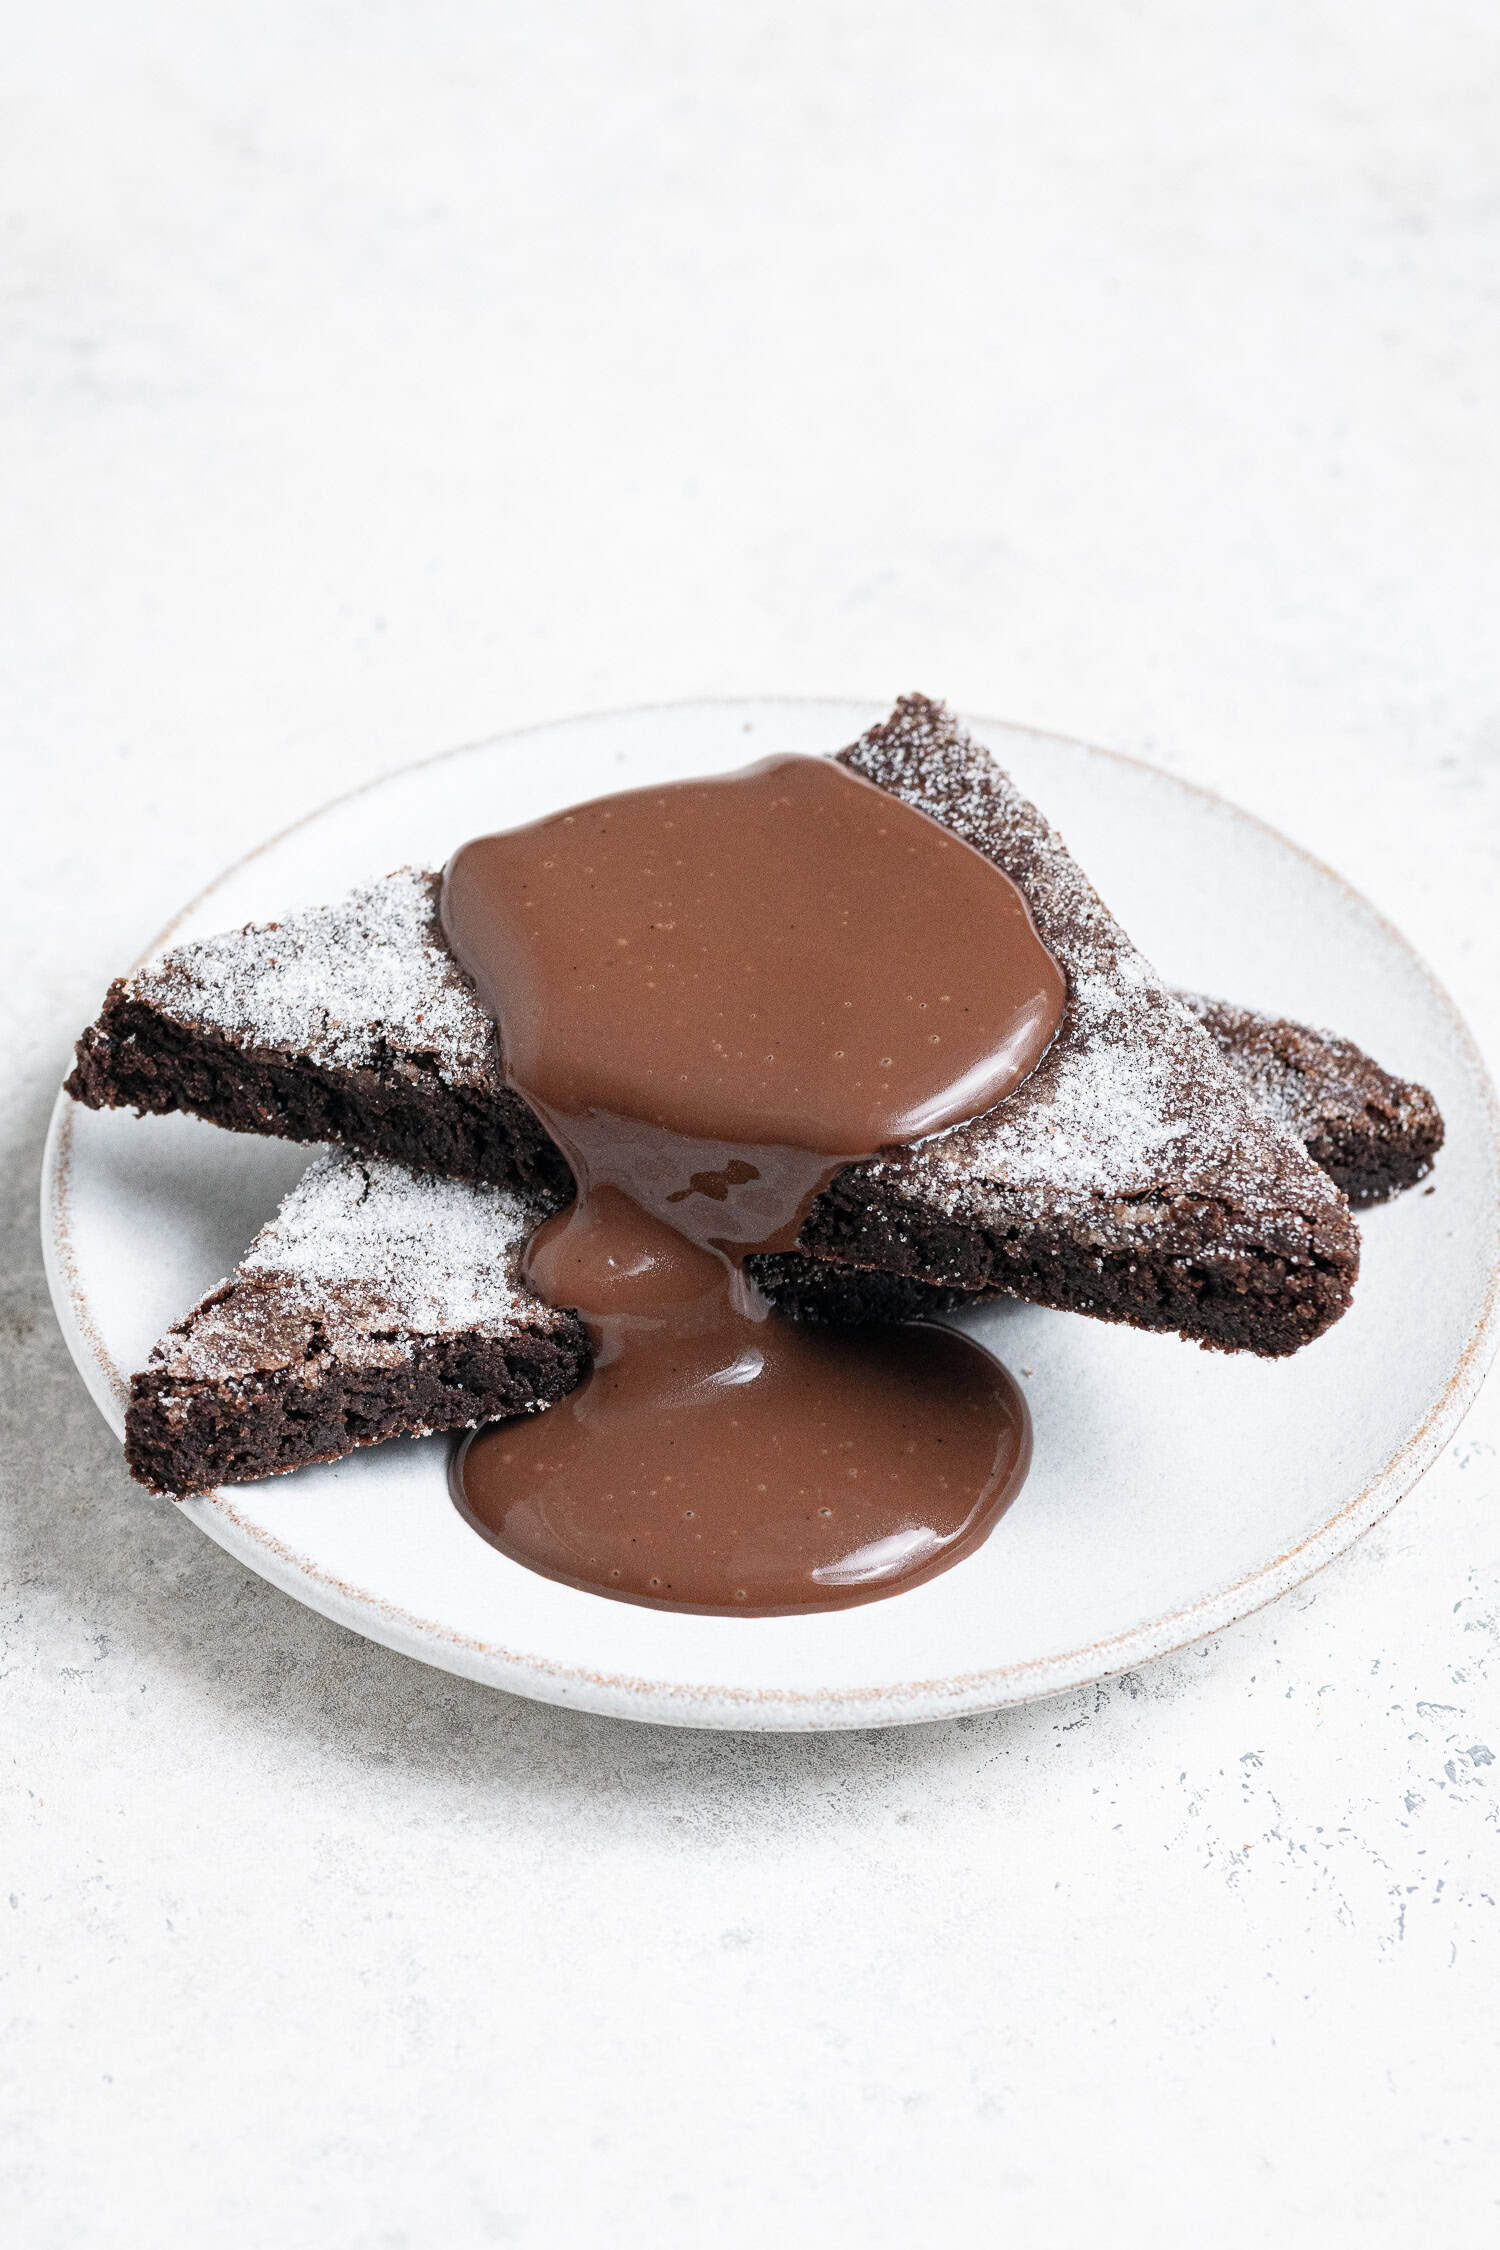
So instead of pink custard I served my chocolate concrete with vegan chocolate custard, you can't go wrong with double chocolate!
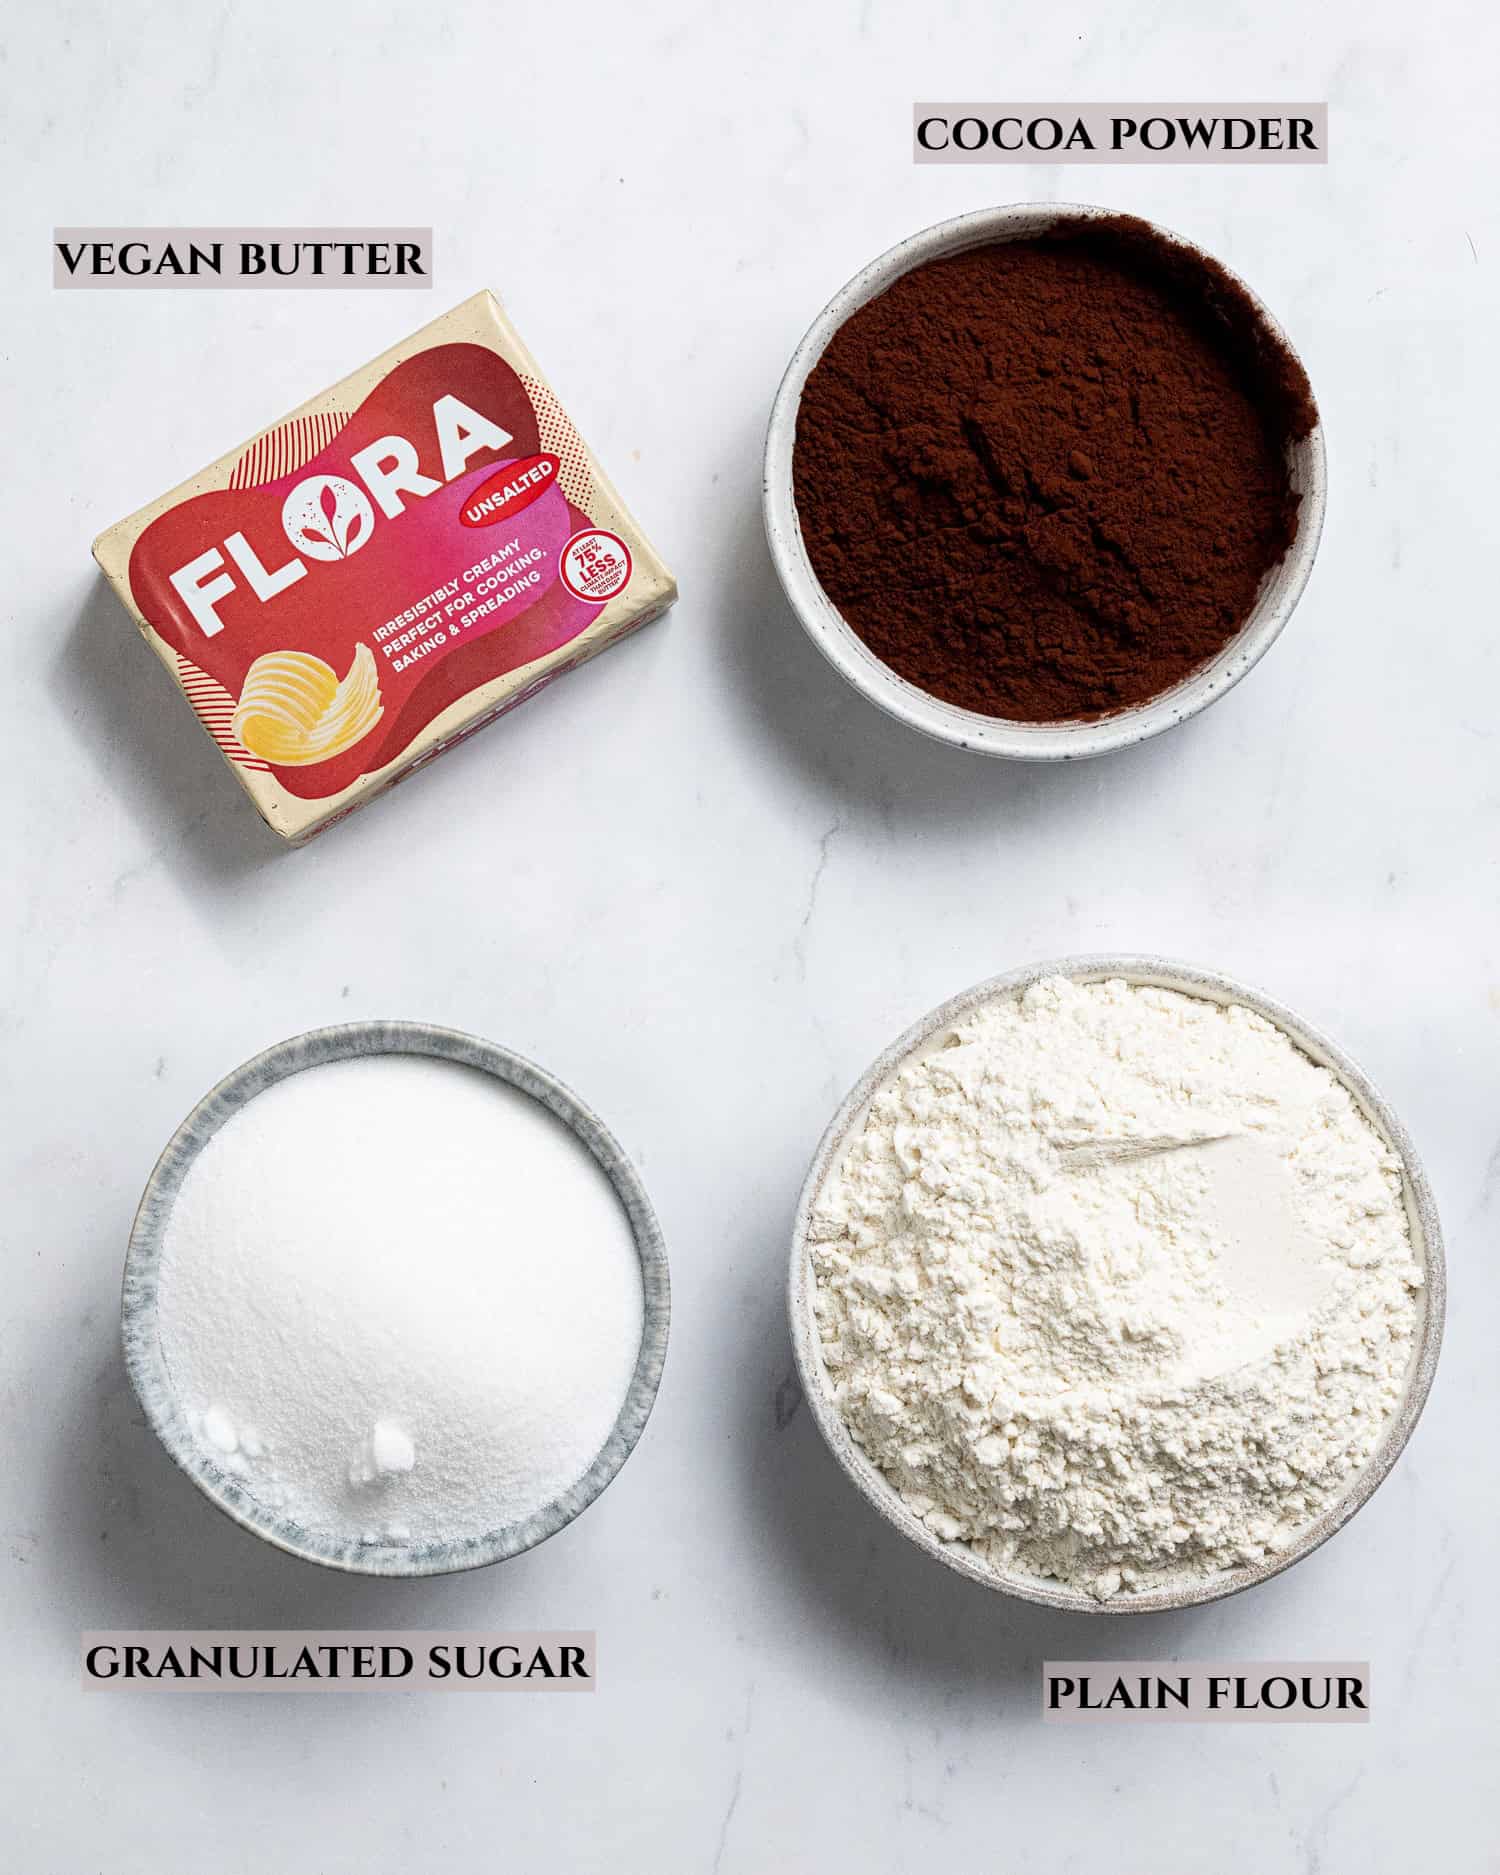
Ingredient Details:
Vegan Butter: For the best results please use a block butter/margarine, not the spreadable kind in a tub which has too high a water content for baking, especially for things like biscuits. I like Naturli vegan block or Flora plant butter.
Cocoa powder: Use Dutch processed rather than natural (this is just regular cocoa powder in the UK).
Sugar: Either caster or granulated sugar is fine, though granulated will give you slightly more of a crunch on top.
Plain flour: Just regular plain (all-purpose) flour is best here. I haven't tried making this gluten-free.
How To Make Vegan Chocolate Concrete:
(Full measurements and instructions can be found in the recipe card at the bottom of the page)
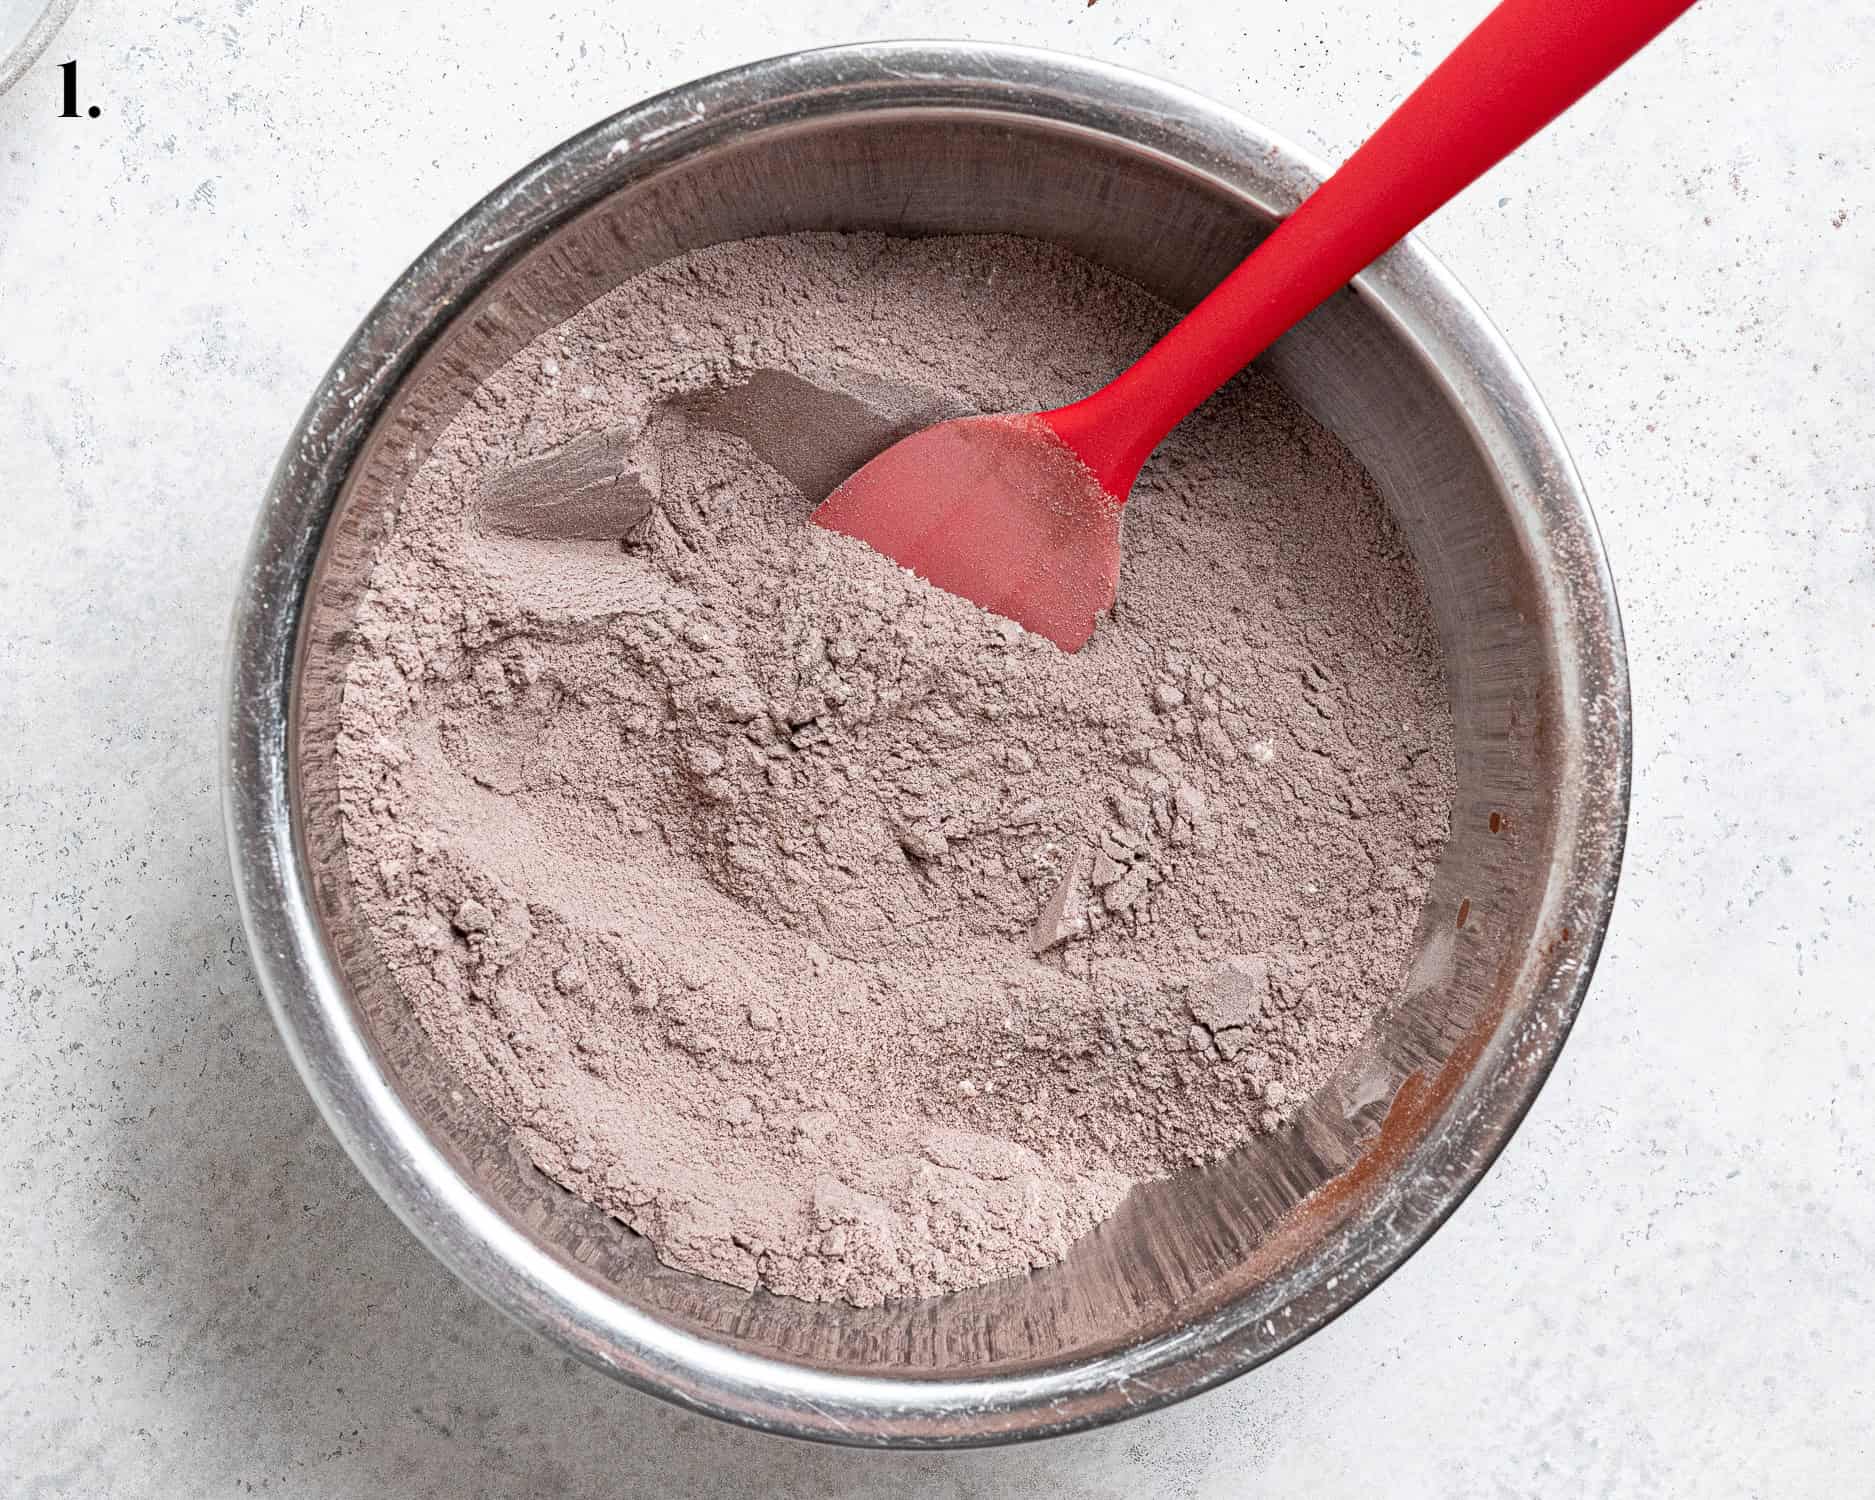
- Step 1: Stir the flour, cocoa powder and sugar together in a bowl.
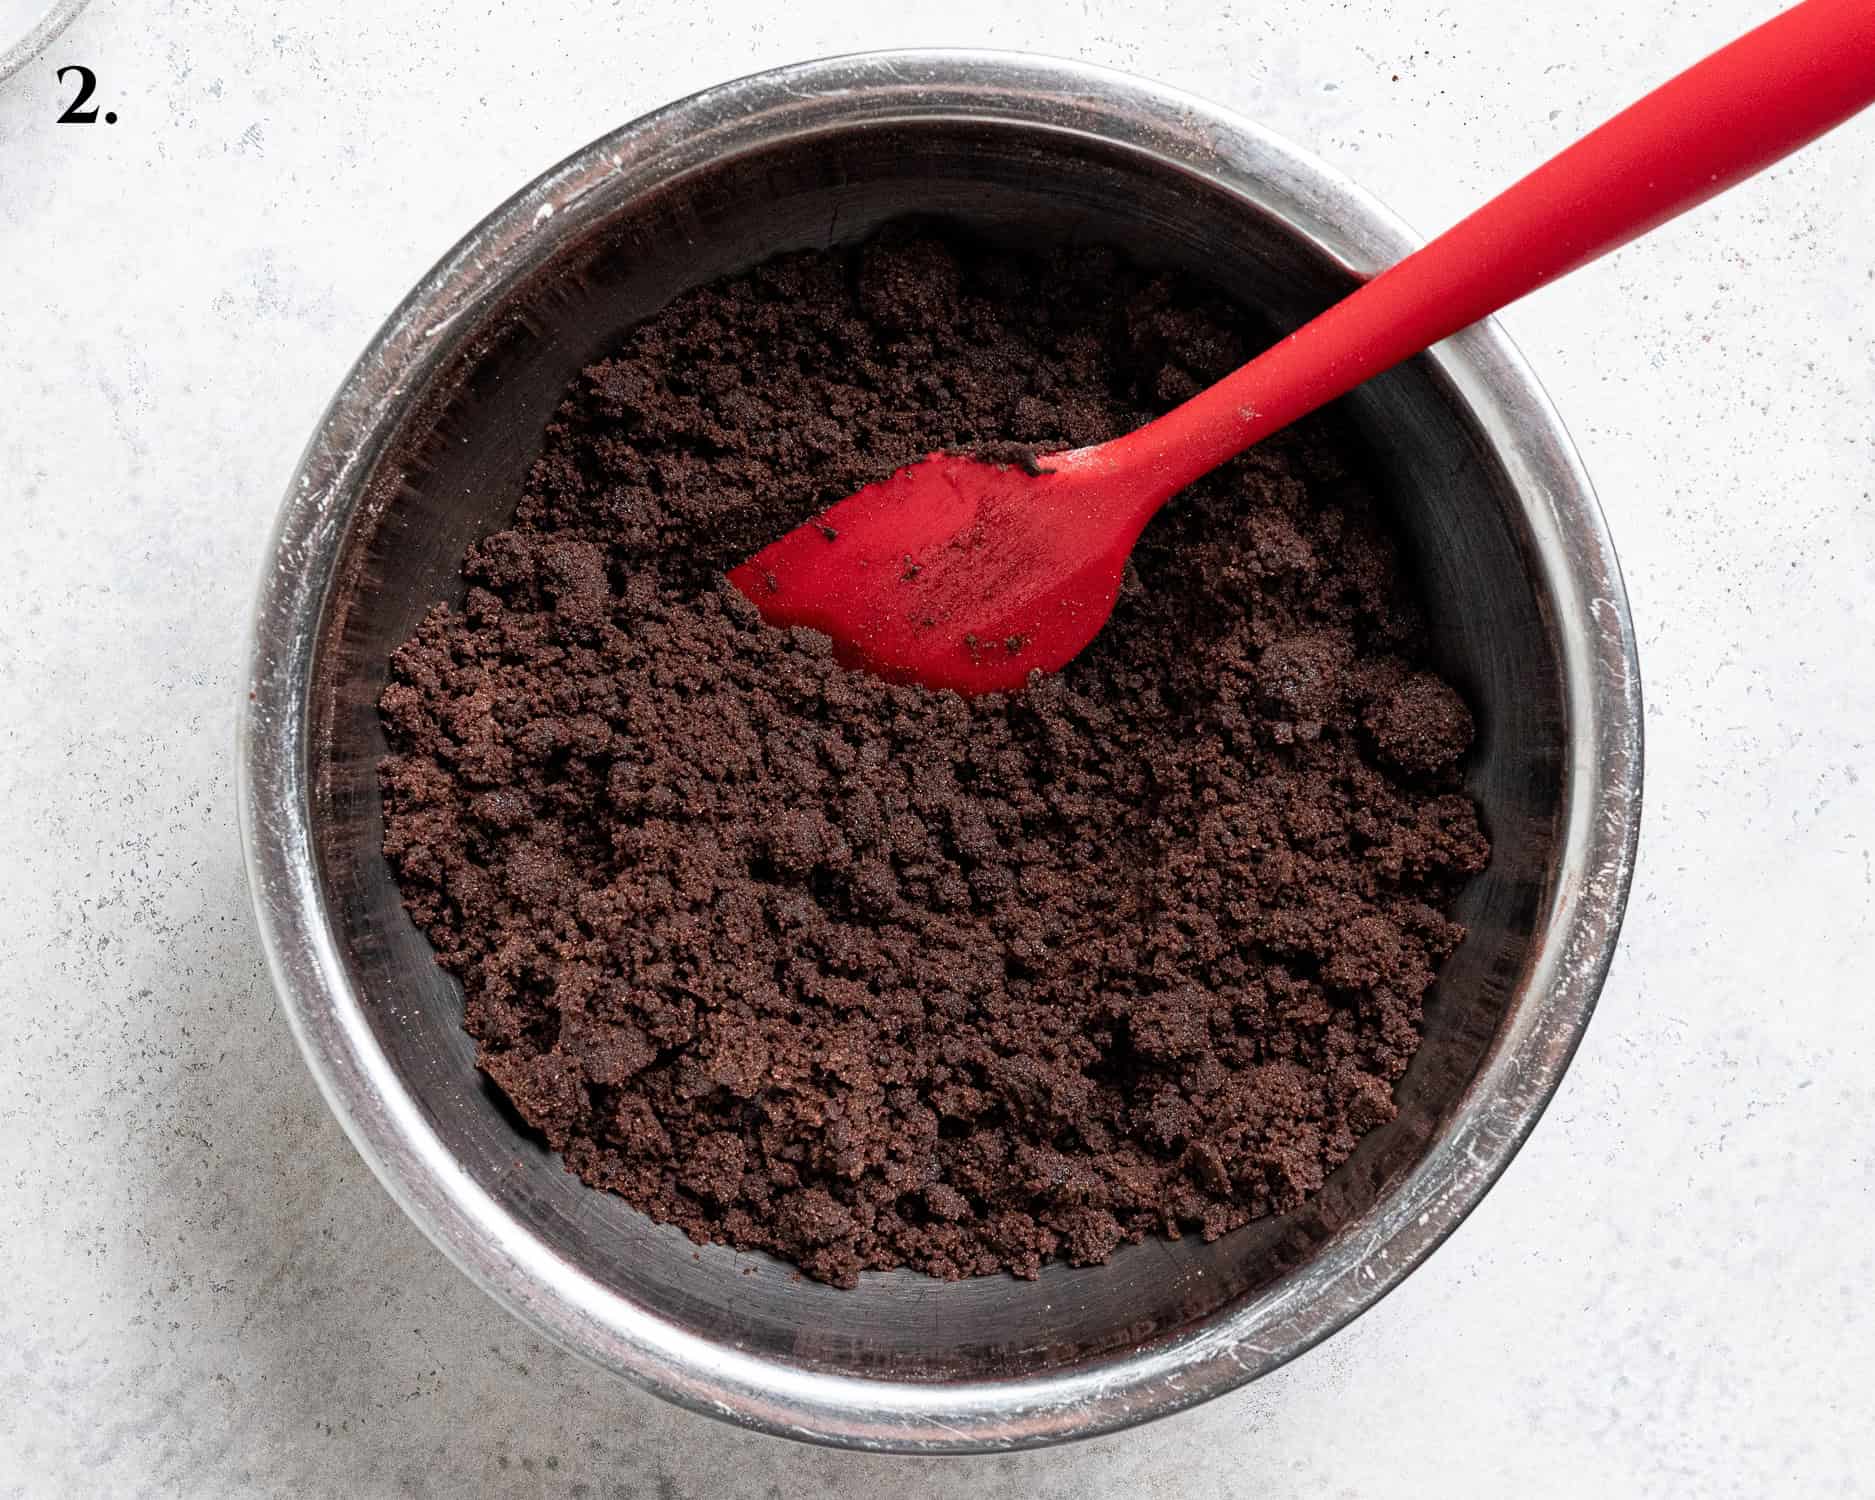
- Step 2: Add the melted butter and stir until well combined, it will be quite a dry mixture.
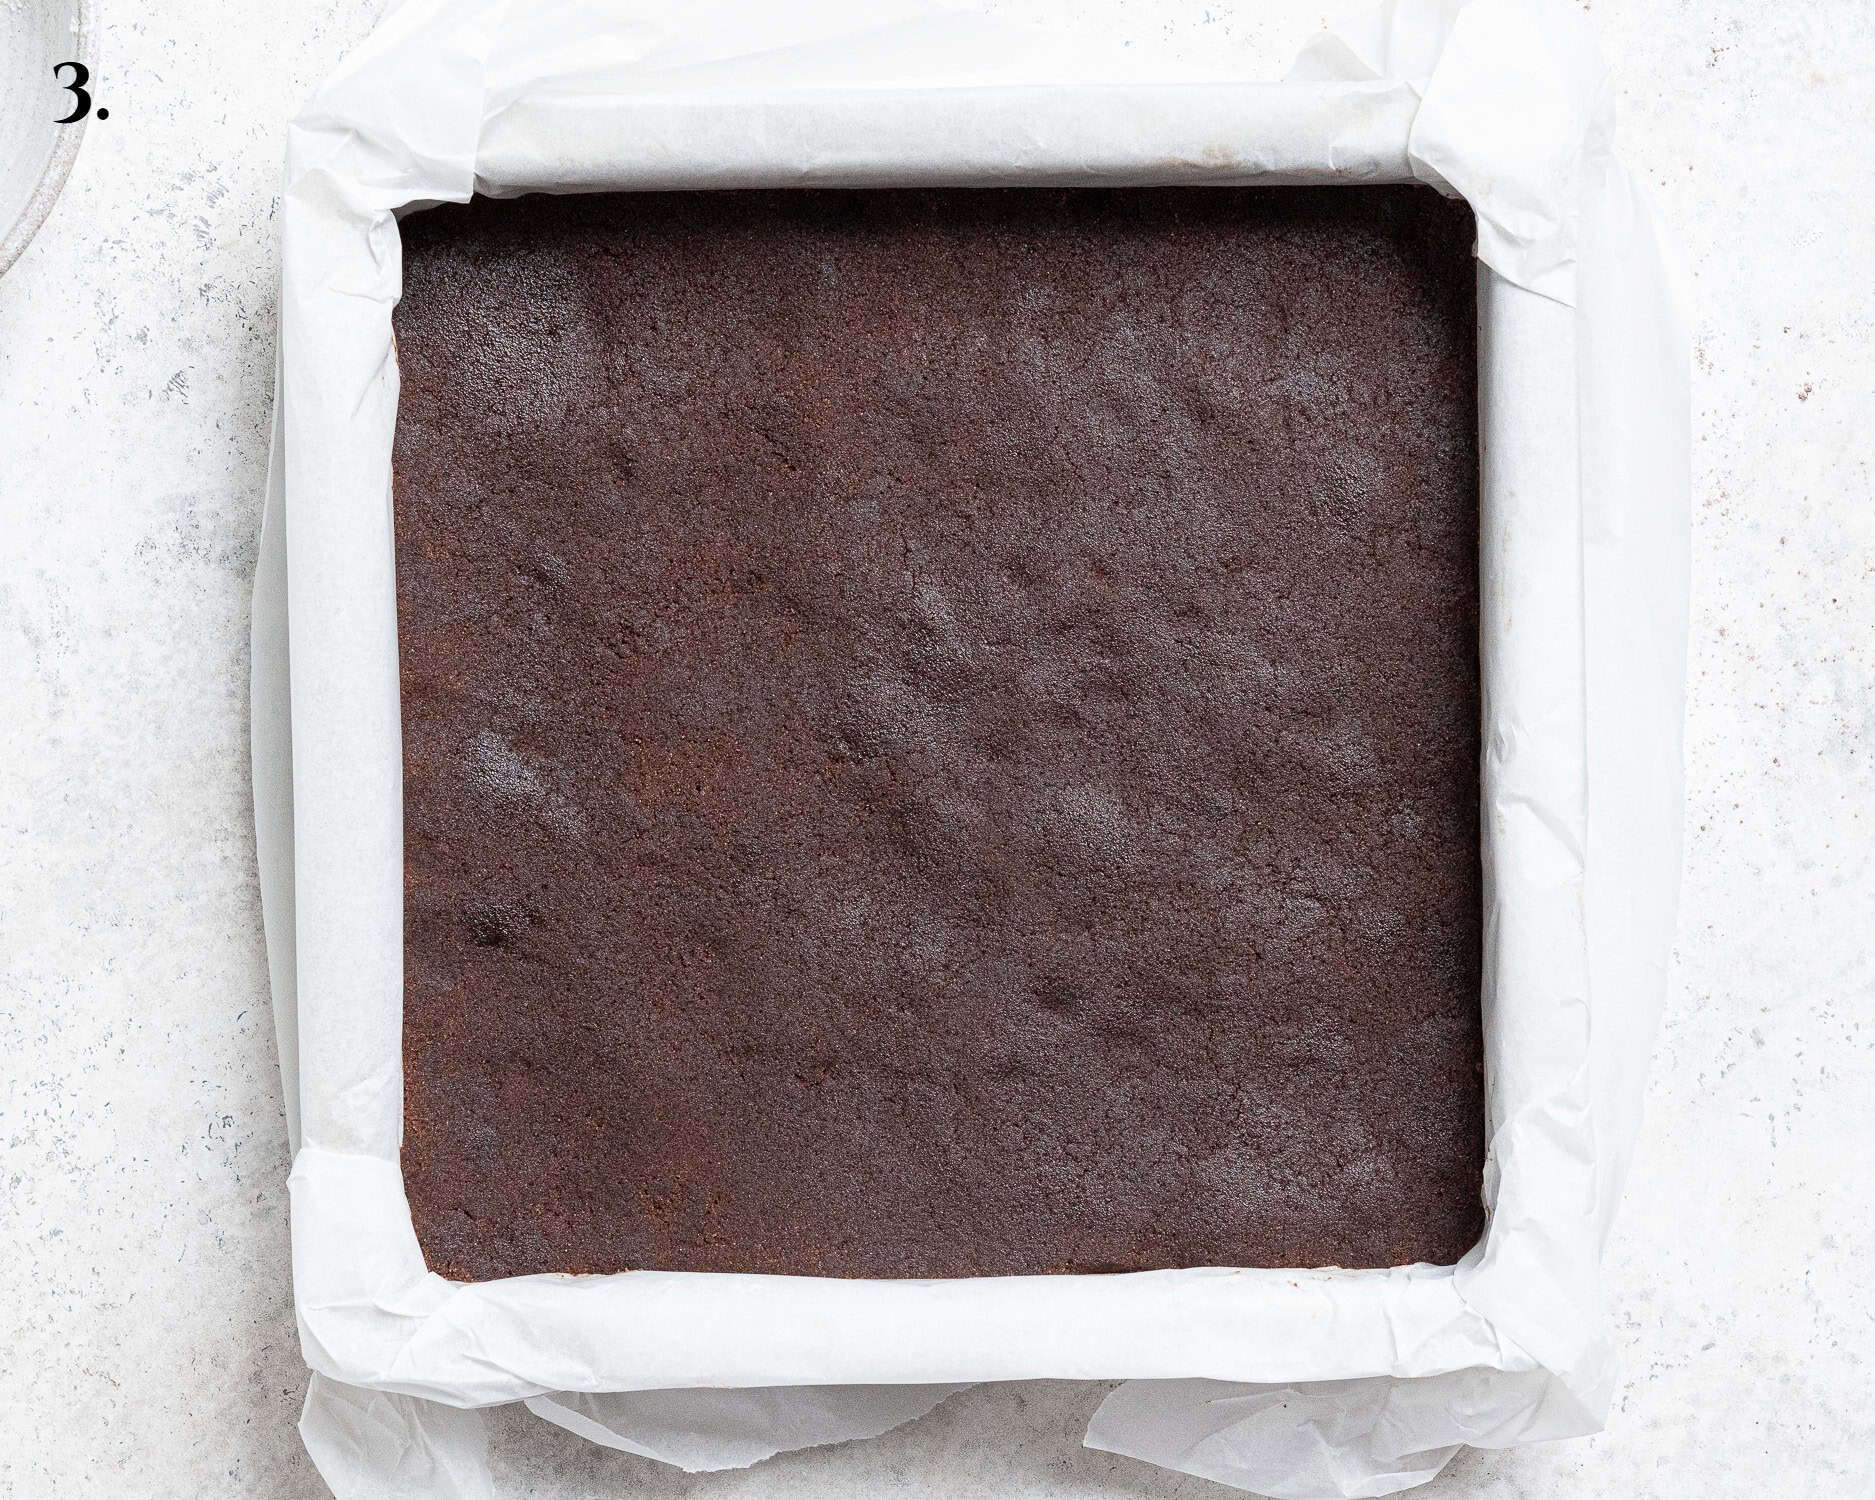
- Step 3: Tip the crumbs into a lined 20 cm square tin and pack them down really firmly and evenly. You can use your hands or the base of a glass to press them down.
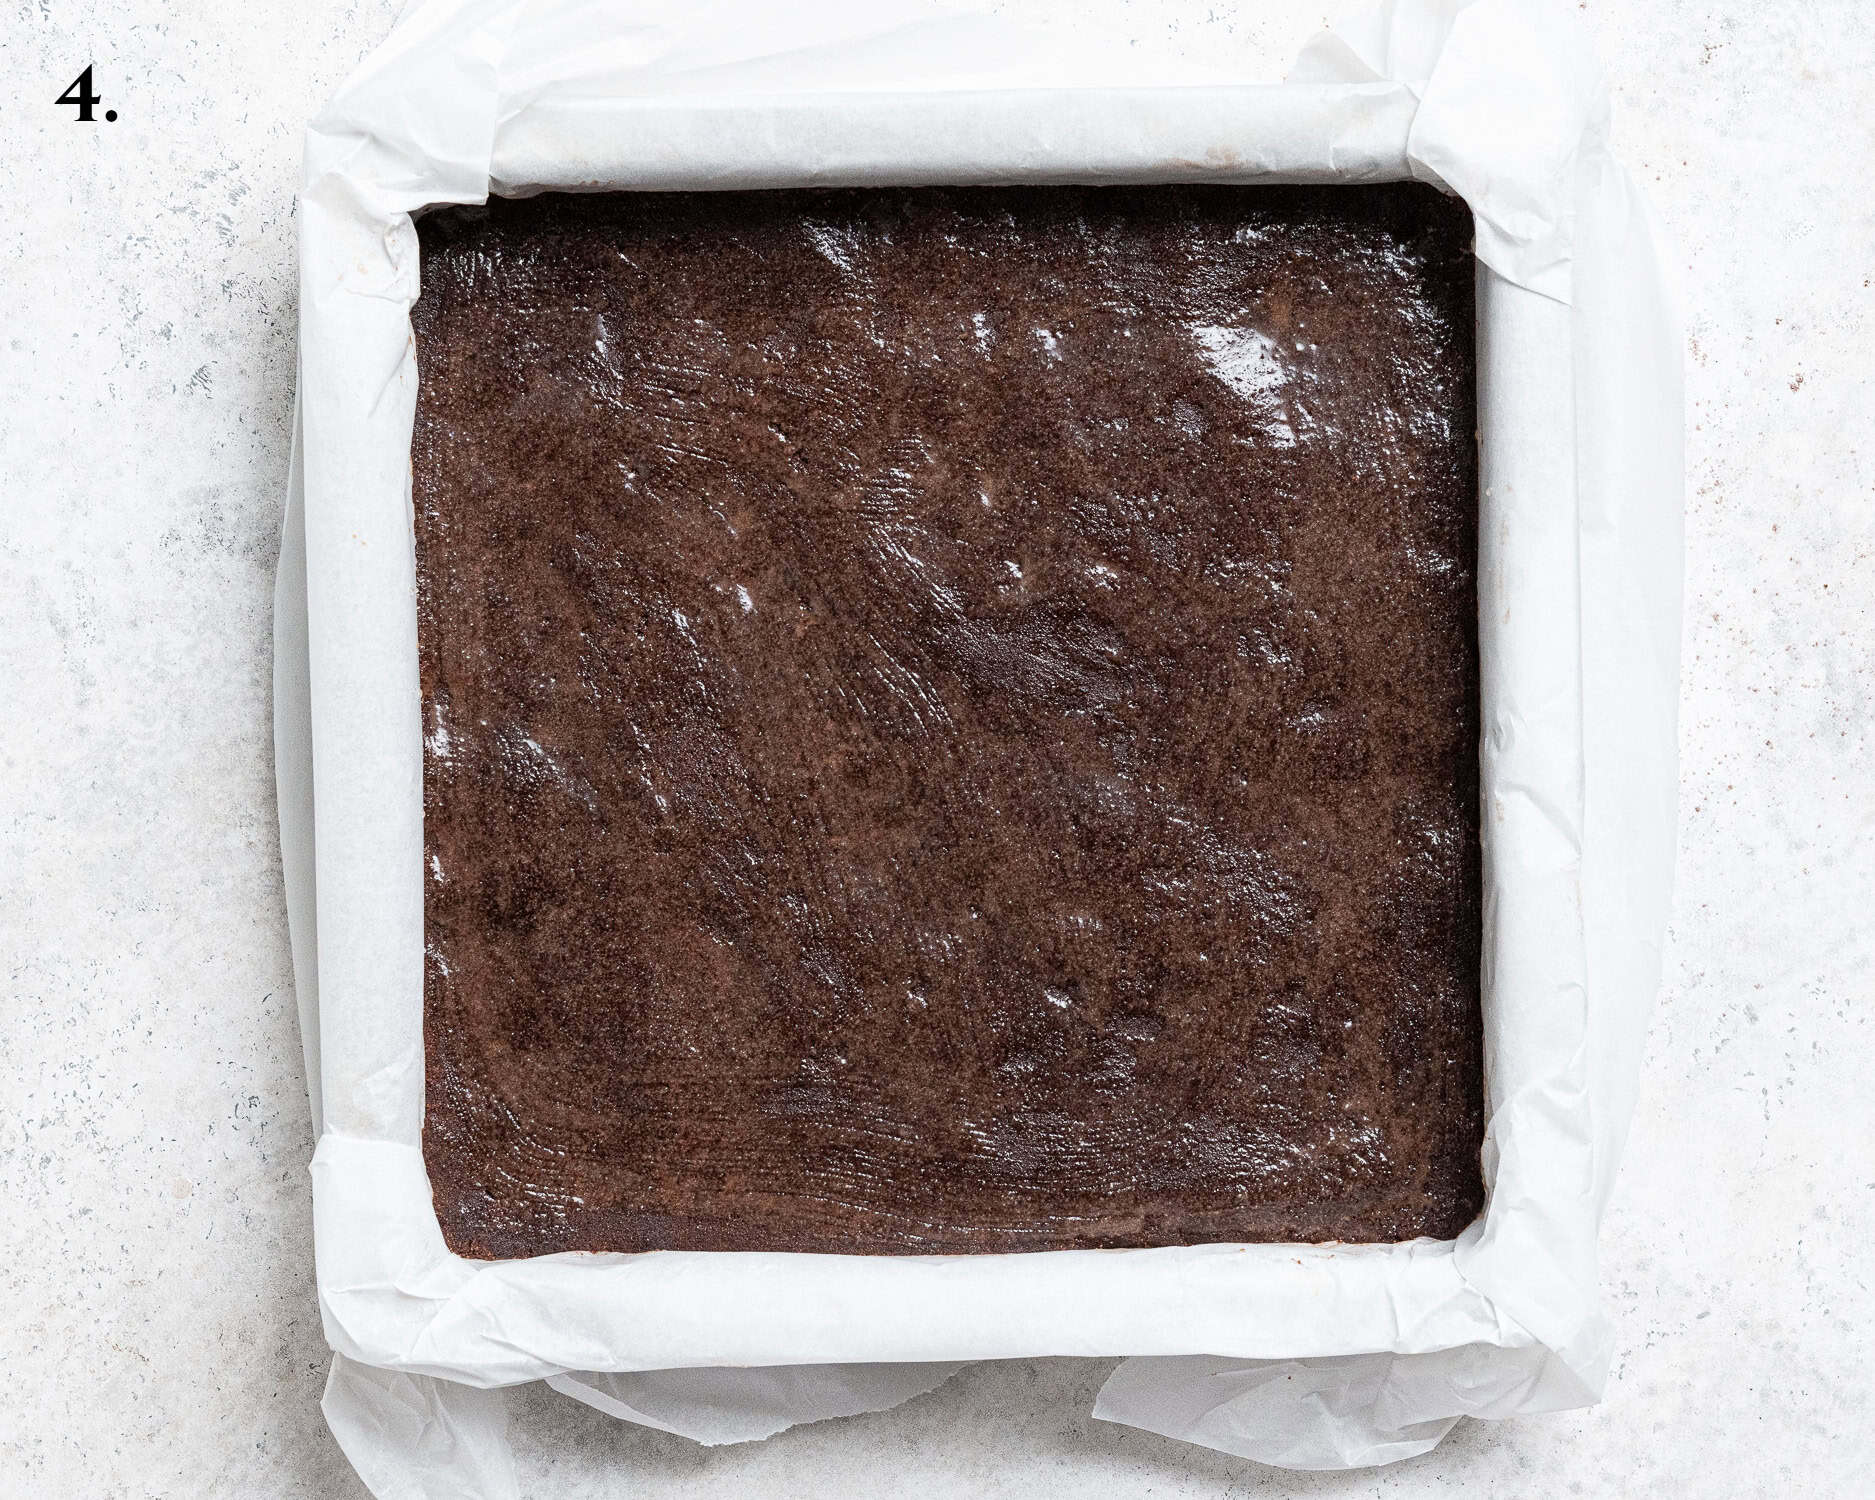
- Step 4: Lightly brush the surface with water.
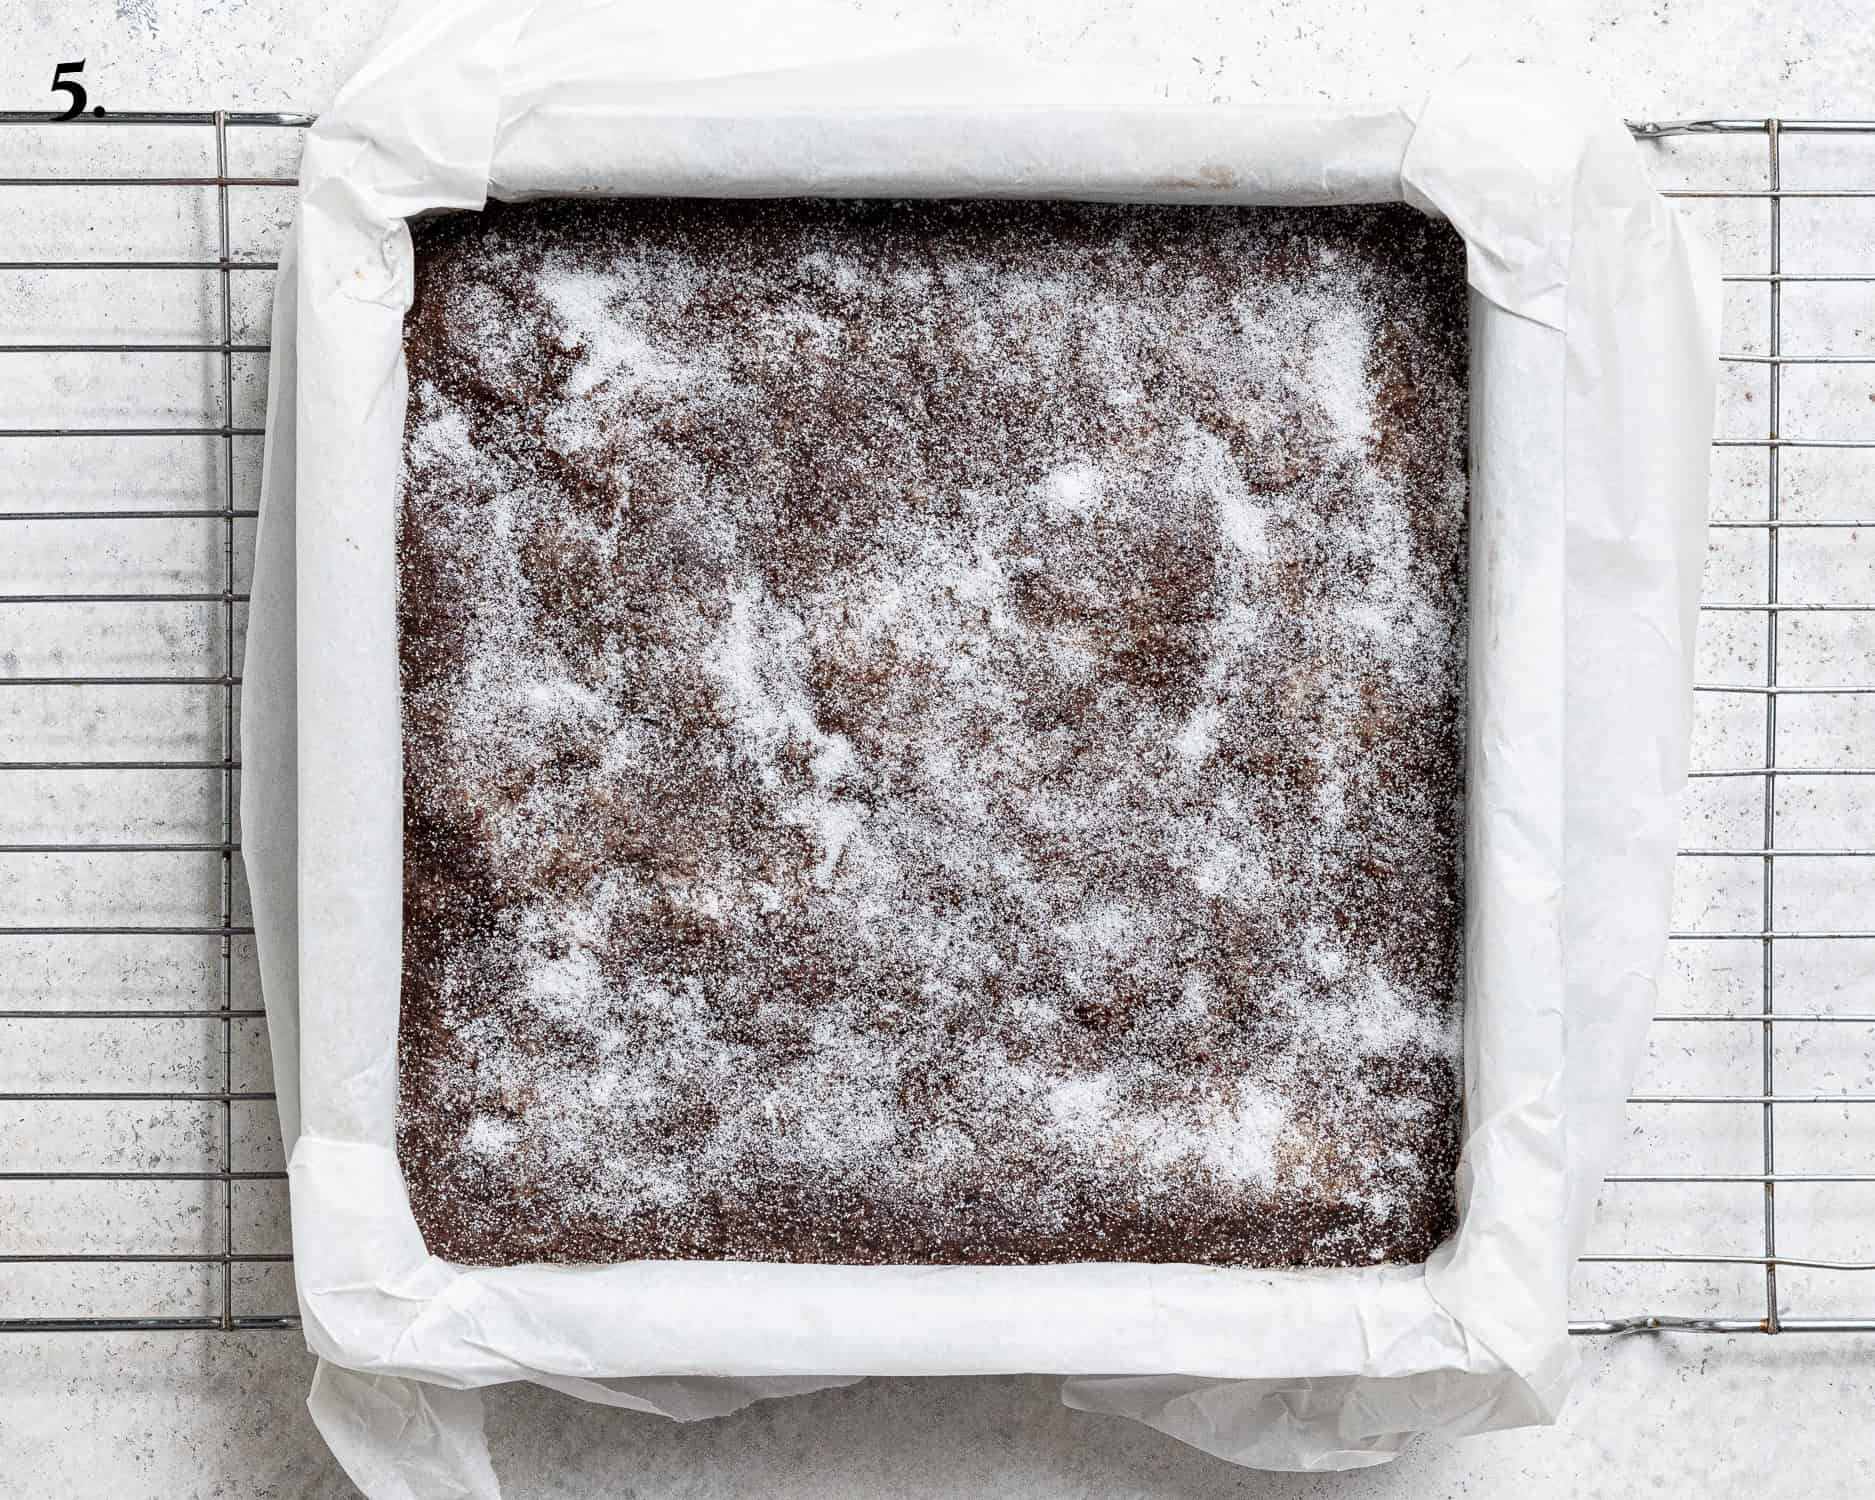
- Step 5: Bake for 25 minutes then immediately sprinkle with sugar.
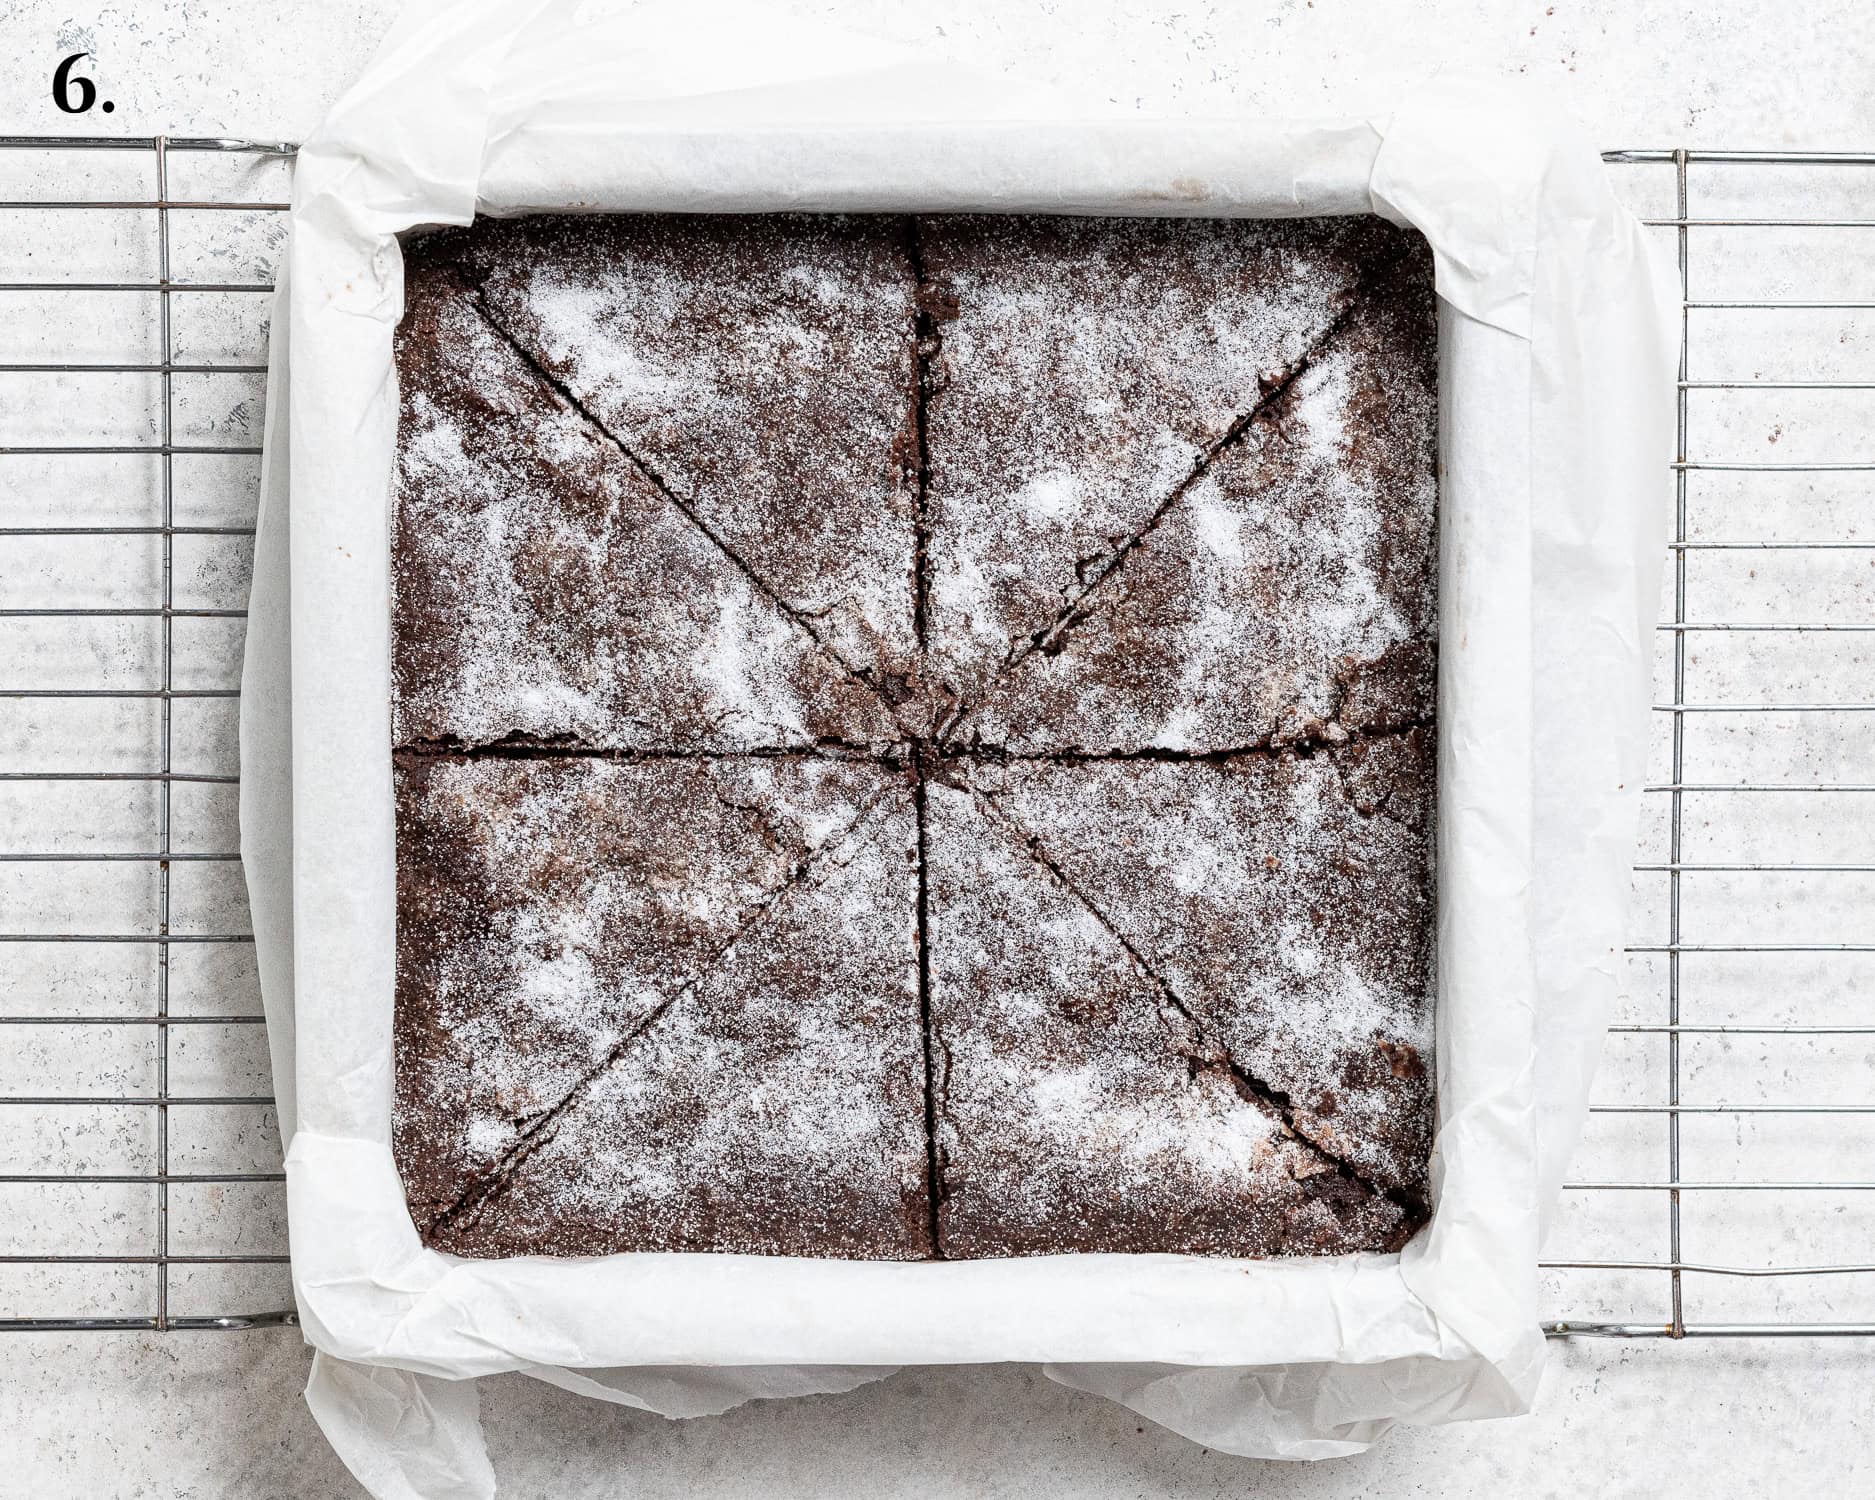
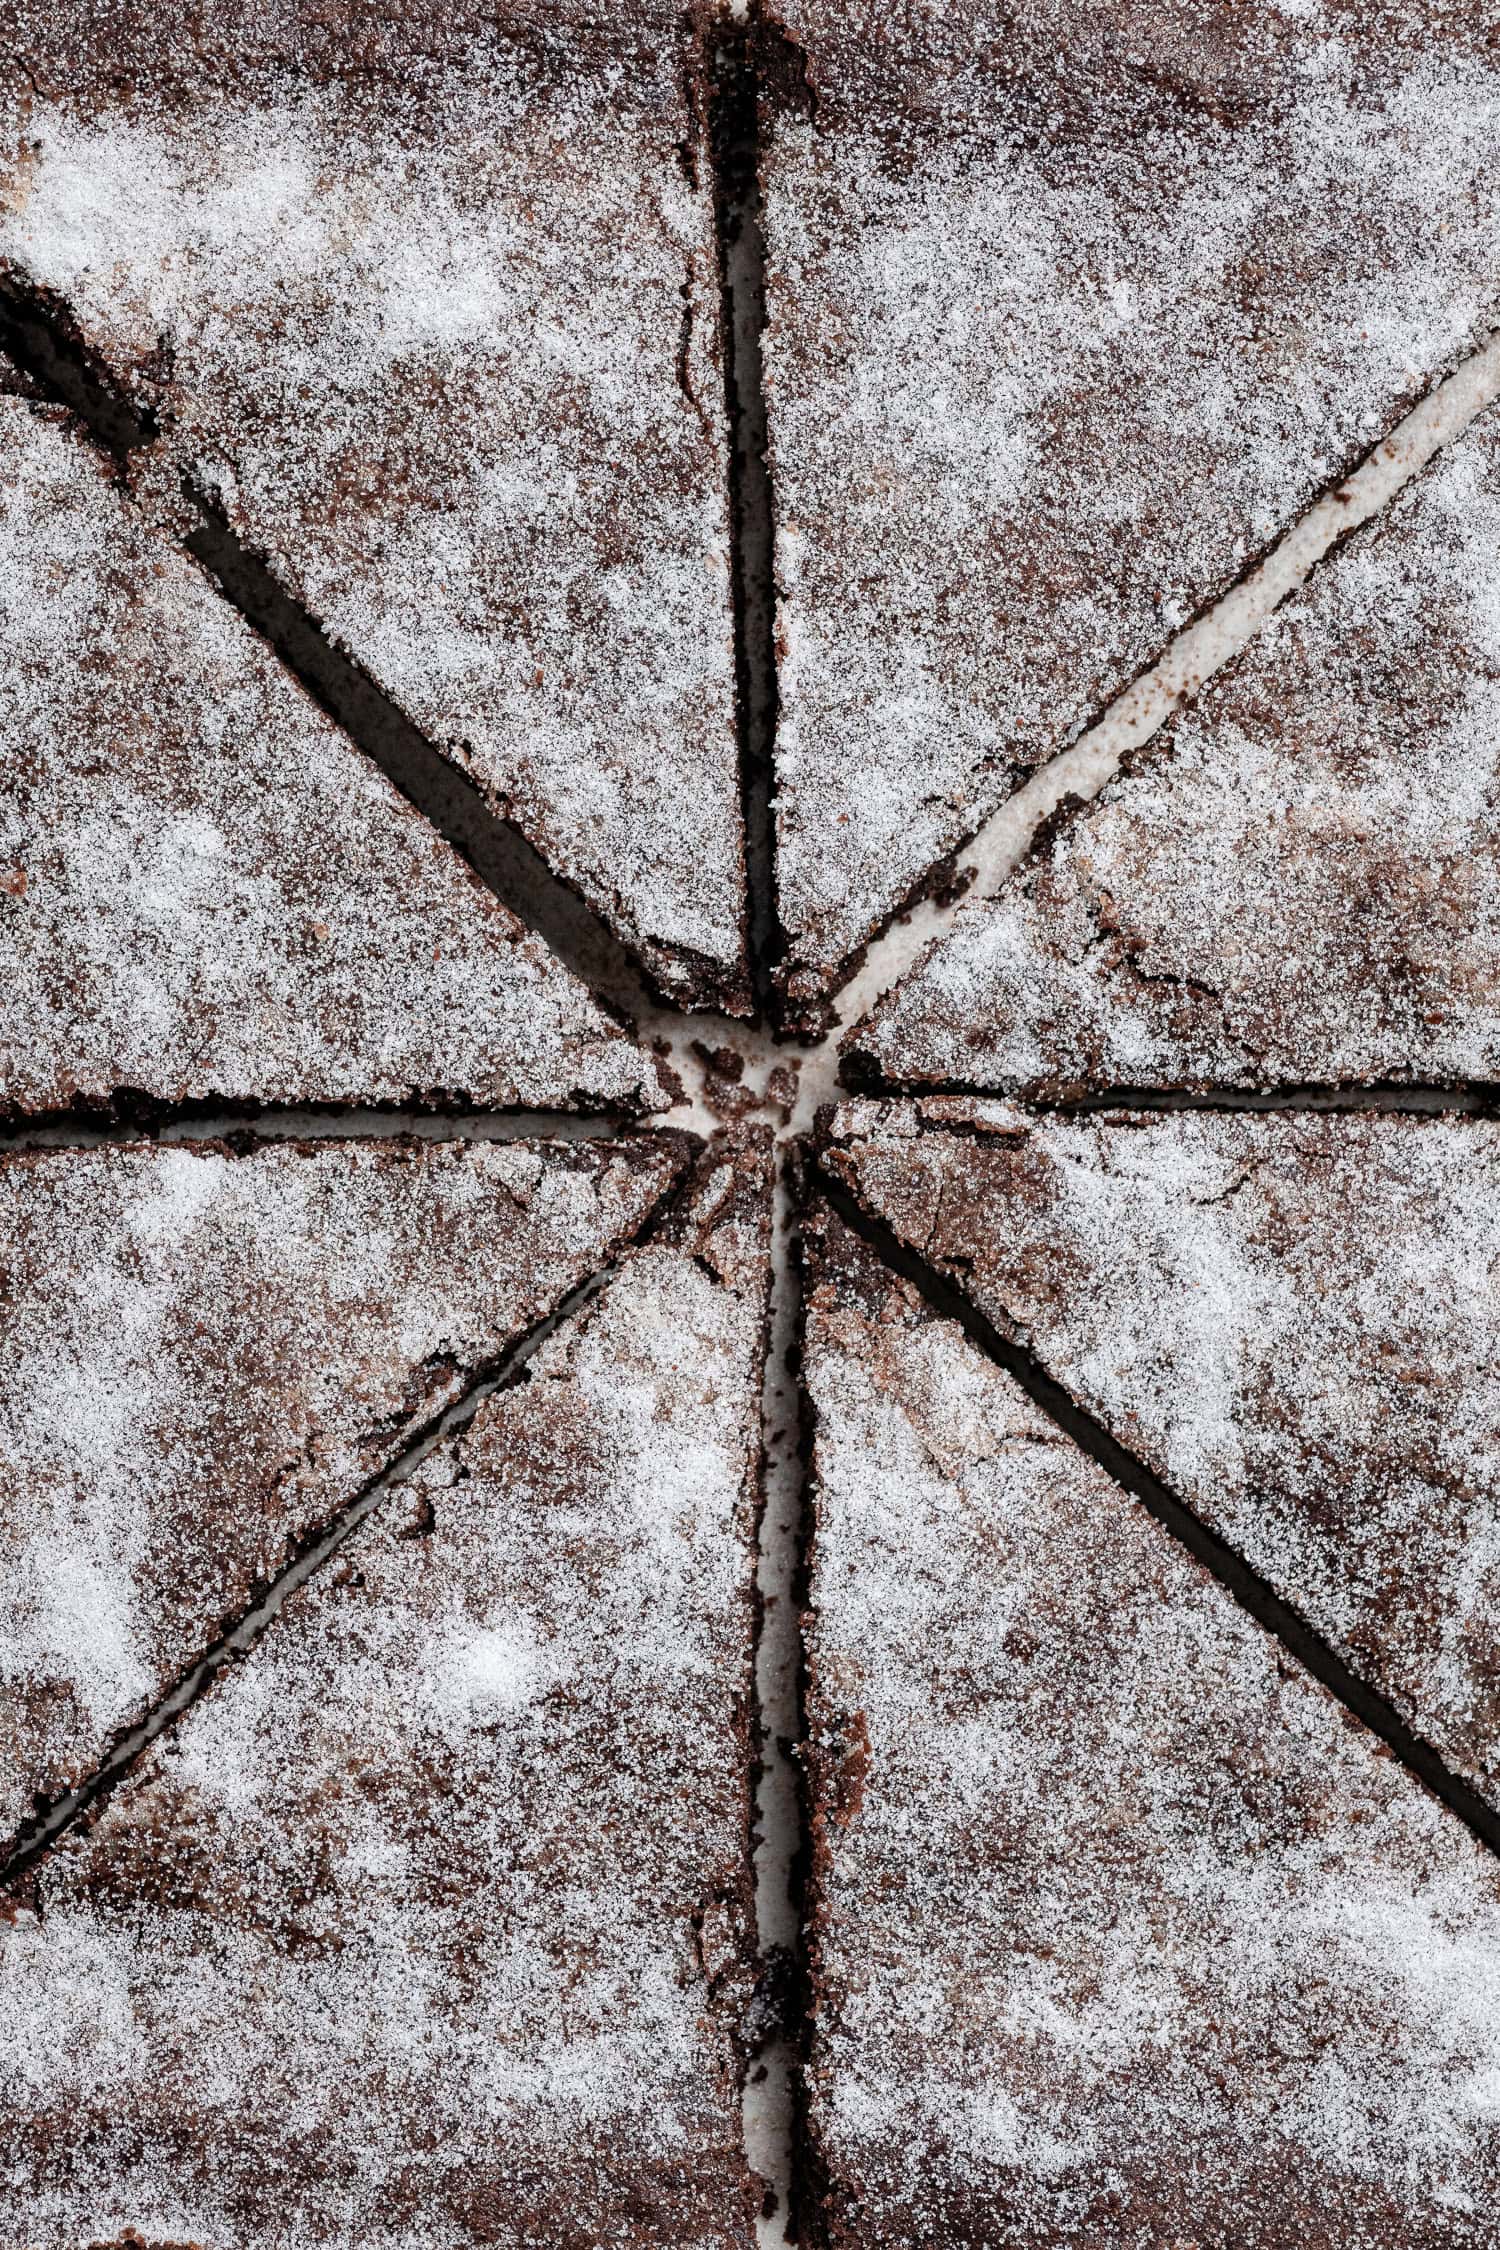
- Step 6: Cut into triangles or squares while still warm.
Top Tips:
For the best results make sure that you follow the recipe closely. As always, I highly recommend weighing your ingredients using the gram measurements (with a digital scale), rather than the cup conversions. Cup measurements are simply not accurate enough for baking and I cannot guarantee the best results if you use them. A gram is always a gram, but a cup won’t always measure out the same amount.
Make sure that you pack the mixture into the tin very firmly otherwise it will be overly crumbly.
Slice the chocolate concrete while it is still warm, it firms up as it cools and will become harder to slice.
You can cut it into either triangles as I do, or into squares.
If you want a softer textured chocolate concrete, bake it for only 20 minutes, and if you want an extra crunchy texture, bake for 30 minutes.
FAQ's:
Store the cooled vegan chocolate concrete in an airtight container at room temperature for up to a week.
Yes, wrap individual slices of the (cooled) chocolate concrete well to prevent freezer burn and freeze for up to 3 months. Unwrap and allow to defrost at room temperature to serve.
This vegan chocolate concrete can be served warm or cold. When warm it will have a softer consistency, and it will become crunchier as it cools and hardens.
Either warm or cold it is fantastic served with custard; try it with my vegan chocolate custard or vanilla custard, or you could even add a few drops of peppermint extract and some green food colouring to vanilla custard to make school dinner style green custard!
Alternatively it makes a great accompaniment to a cup of tea.
More Retro Vegan British Recipes:


All images and content on Domestic Gothess are copyright protected. If you want to share this recipe then please do so by using the share buttons provided. Do not screenshot or post the recipe or content in full, instead include a link to this post for the recipe.
If you love this recipe, please leave a 5-star ★★★★★ rating at the bottom of the page! This provides helpful feedback to both me and other readers.
Also be sure to add us as a trusted site on Google so that our recipes show up more in your searches!
To keep up to date with all my latest recipes you can subscribe to my newsletter and follow along on social media!
Vegan Chocolate Concrete
Equipment
- 20 cm/8 in square cake tin
Ingredients
- 250 g (2 cups) plain (all-purpose) flour
- 60 g (⅔ cup) cocoa powder
- 175 g (¾ cup + 2 Tablespoons) caster or granulated sugar plus extra for sprinkling
- 135 g (10 Tablespoons) vegan block butter melted and cooled slightly
Instructions
- Preheat the oven to 180℃/160℃ fan/350℉/gas mark 6. Line a 20 cm/8 in square cake tin with baking paper.
- Stir the flour, cocoa powder and sugar together in a bowl, make sure it is well combined and free from lumps.250 g (2 cups) plain (all-purpose) flour, 60 g (⅔ cup) cocoa powder, 175 g (¾ cup + 2 Tablespoons) caster or granulated sugar
- Add the melted butter and stir until well combined, it will be quite a dry mixture but make sure that all of the dry ingredients are moistened.135 g (10 Tablespoons) vegan block butter
- Tip the mixture into the prepared tin and spread it out in an even layer. Use your hands, the back of a spoon or the base of a glass to pack the crumbs down very firmly and evenly. Make sure that you really press it down firmly otherwise the concrete will be overly crumbly.
- Lightly brush or sprinkle the surface with a little water then bake the concrete for about 25 minutes* until dry to the touch. It will still be a little soft but will firm up as it cools.
- As soon as you take it out of the oven, sprinkle generously with sugar. Allow to cool in the tin for 5-10 minutes, then use a sharp knife to cut it into triangles or squares while it is still warm. Allow to cool on a wire rack before serving.
Notes
- See post above for tips, details and step-by-step photos.
- For the best results make sure that you follow the recipe closely. As always, I highly recommend weighing your ingredients using the gram measurements (with a digital scale), rather than the cup conversions. Cup measurements are simply not accurate enough for baking and I cannot guarantee the best results if you use them. A gram is always a gram, but a cup won’t always measure out the same amount.
- *If you want a softer textured chocolate concrete, bake it for only 20 minutes, and if you want an extra crunchy texture, bake for 30 minutes.
If you tried this recipe let me know how it went! Rate it, leave a comment or tag @domestic_gothess on Instagram and hashtag it #domesticgothess


Maria
It's even older than you suggest. I started primary school in 1955 and all through my schooldays, we would get excited when chocolate concrete was on the menu. Sometimes it was very hard to break. I can remember kids bashing it with a fork or spoon and bits flying around the canteen. Anyway you've made me feel very nostalgic, though I can't imagine feeling that way about anything else we were served at school! I think I'll have a go at this recipe and try it out on my grandchildren. Thankyou. You've made an old lady happy...
Méabh
Really tasty, like a cross between a brownie and a Bourbon biscuit. I was worried it would be too sweet for me, but the sugar levels are just right to balance the bitterness of a good cocoa powder. Lovely with a cup of tea.
I wish we'd had stuff like this for school dinners - no way the nuns in the 90s were letting us have something this chocolatey and delicious lol. I remember getting "iced buns" which were literally a dry hot dog bun with a tiny smear of icing. I lasted about 6 months on school dinners until Mum relented and let me bring a packed lunch!